Configure different mailboxes for different Teams
- The logged-in user must have "Send As" delegate permissions granted for the shared mailbox.
Prerequisites:
Resources:
Shared Mailbox - MultipleMailboxFlow.zip
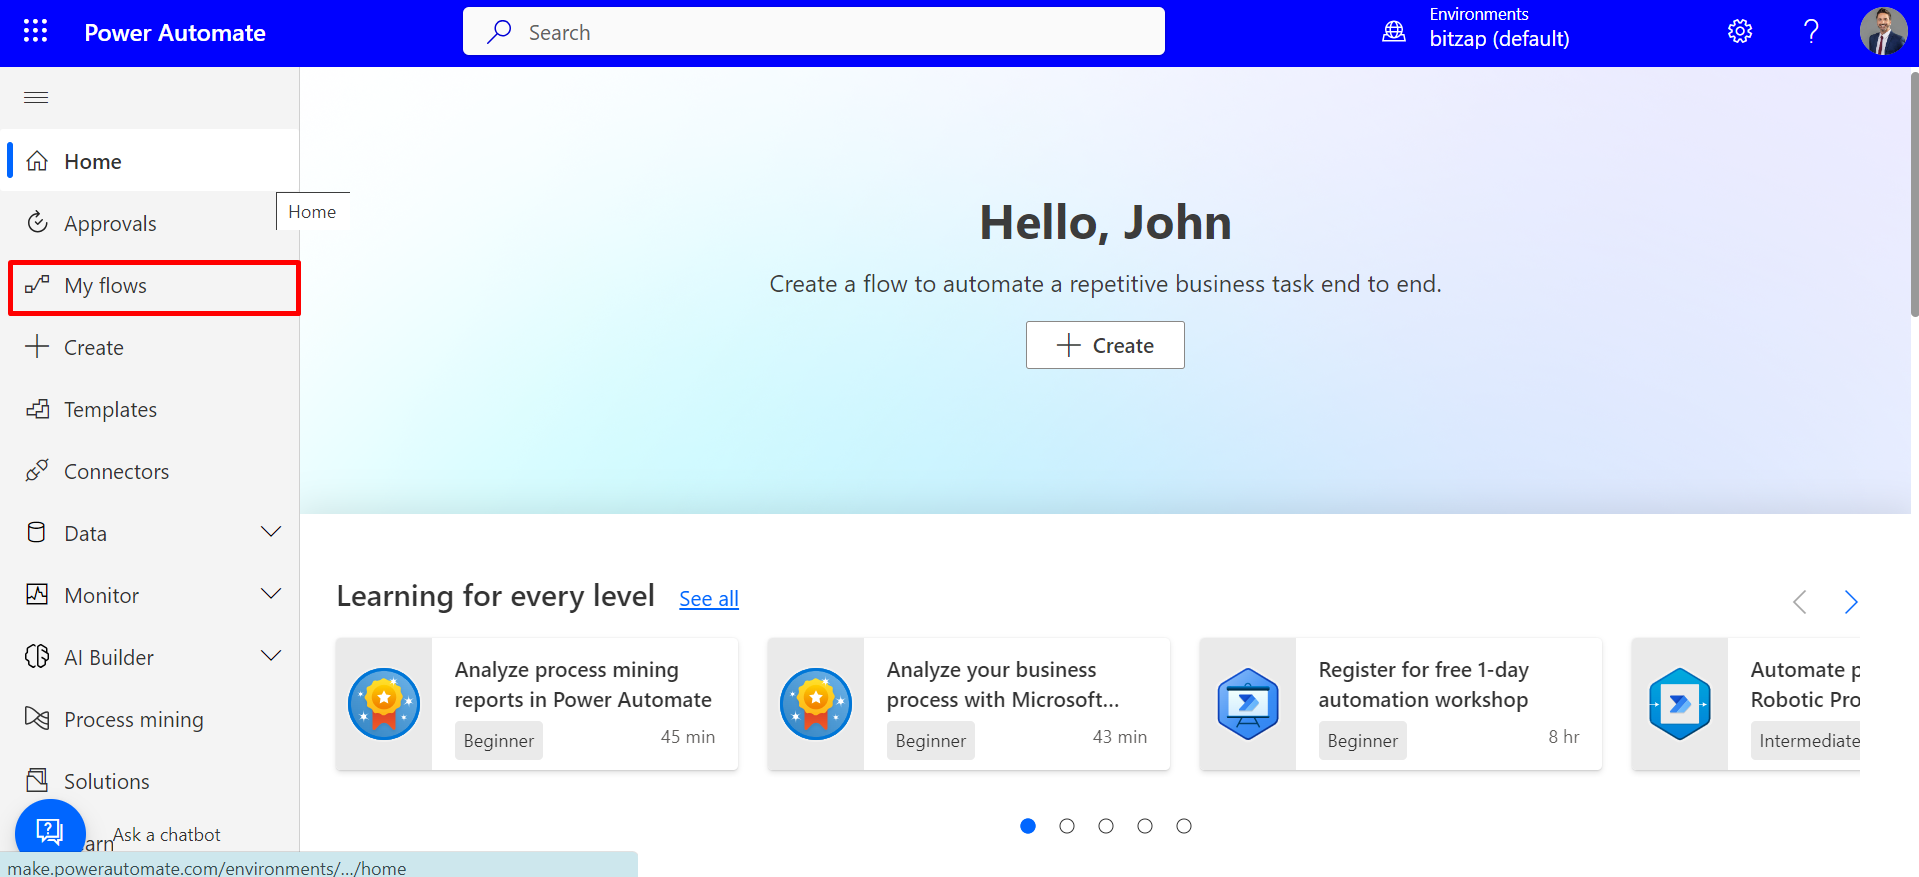
- Navigate to Power Automate and select "My Flows" from the left-hand navigation panel.
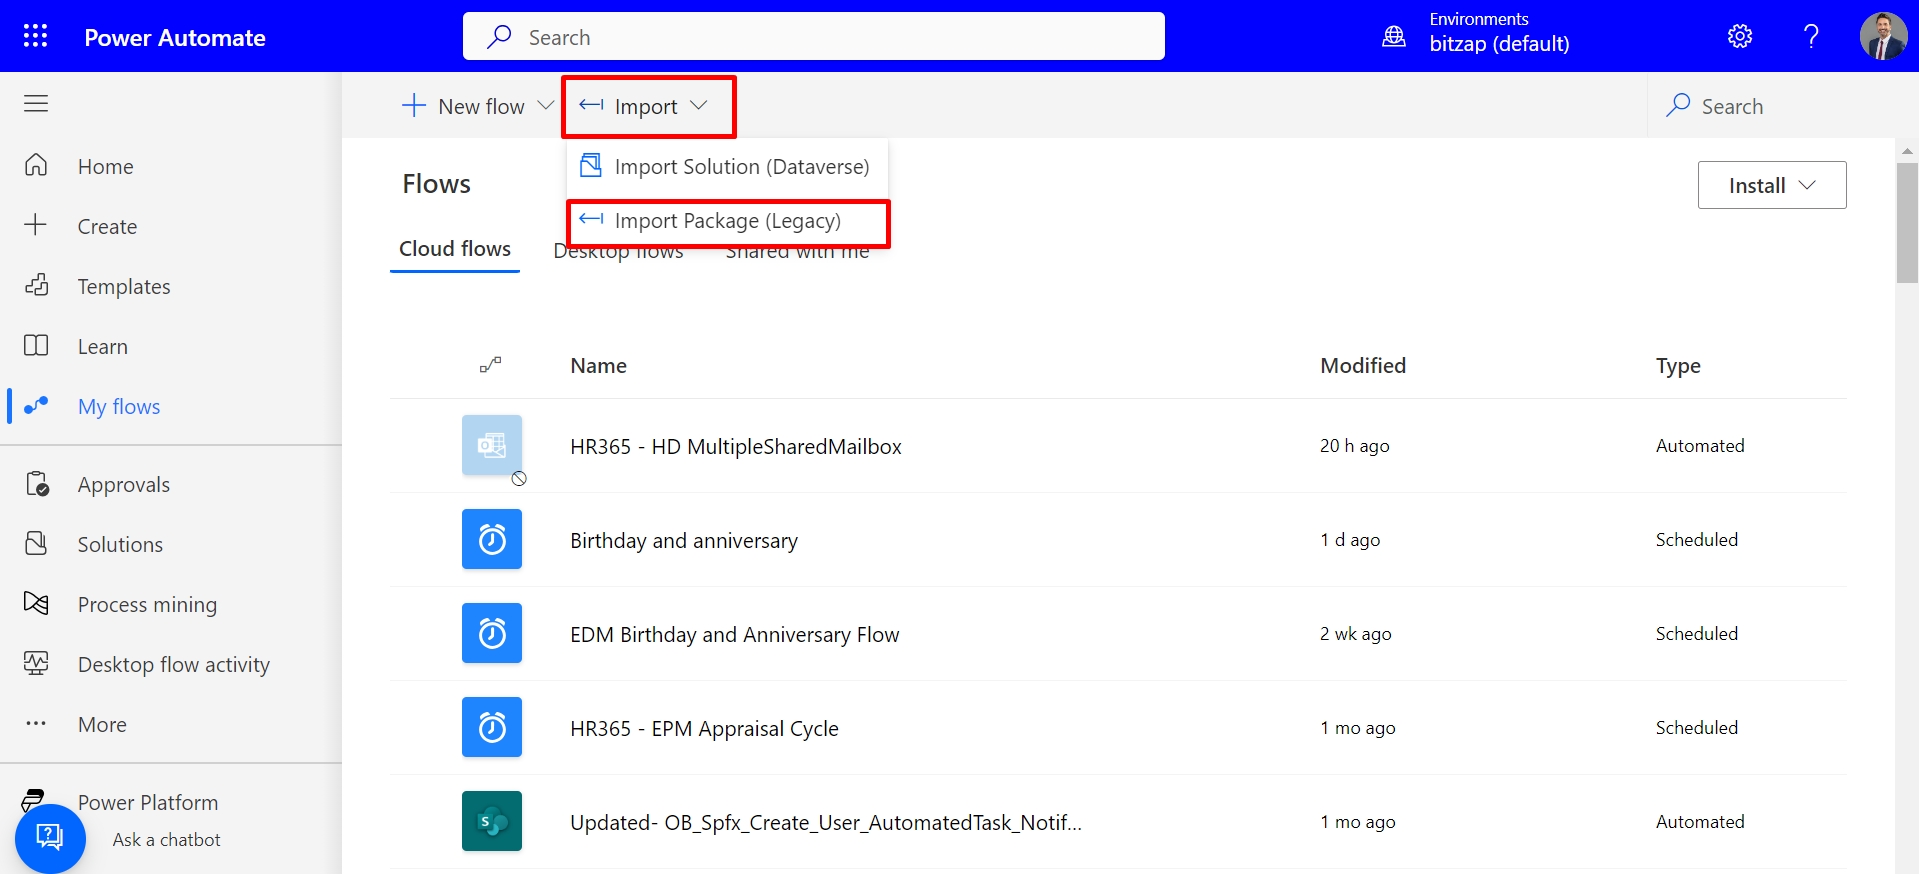
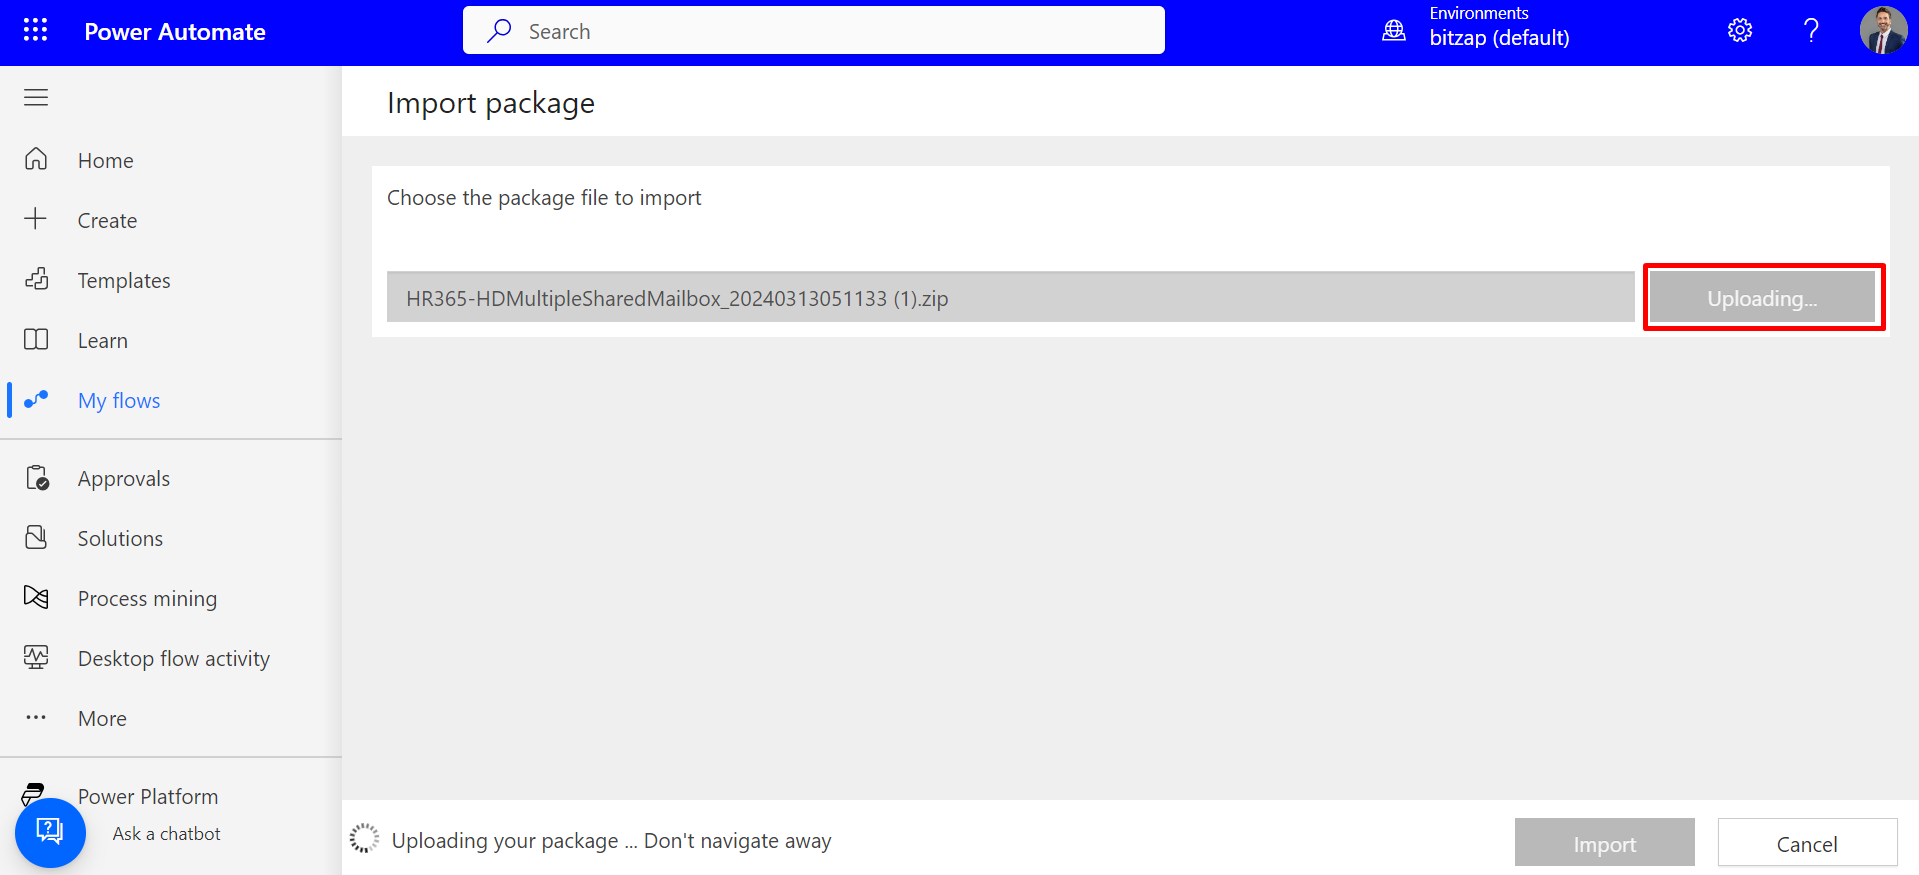
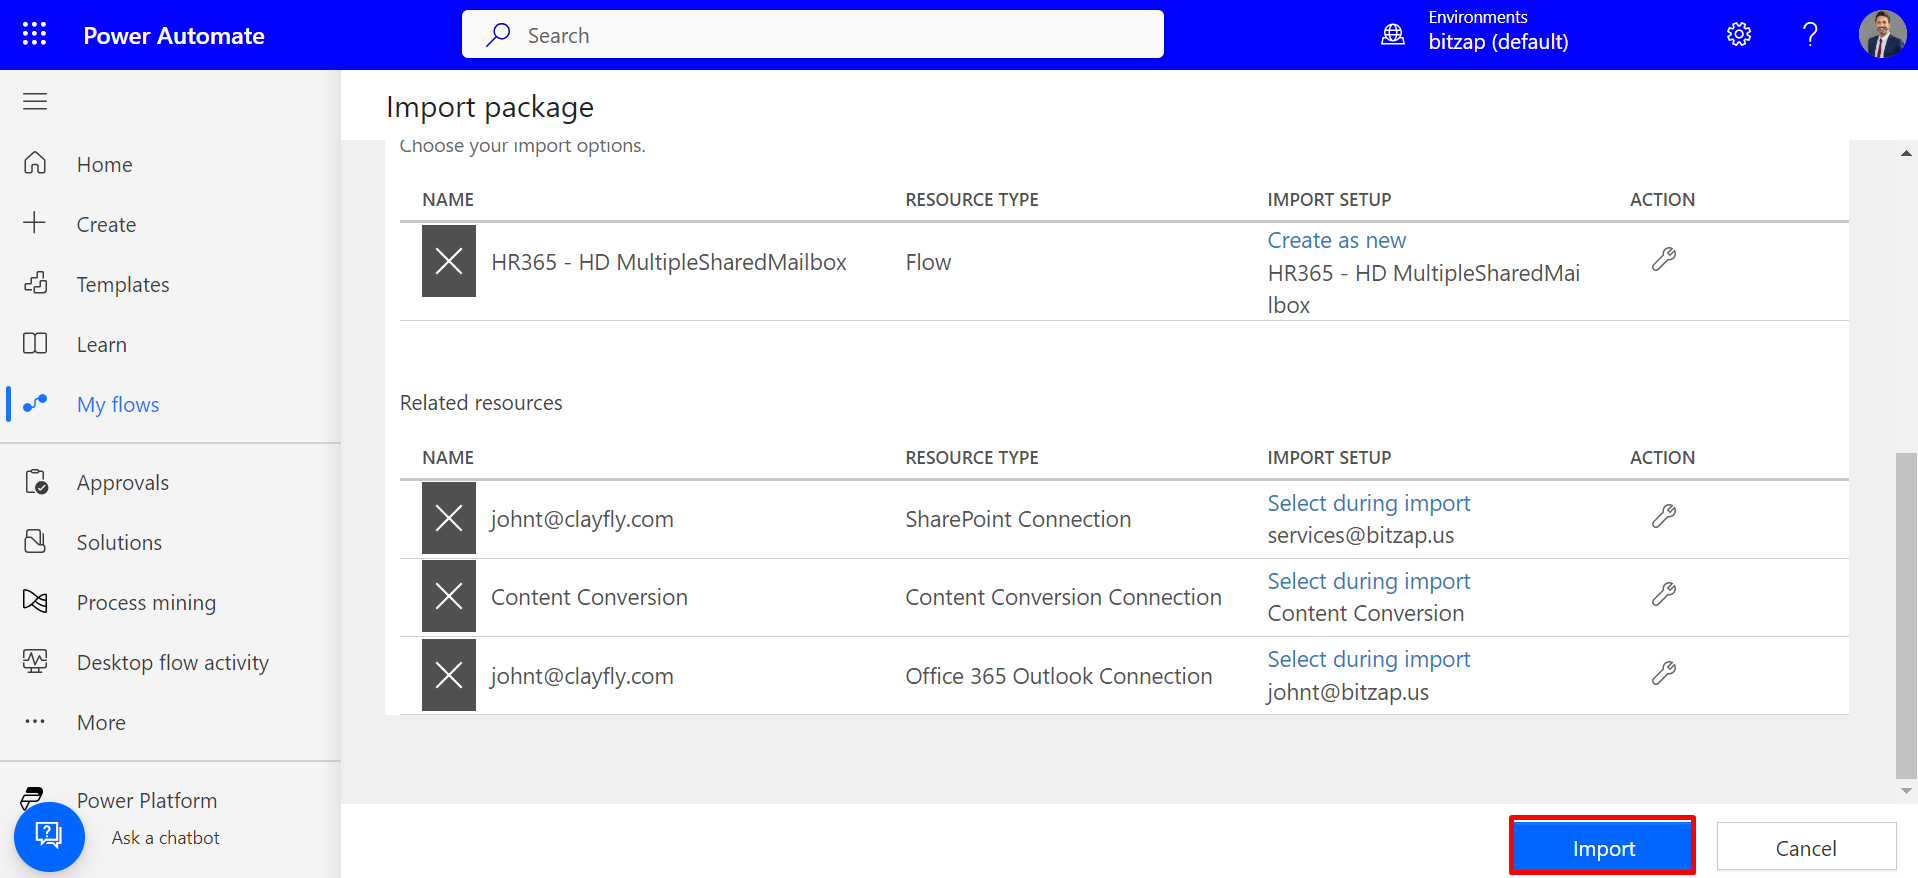
- Click "Import Package" and upload the "shared mailbox" package from the resources section.
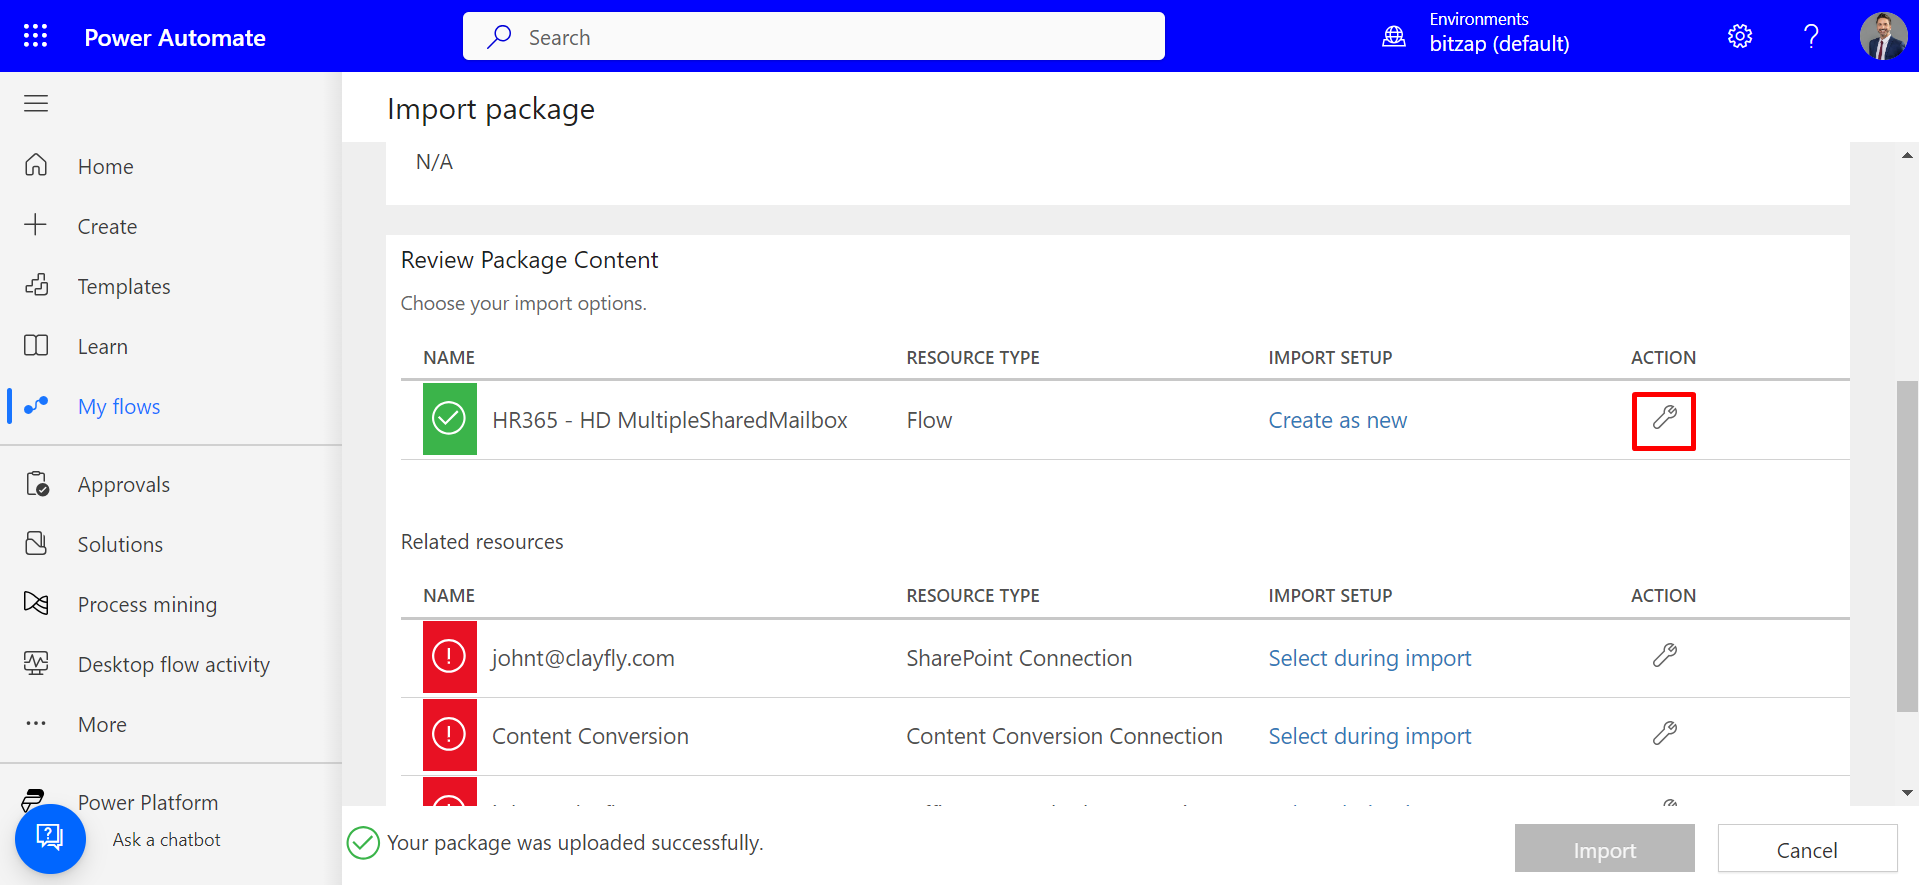
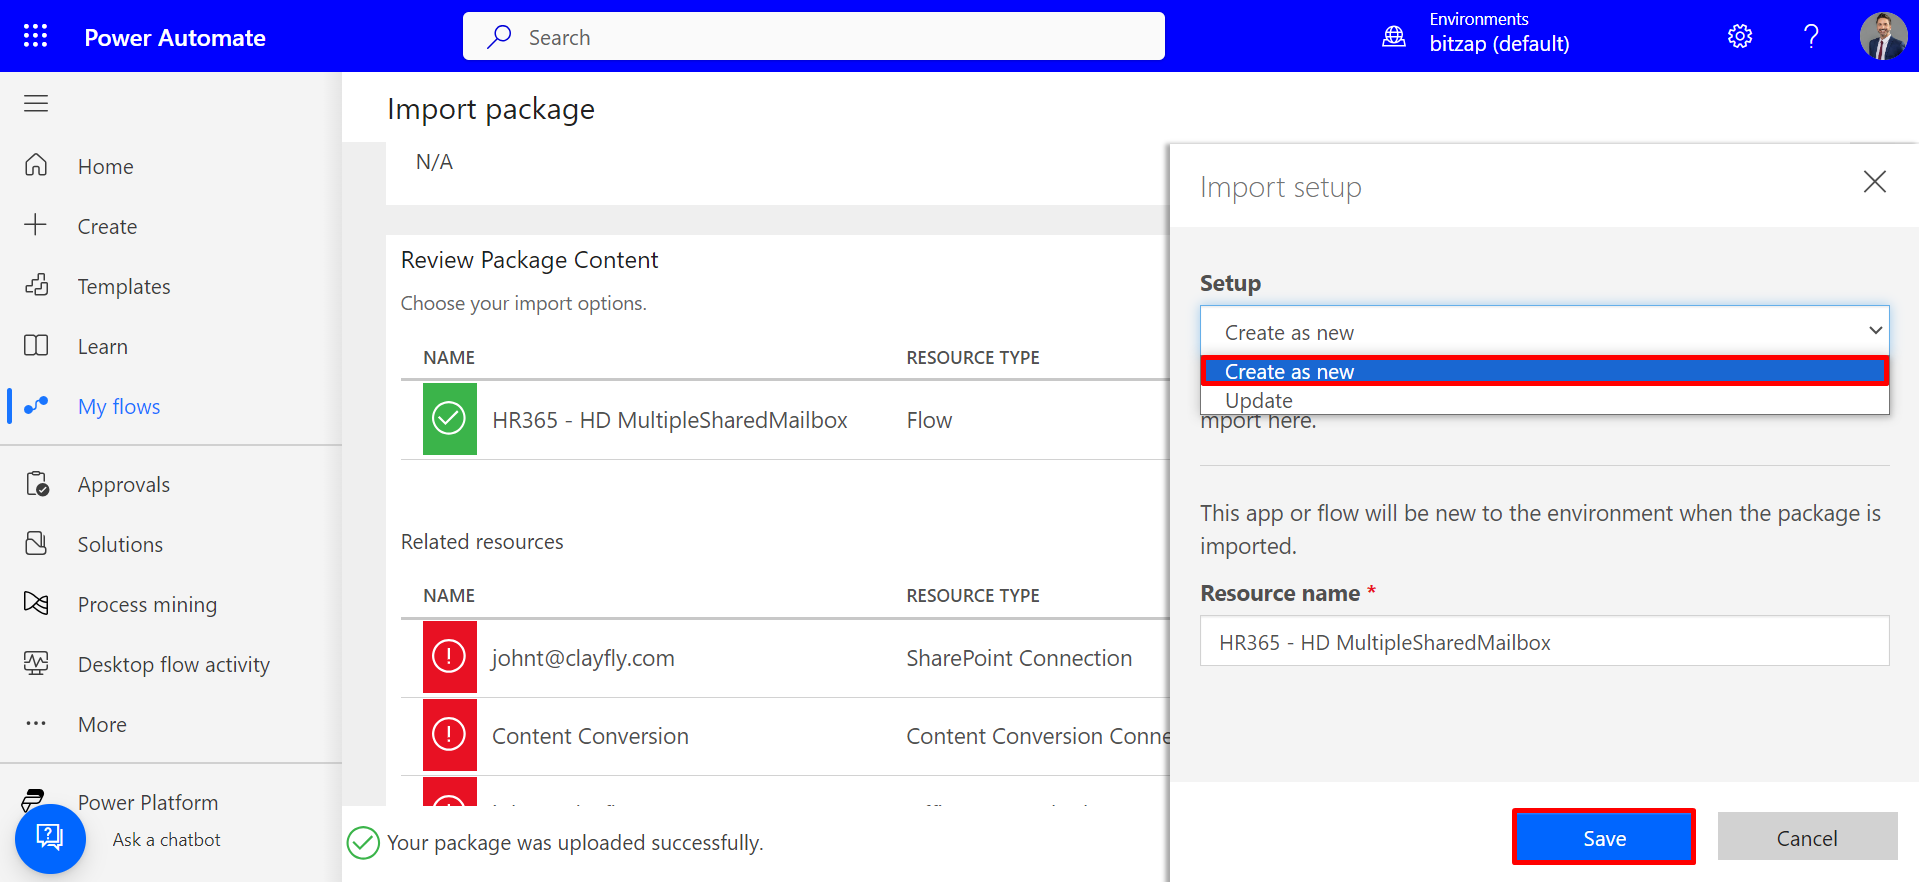
- In the "Review Package Content" section, click on the action icon for " HR365 - HD MultipleSharedMailbox."
- Choose "Create as New" in the setup dropdown.
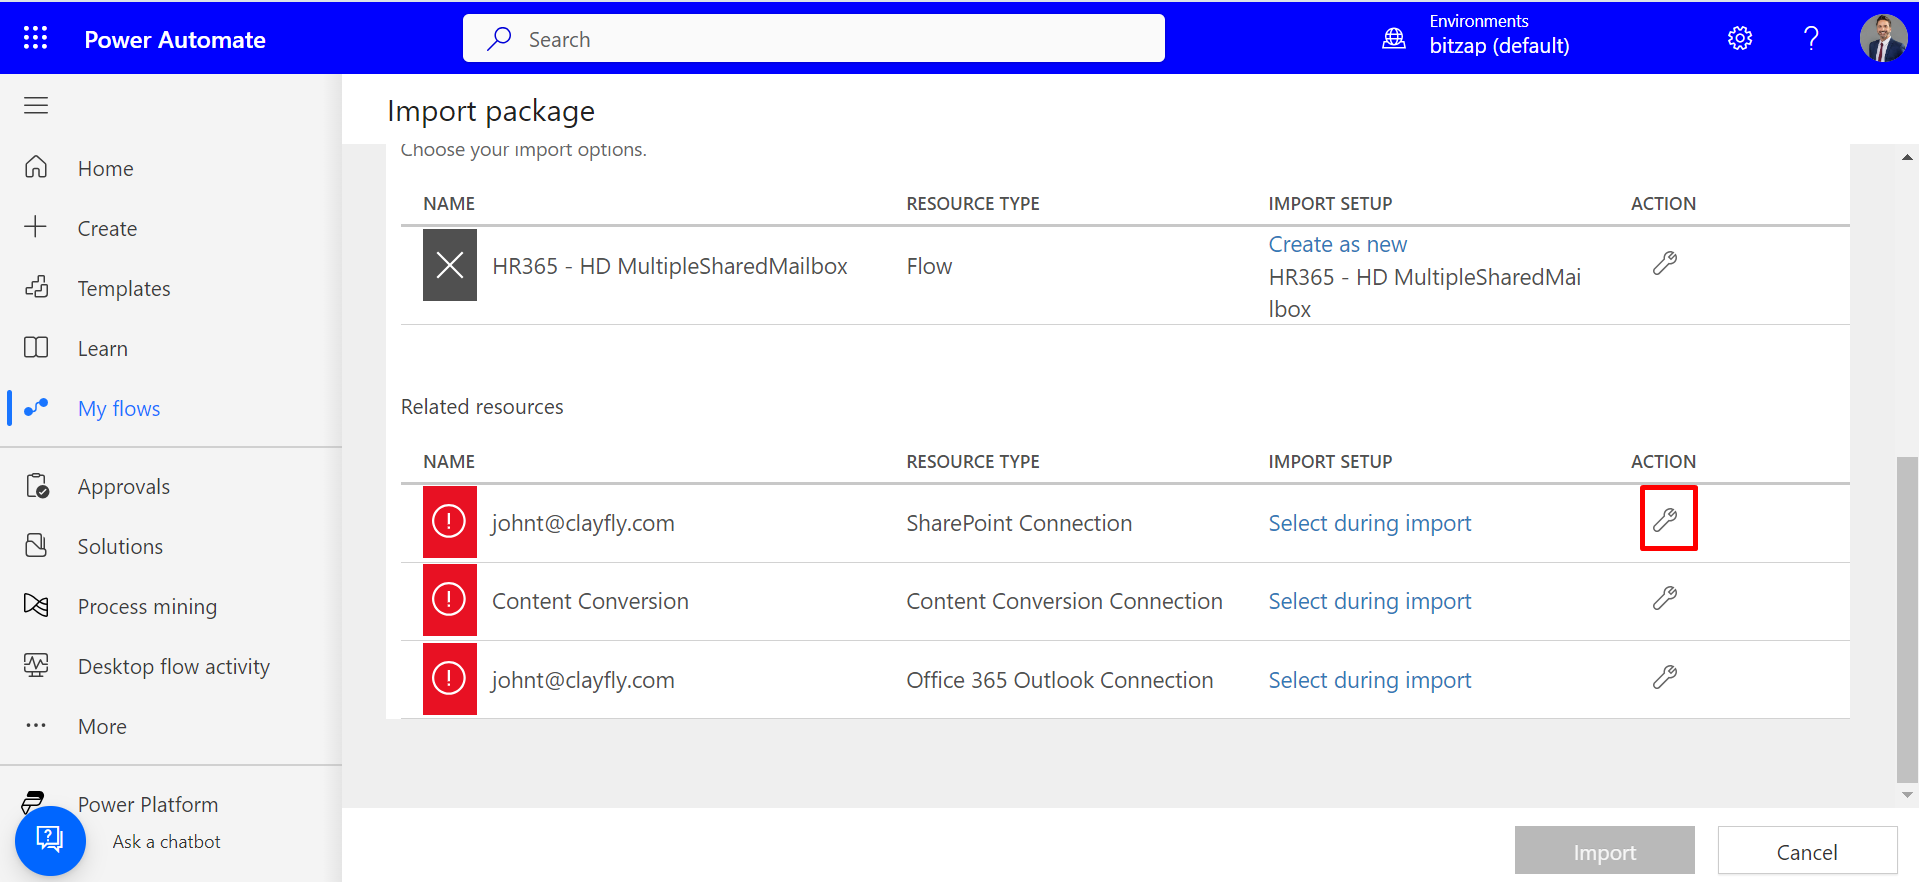
- In the "Related Resources" section, click the action icon for the first item and select "Create New."
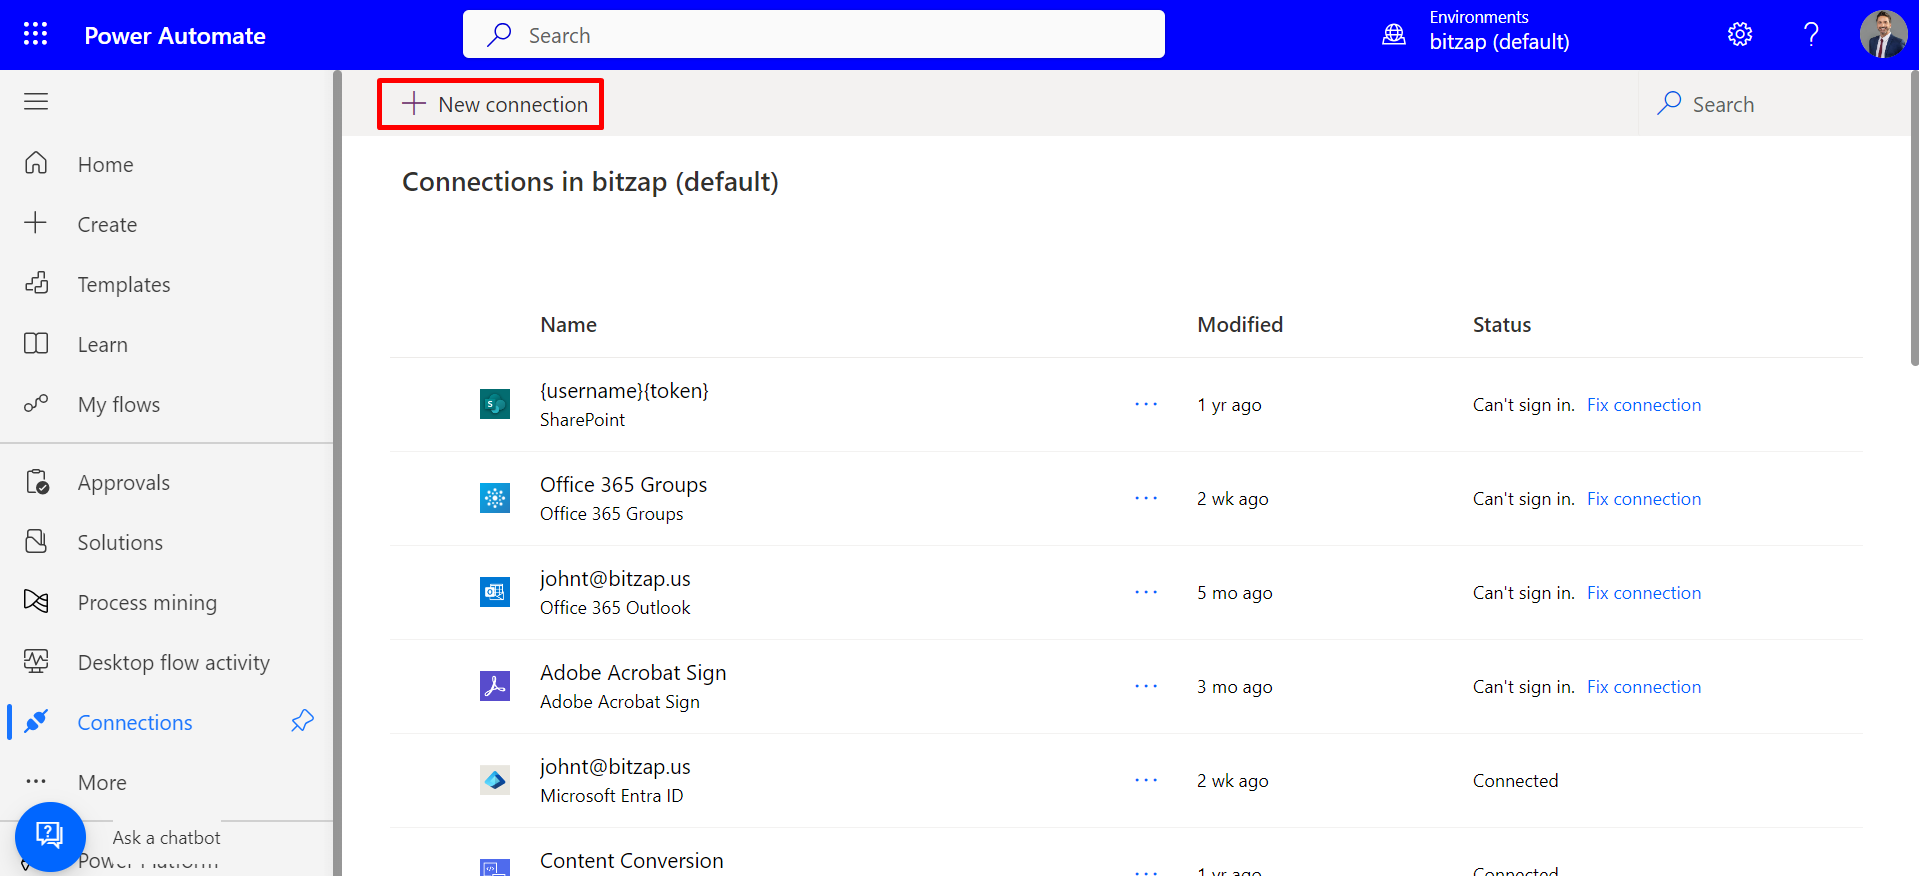
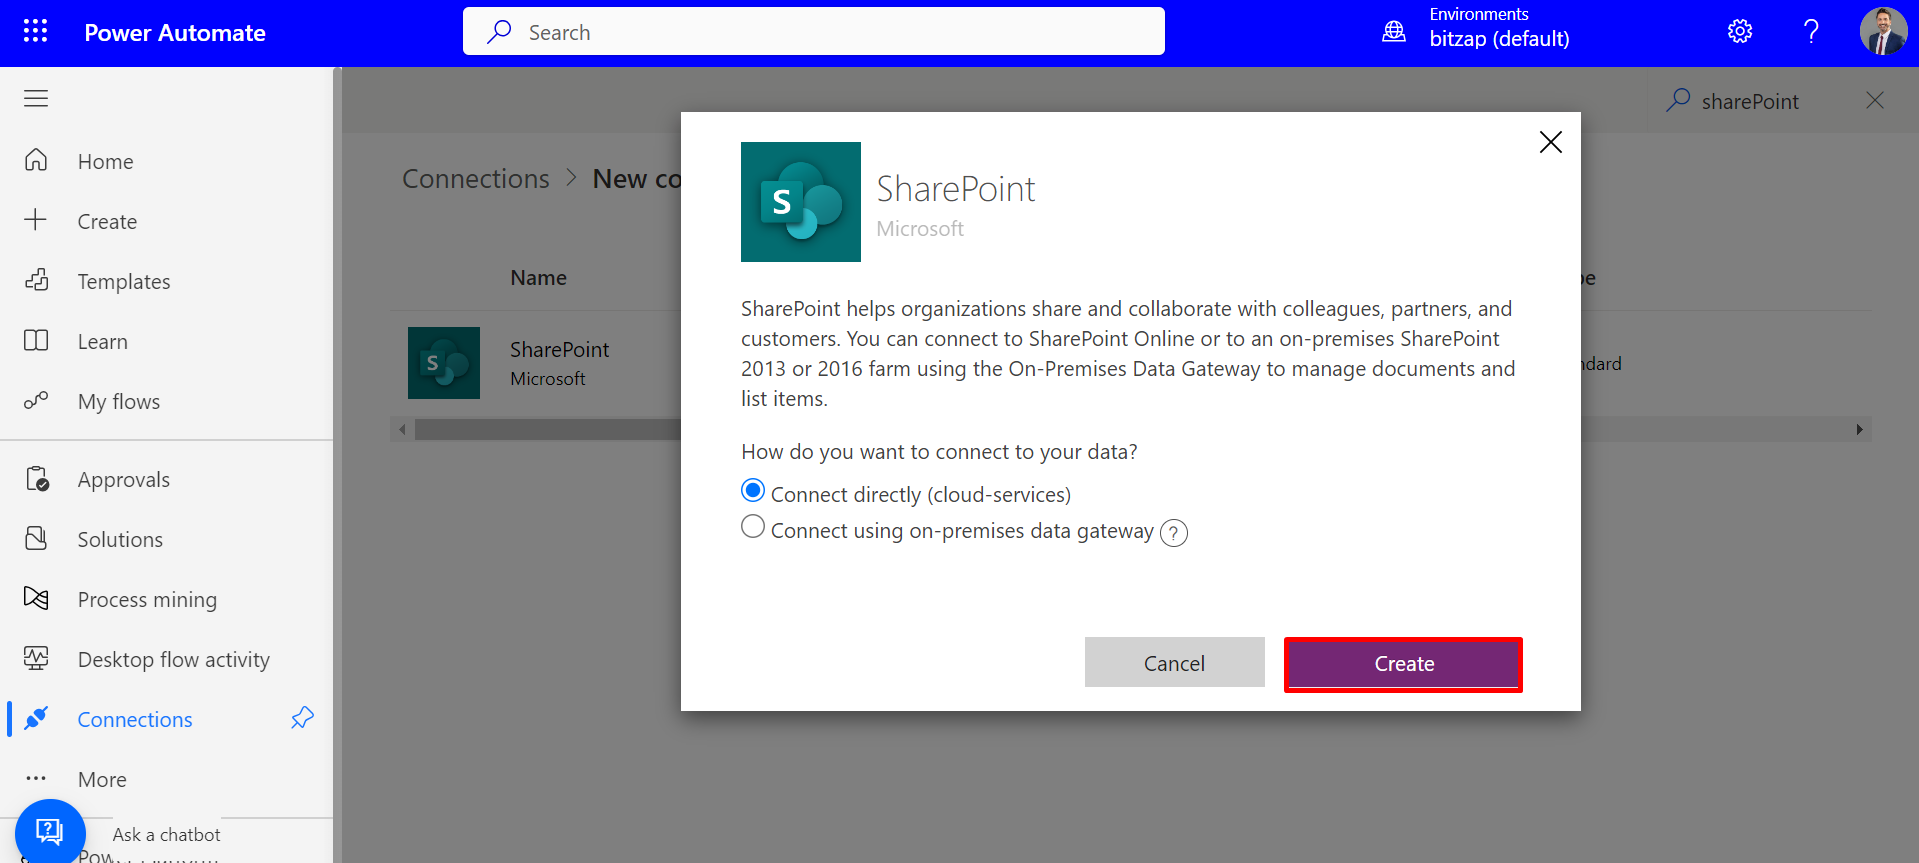
- On the redirected page, select the option to create a new connection by clicking on "+ New Connection."
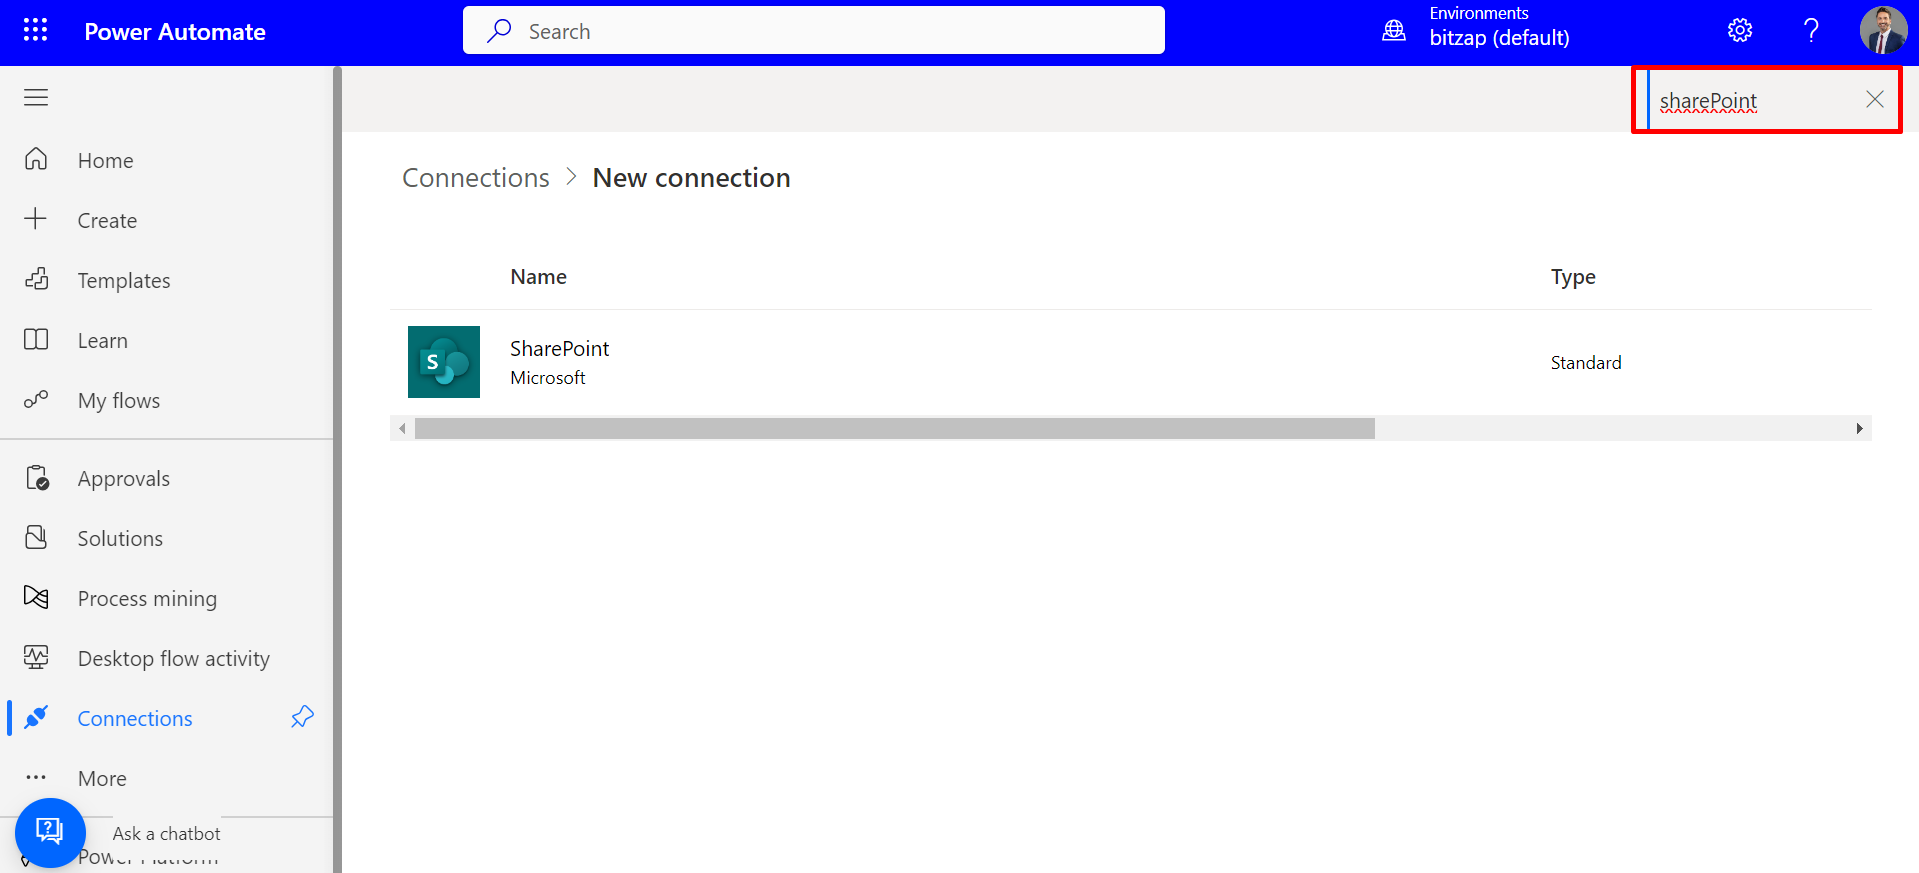
- Use the search tool to find the specific resource type, create the connection, and sign in with the logged-in user.
- Return to Power Automate, refresh the list, and select the newly established connection.
- Repeat steps 5-8 for the remaining resource types and click "Import" when completed.
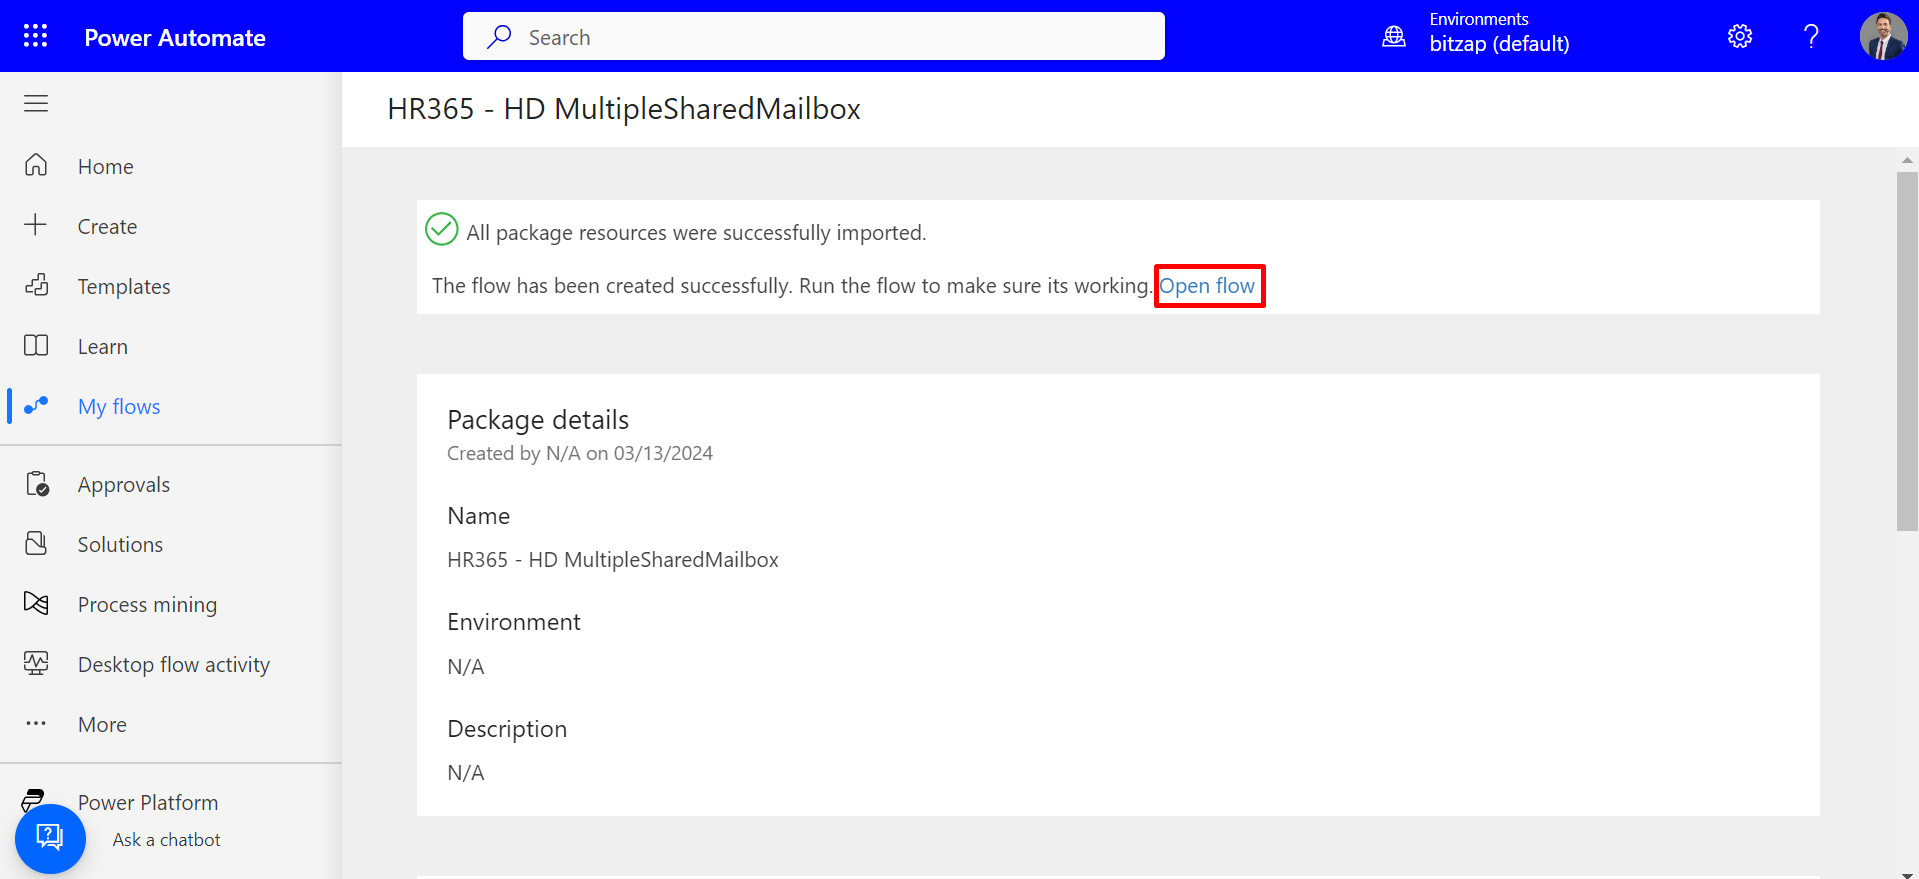
- Select "Open Flow."
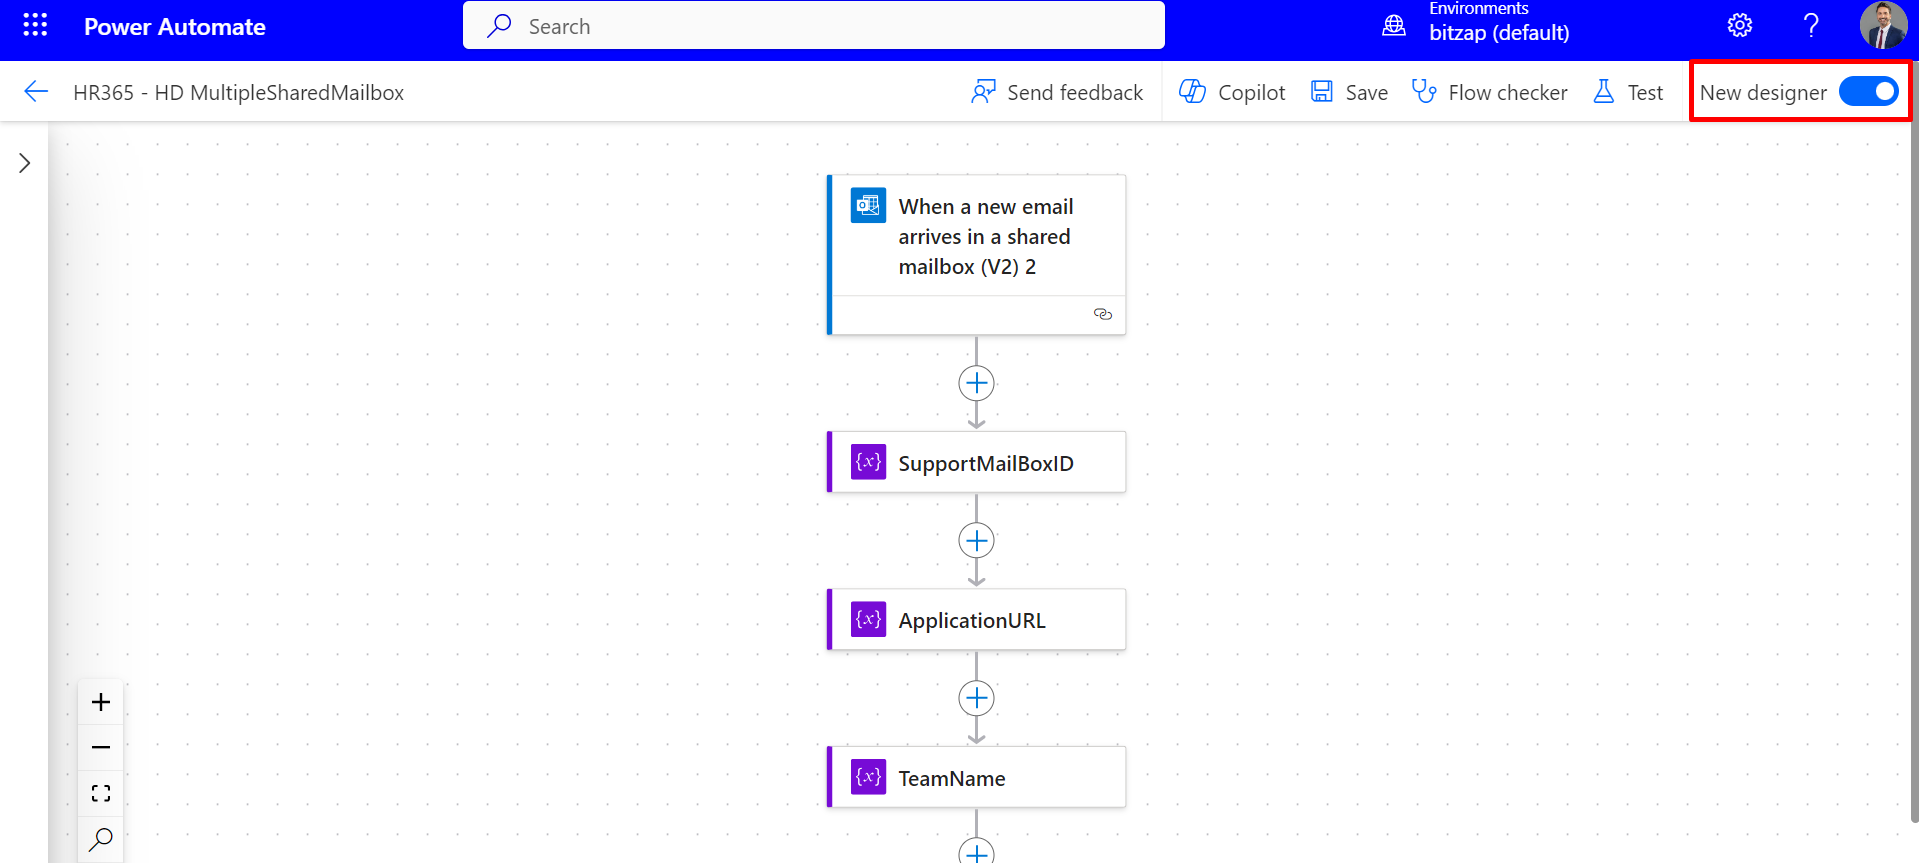
- Please switch to the old designer by selecting it from the top-right corner.
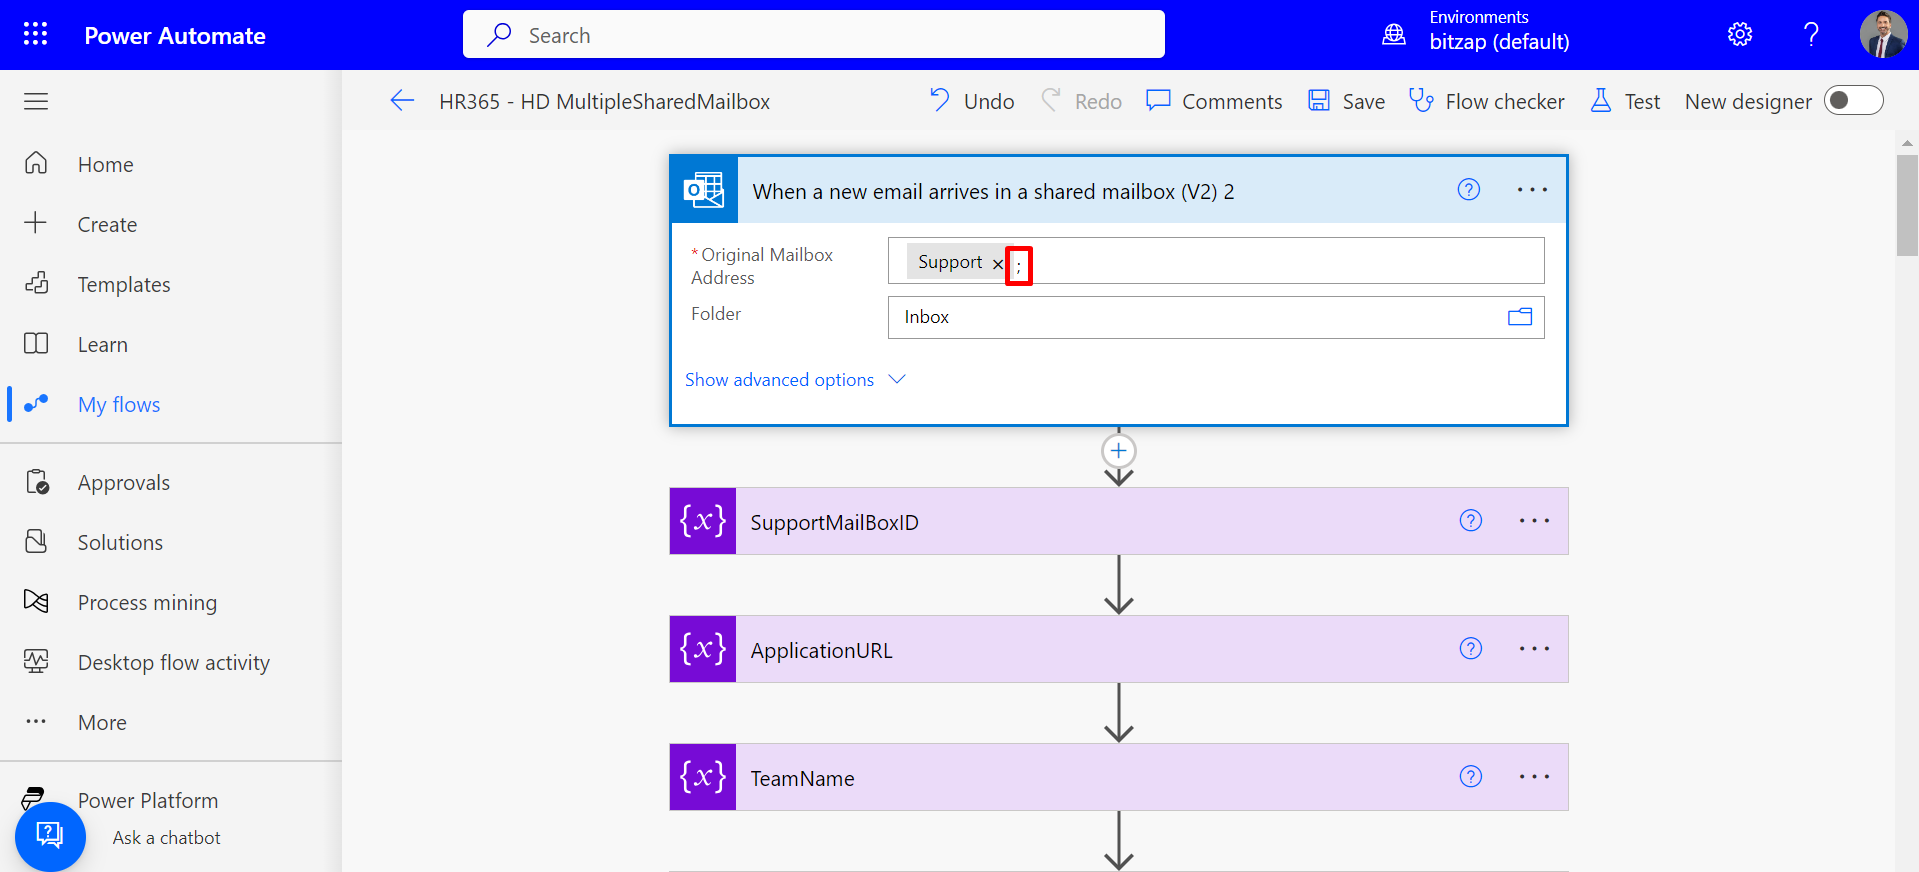
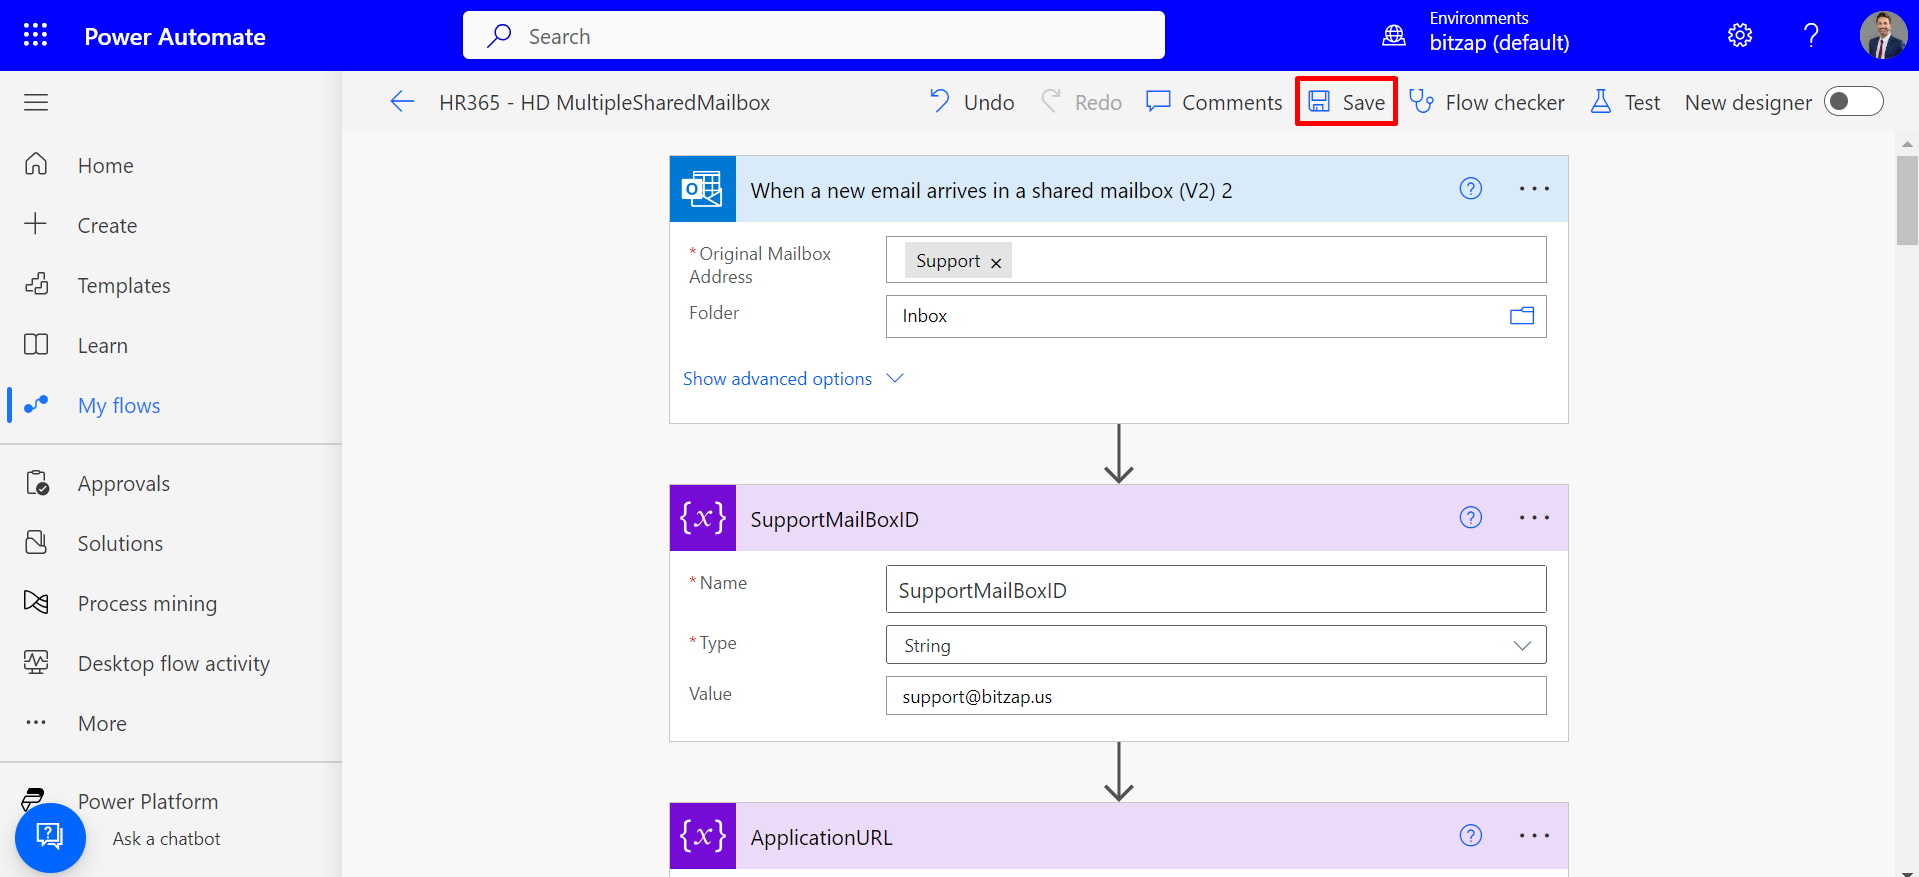
- Choose your team's shared mailbox ID from the dropdown. Note : If the desired mailbox ID is not visible in the dropdown, select the 'Custom Value' option and provide the necessary mailbox ID manually.
- Remove any special characters if present.
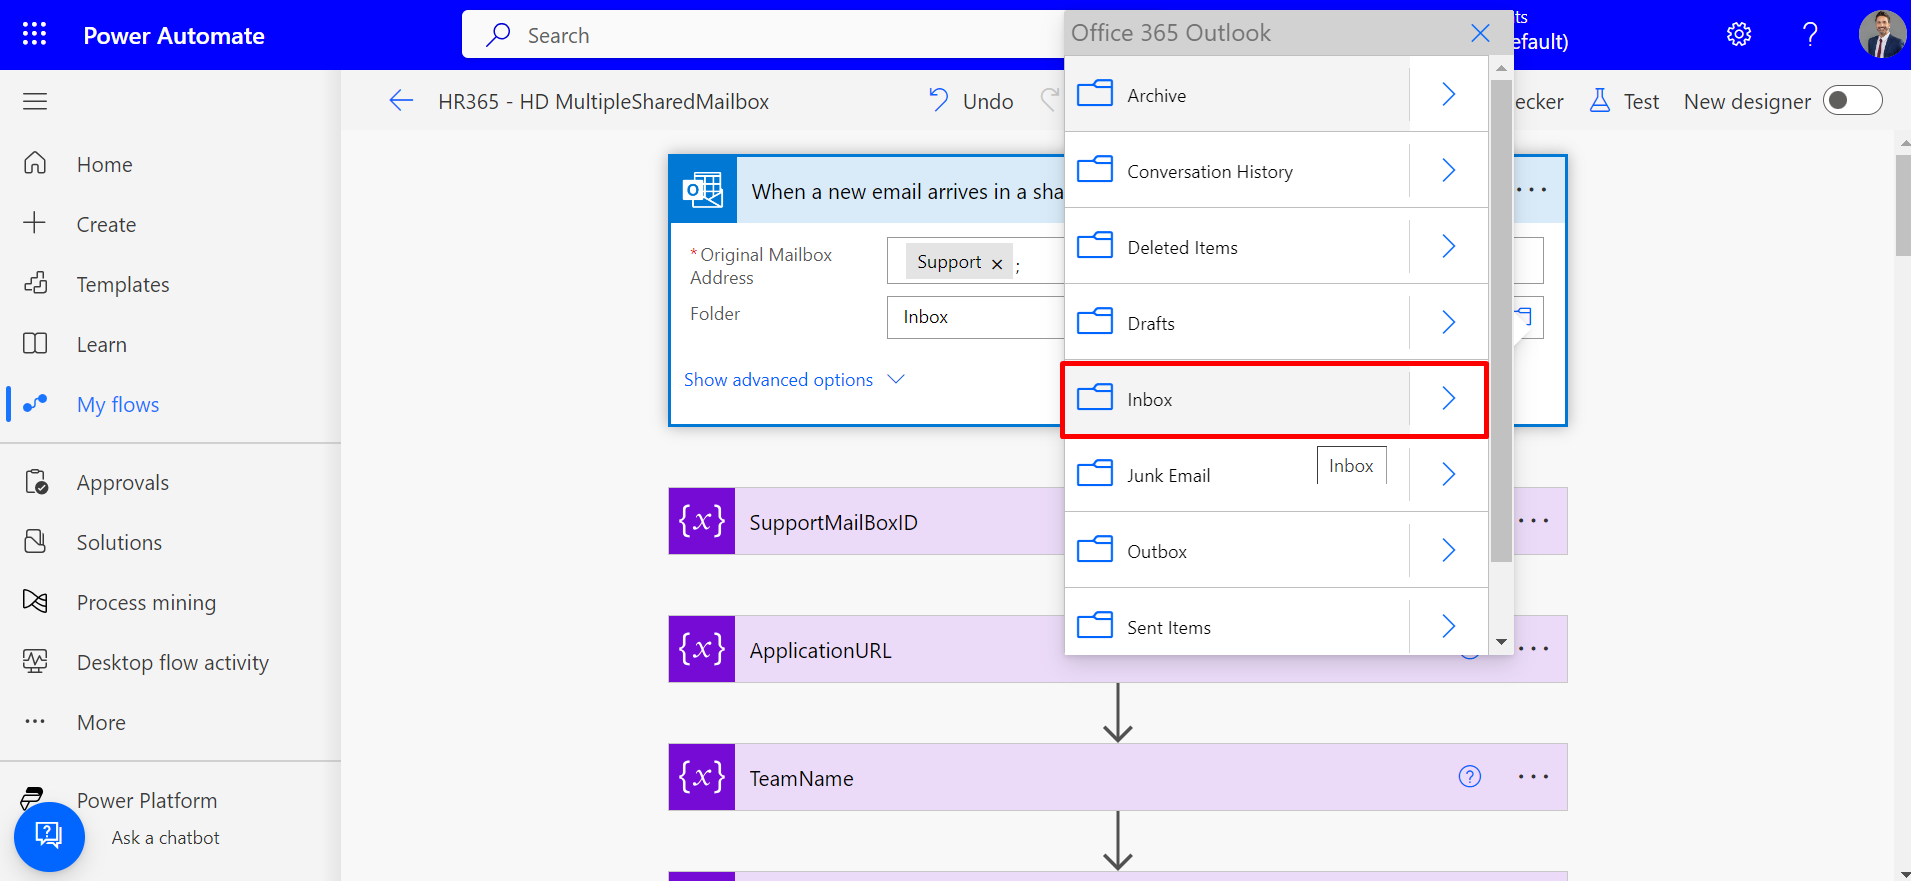
- Use the file icon to select the inbox folder.
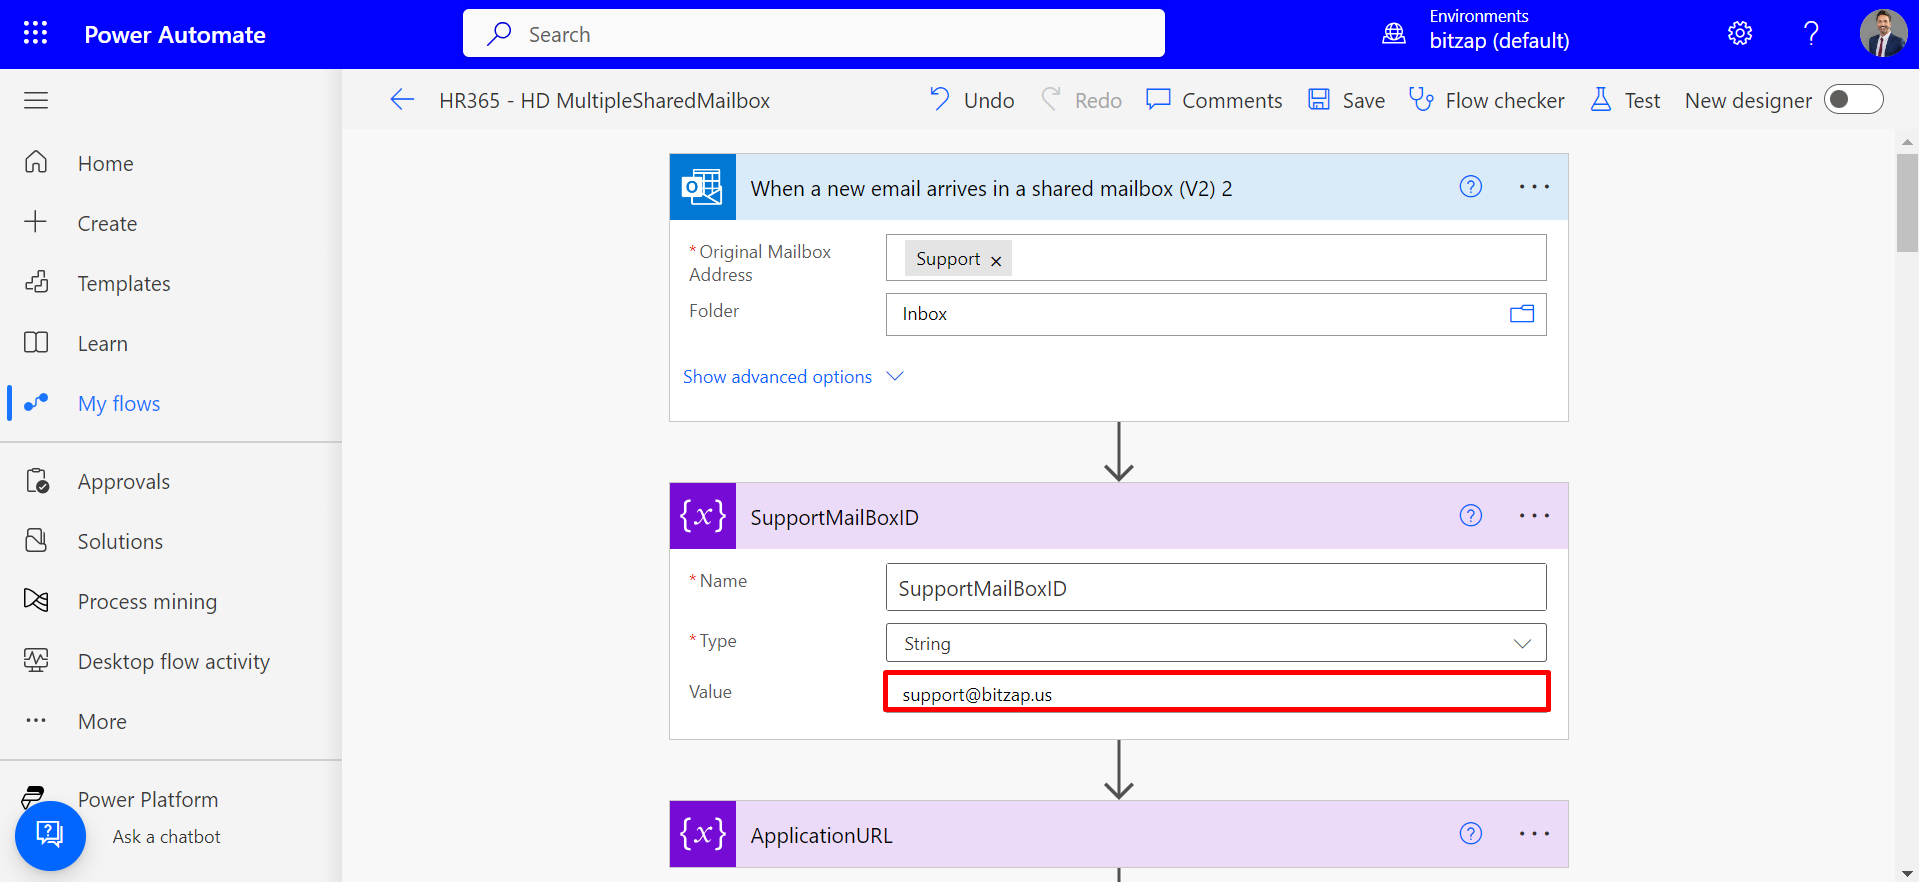
- For the second step, input your team's shared mailbox ID.
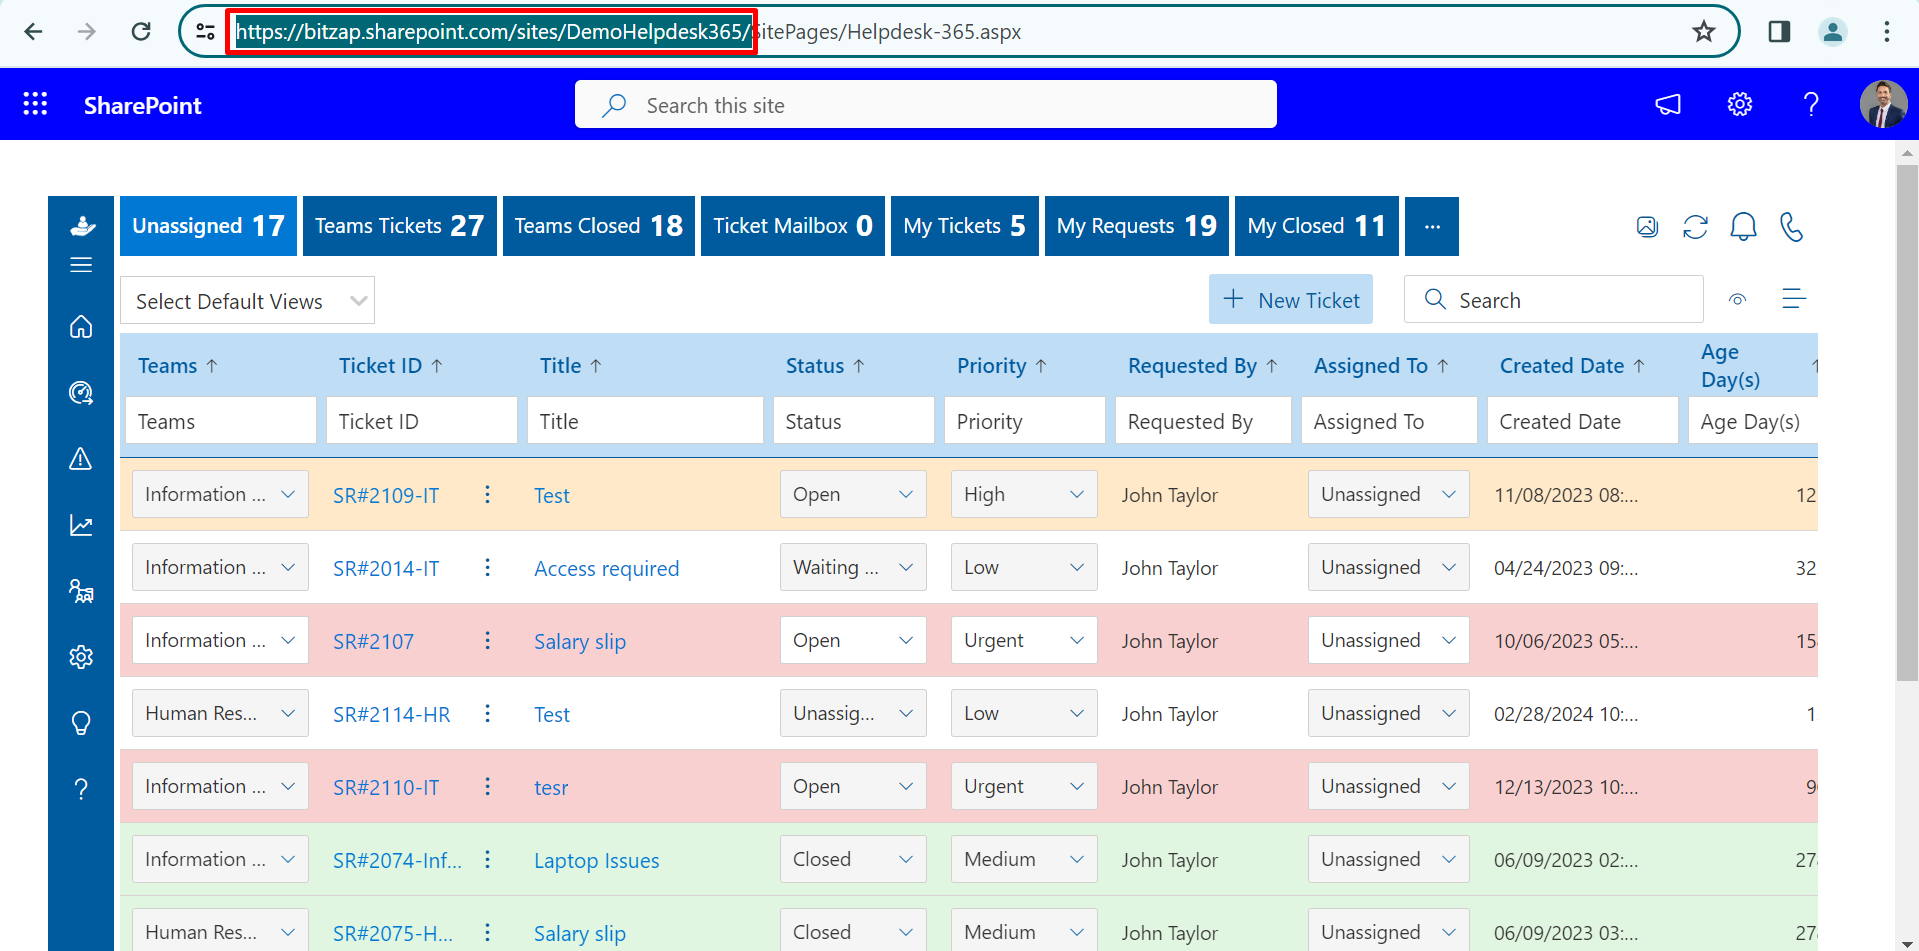
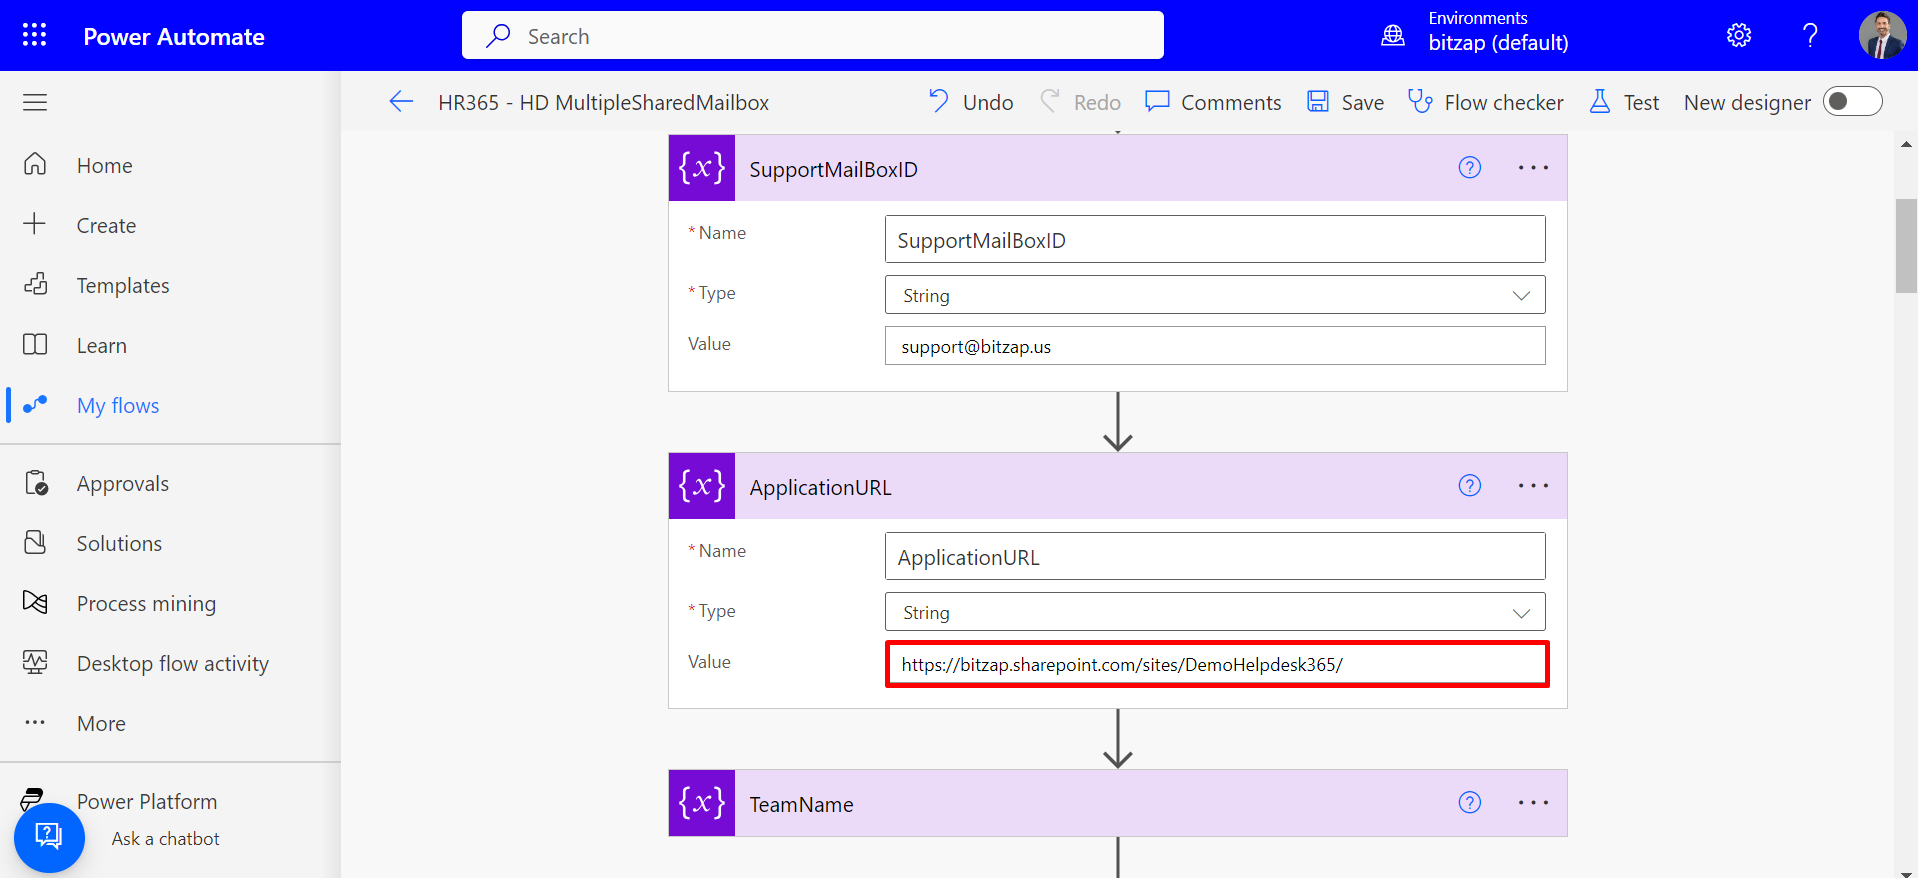
- Copy your website URL up to the "SitePages" section and paste it into the value field for the third step.
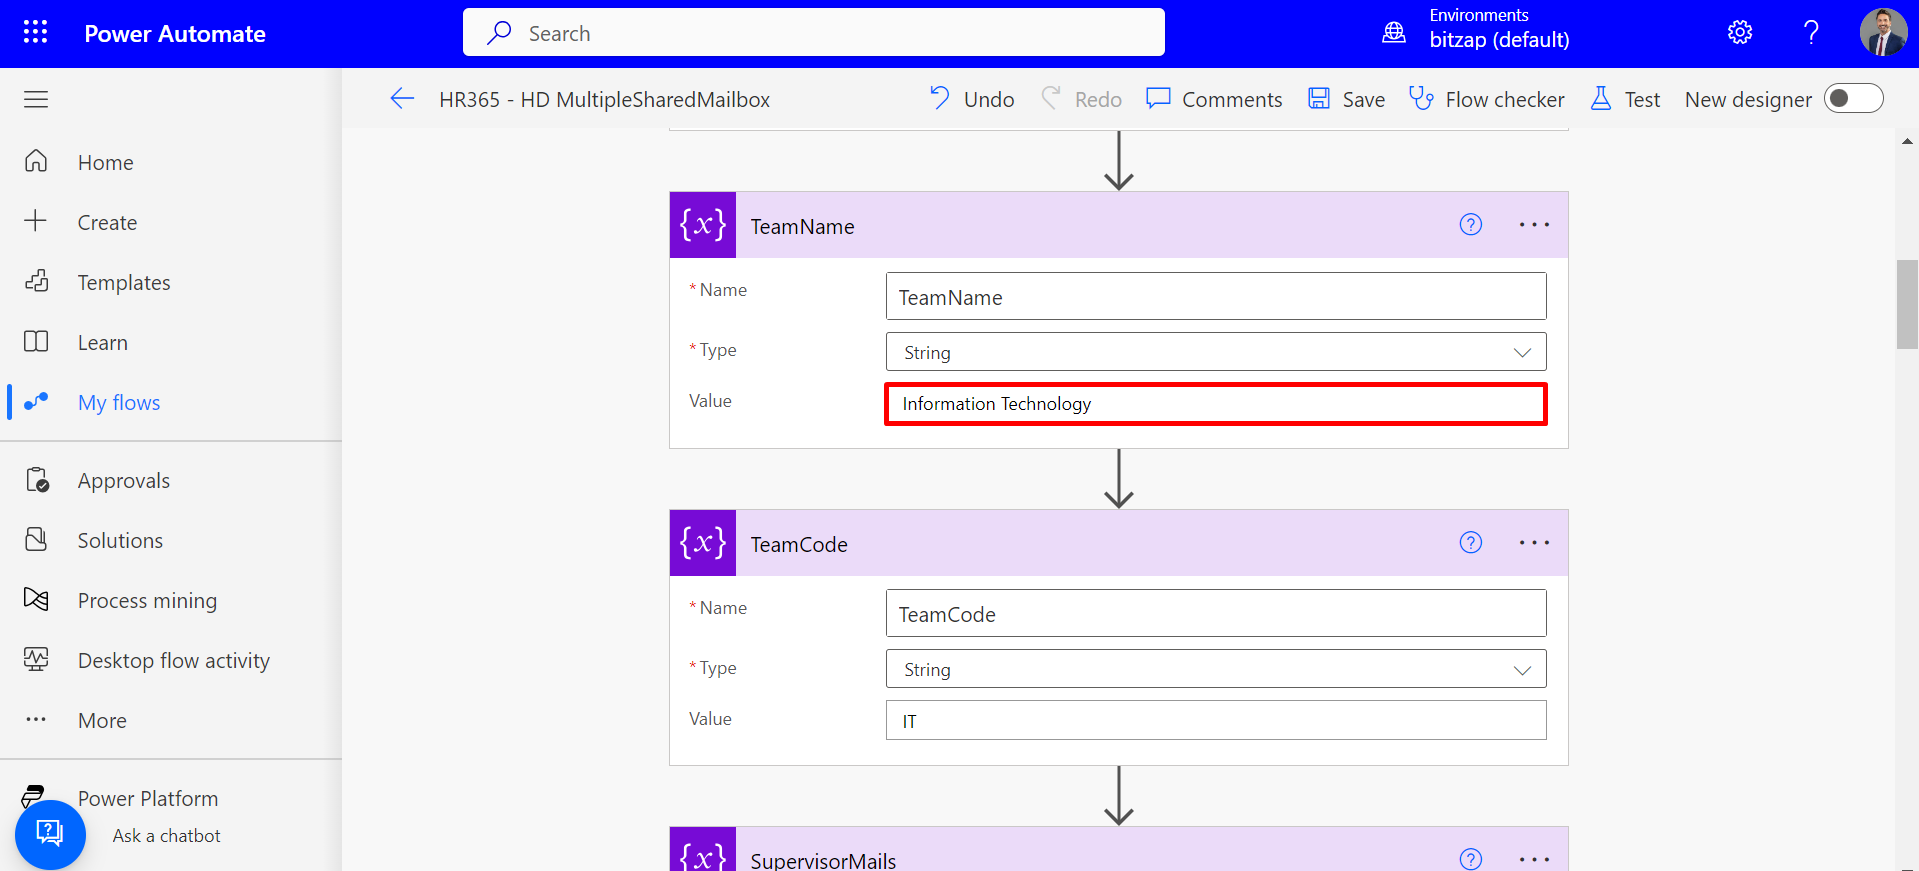
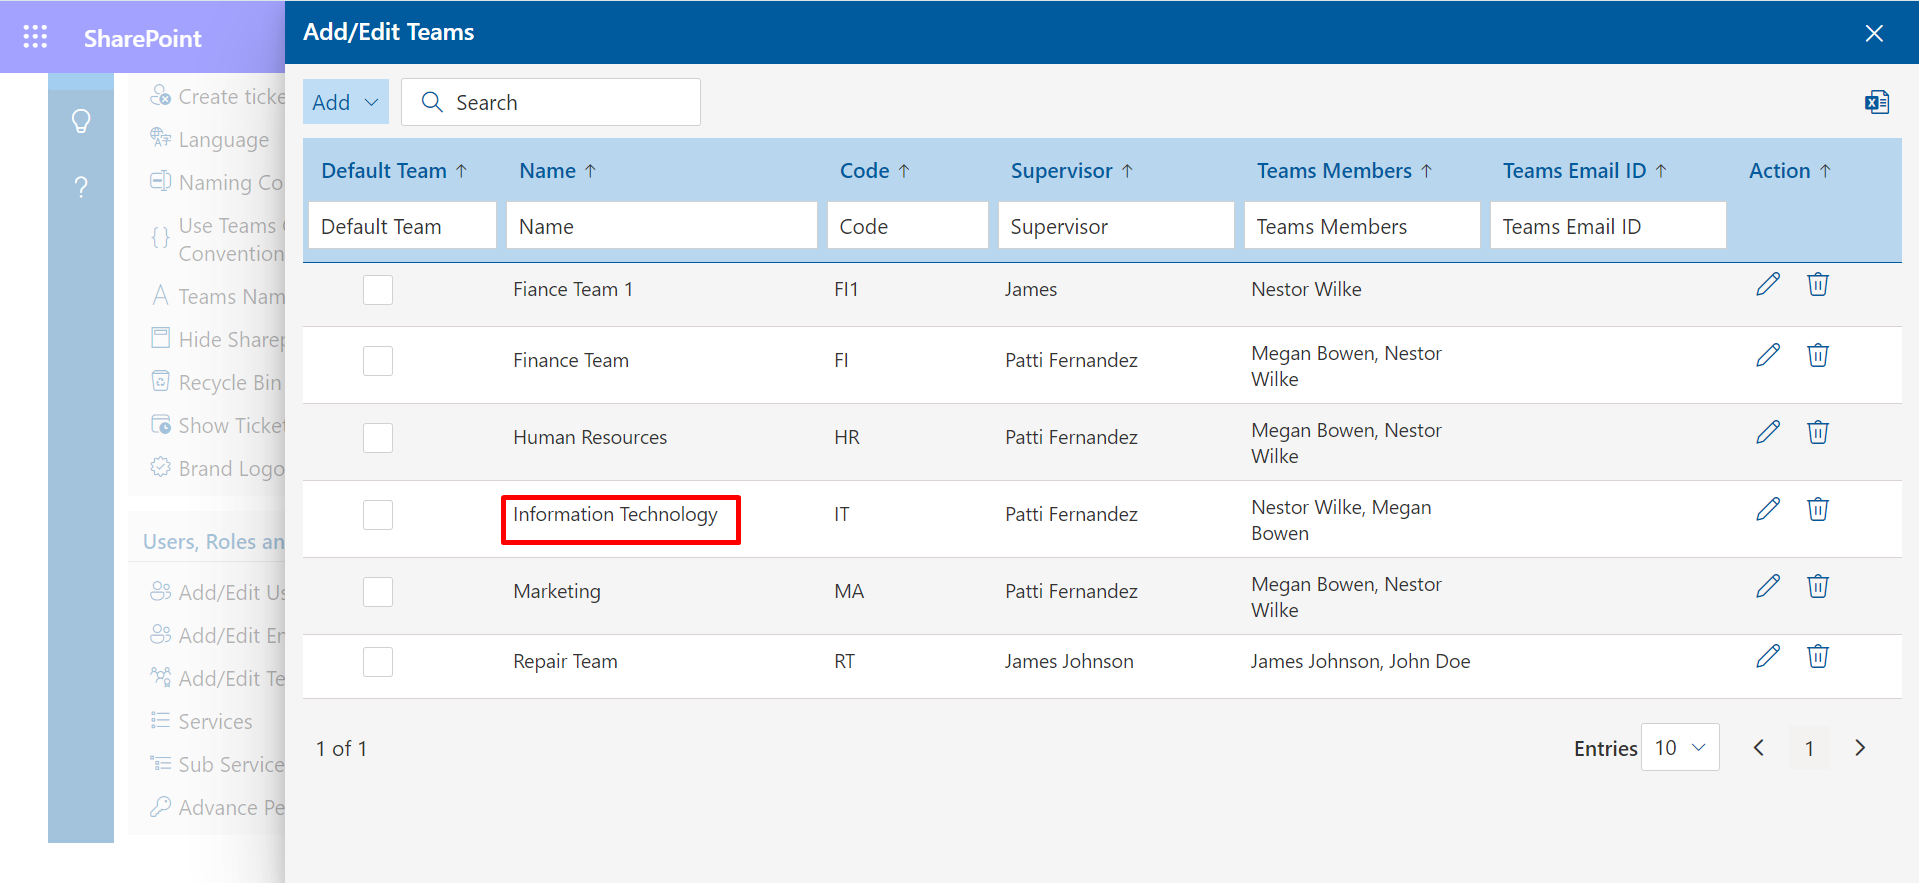
- Input your team's name into the "TeamName" box.
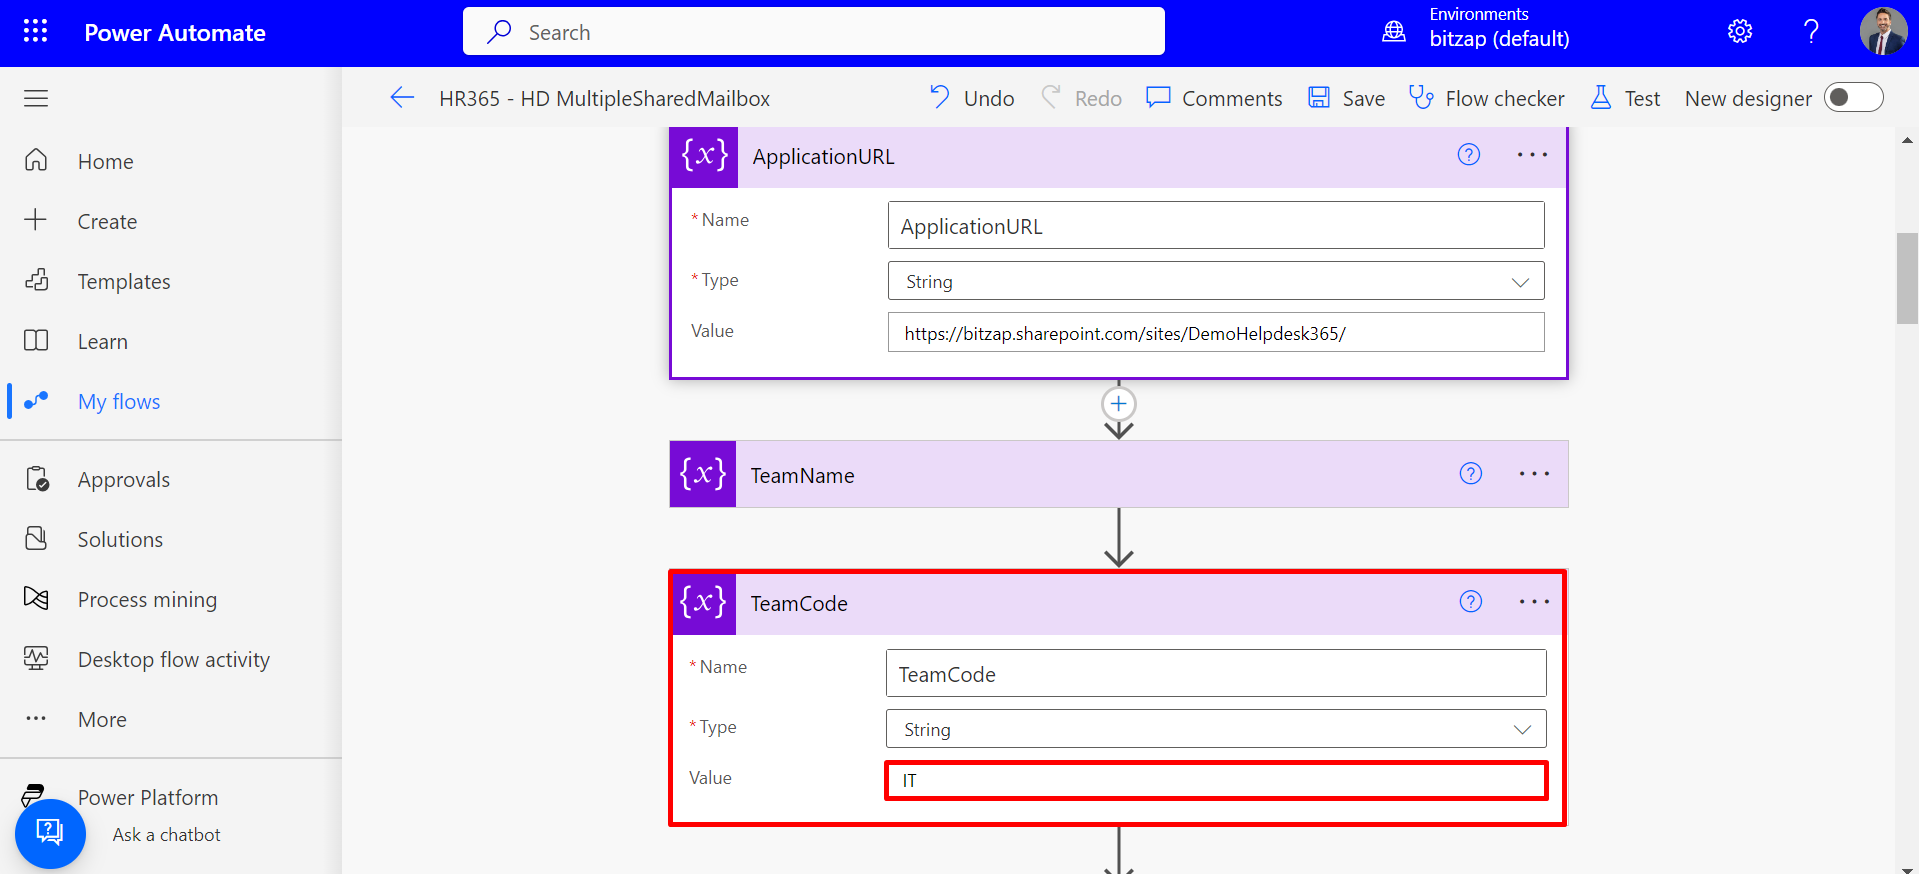
- Enter your team's code into the "TeamCode" box.
- Save the flow.
Steps to Configure Power Automate Flow:


Kindly perform the above-mentioned steps for each of the teams listed within your Helpdesk application. After completing these configurations, you can proceed to test the setup by sending an email to the designated shared mailbox ID.
NOTE:- You are limited to configuring a single flow for each team. To accommodate multiple teams, please import and configure the same flow as needed for the desired number of teams.