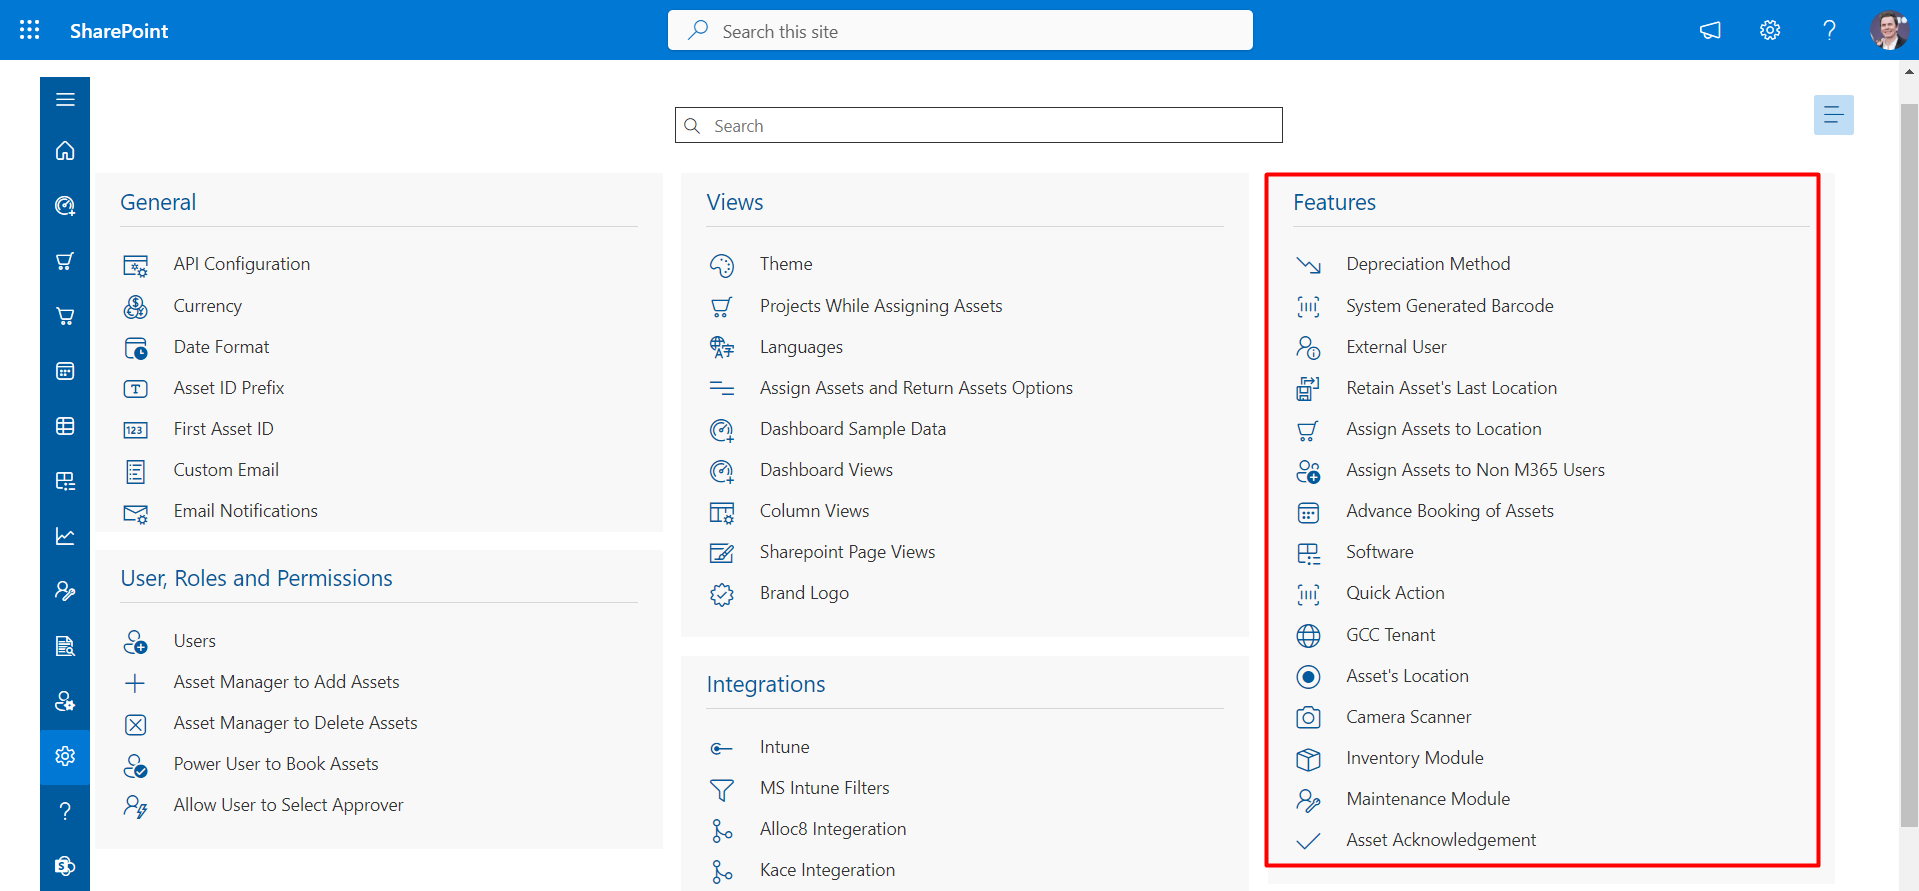
Features
From here you can customize the features of AM application.
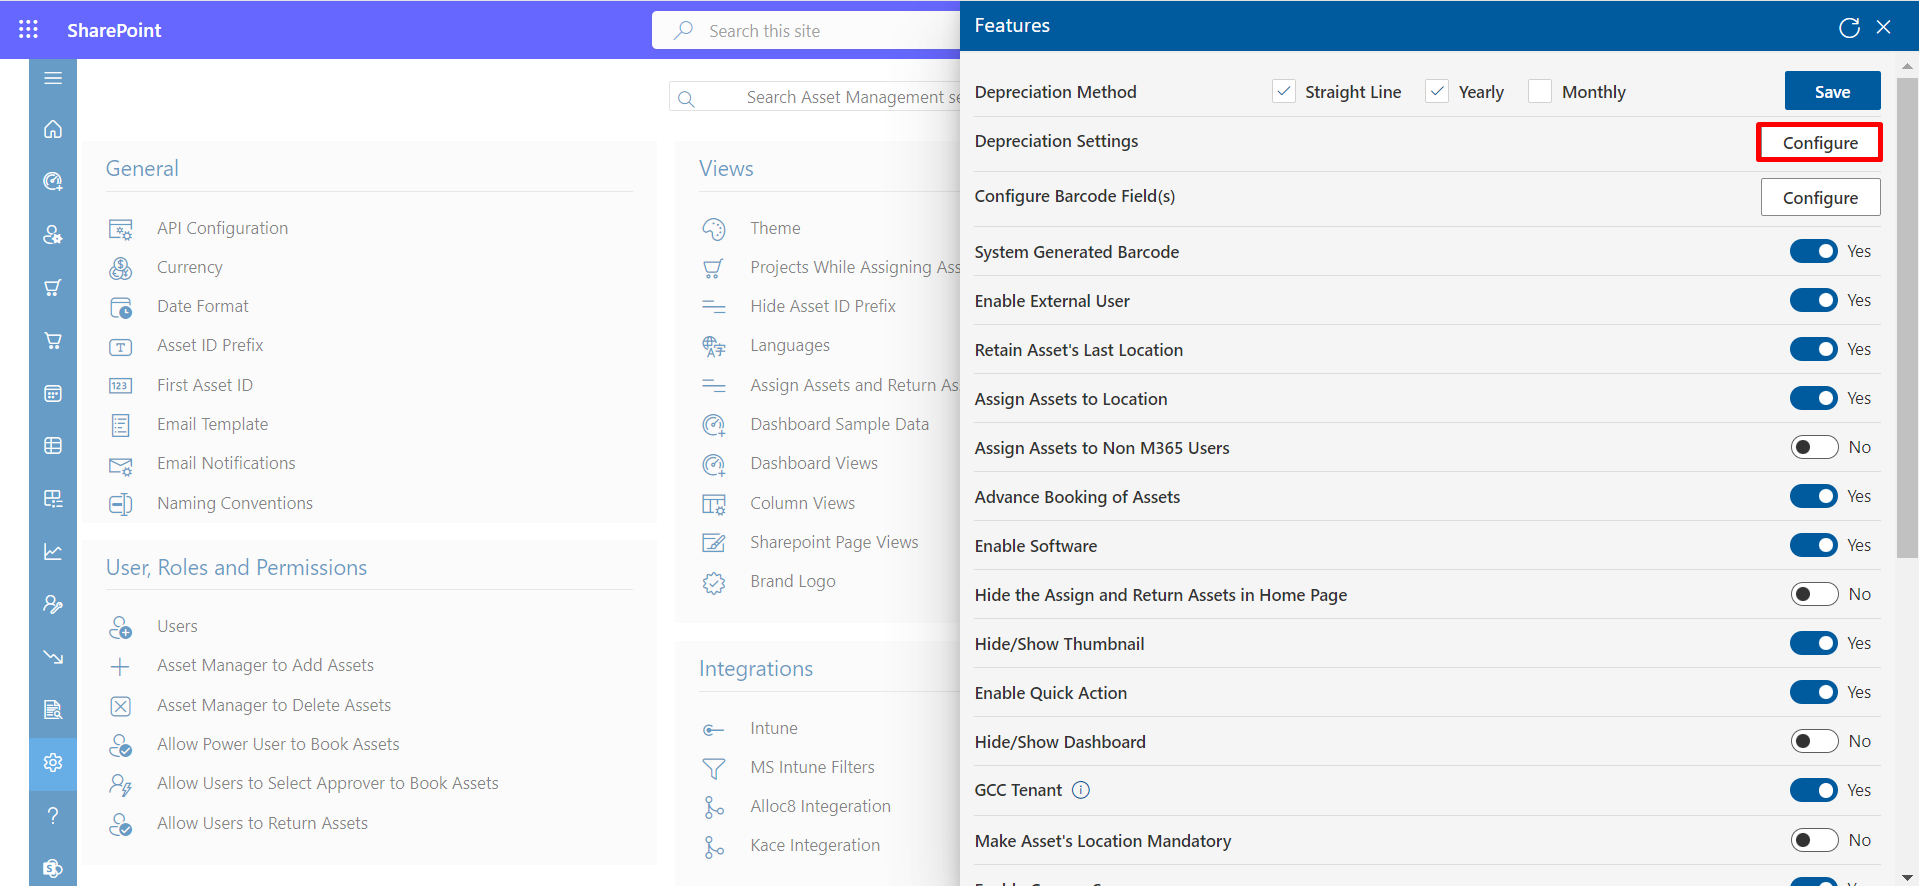
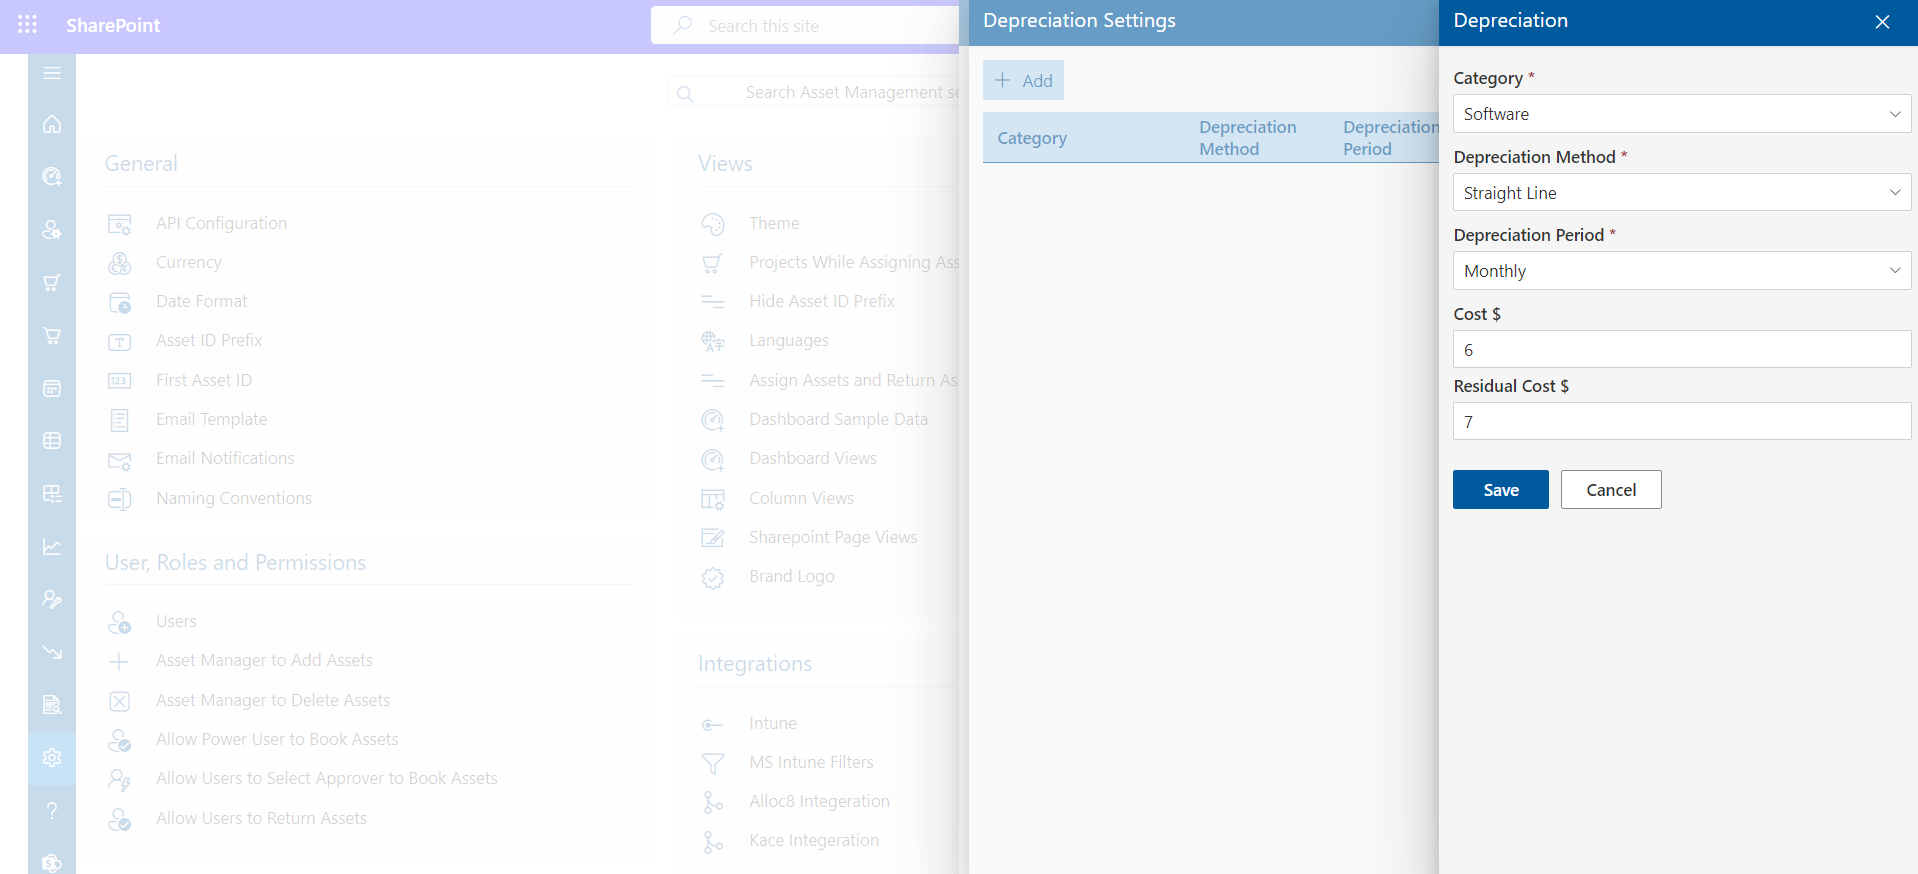
Depreciation Settings
To Add Depreciation Settings Click on Configure.
Click ok Add Button.
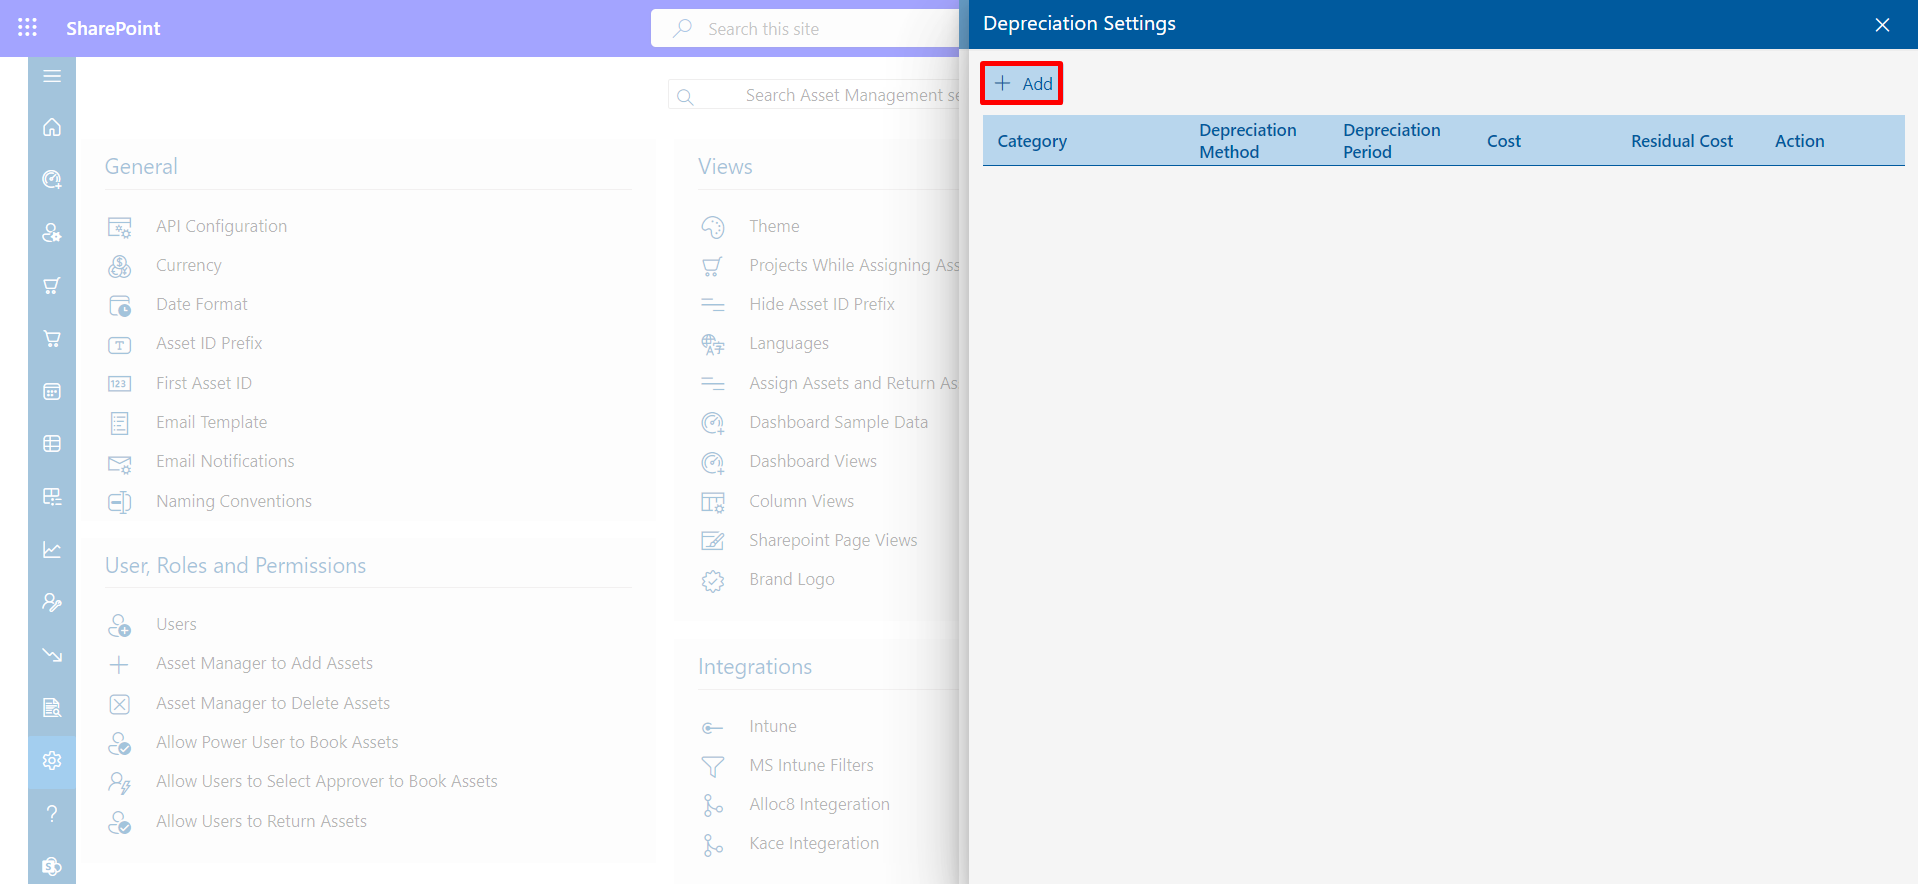
Complete the columns and then save your changes by clicking the "Save" button.
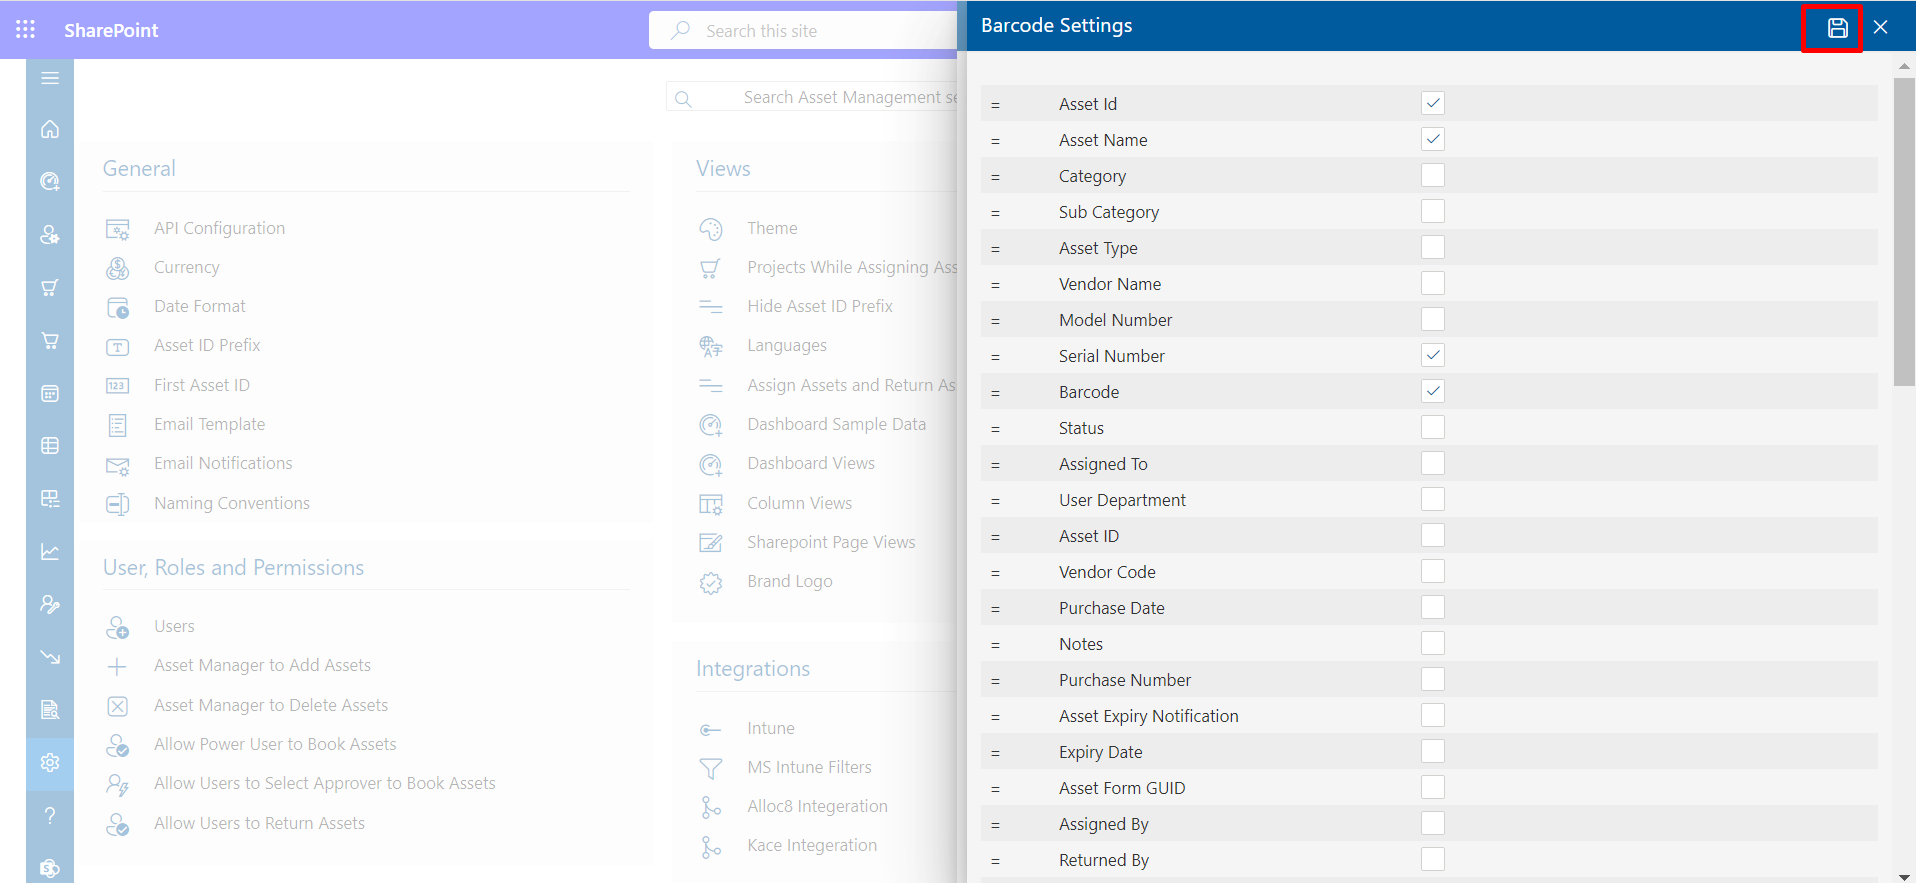
Configure Barcode Field(s)
Here You can add Configure-Barcode-Field(s).
Click on Configure to process continue.

Select the field and click on Save icon.
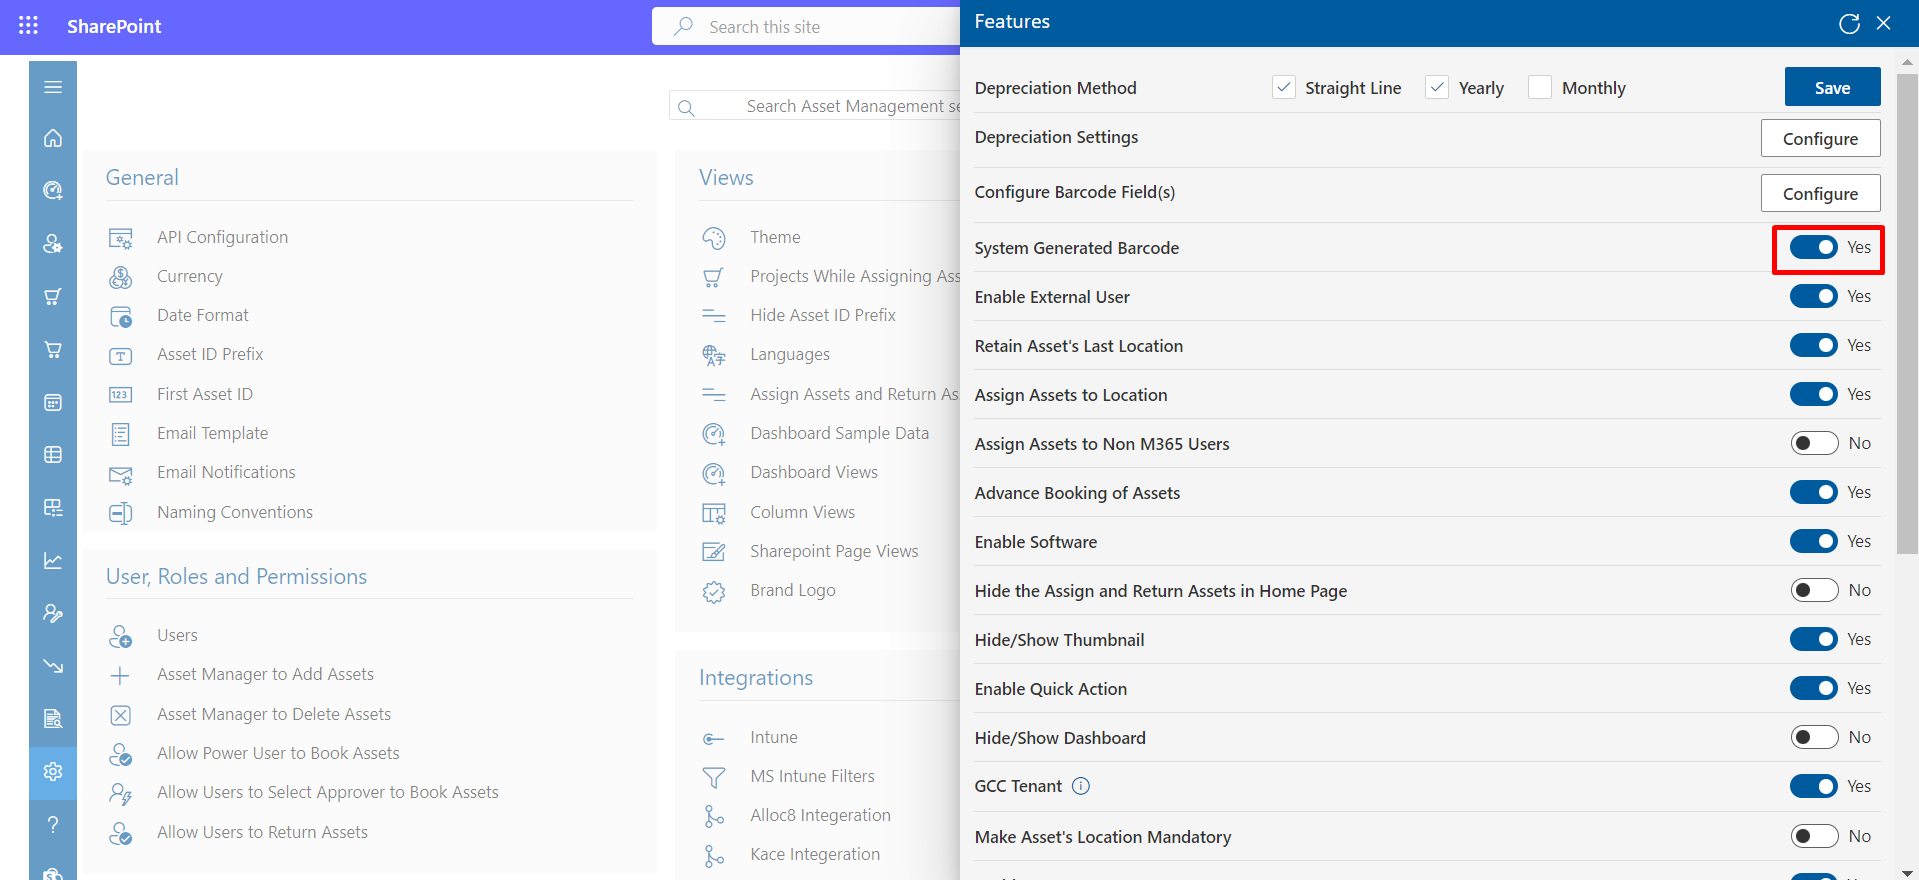
System Generated Barcode
If this is enabled, barcode generate automatically upon adding assets.
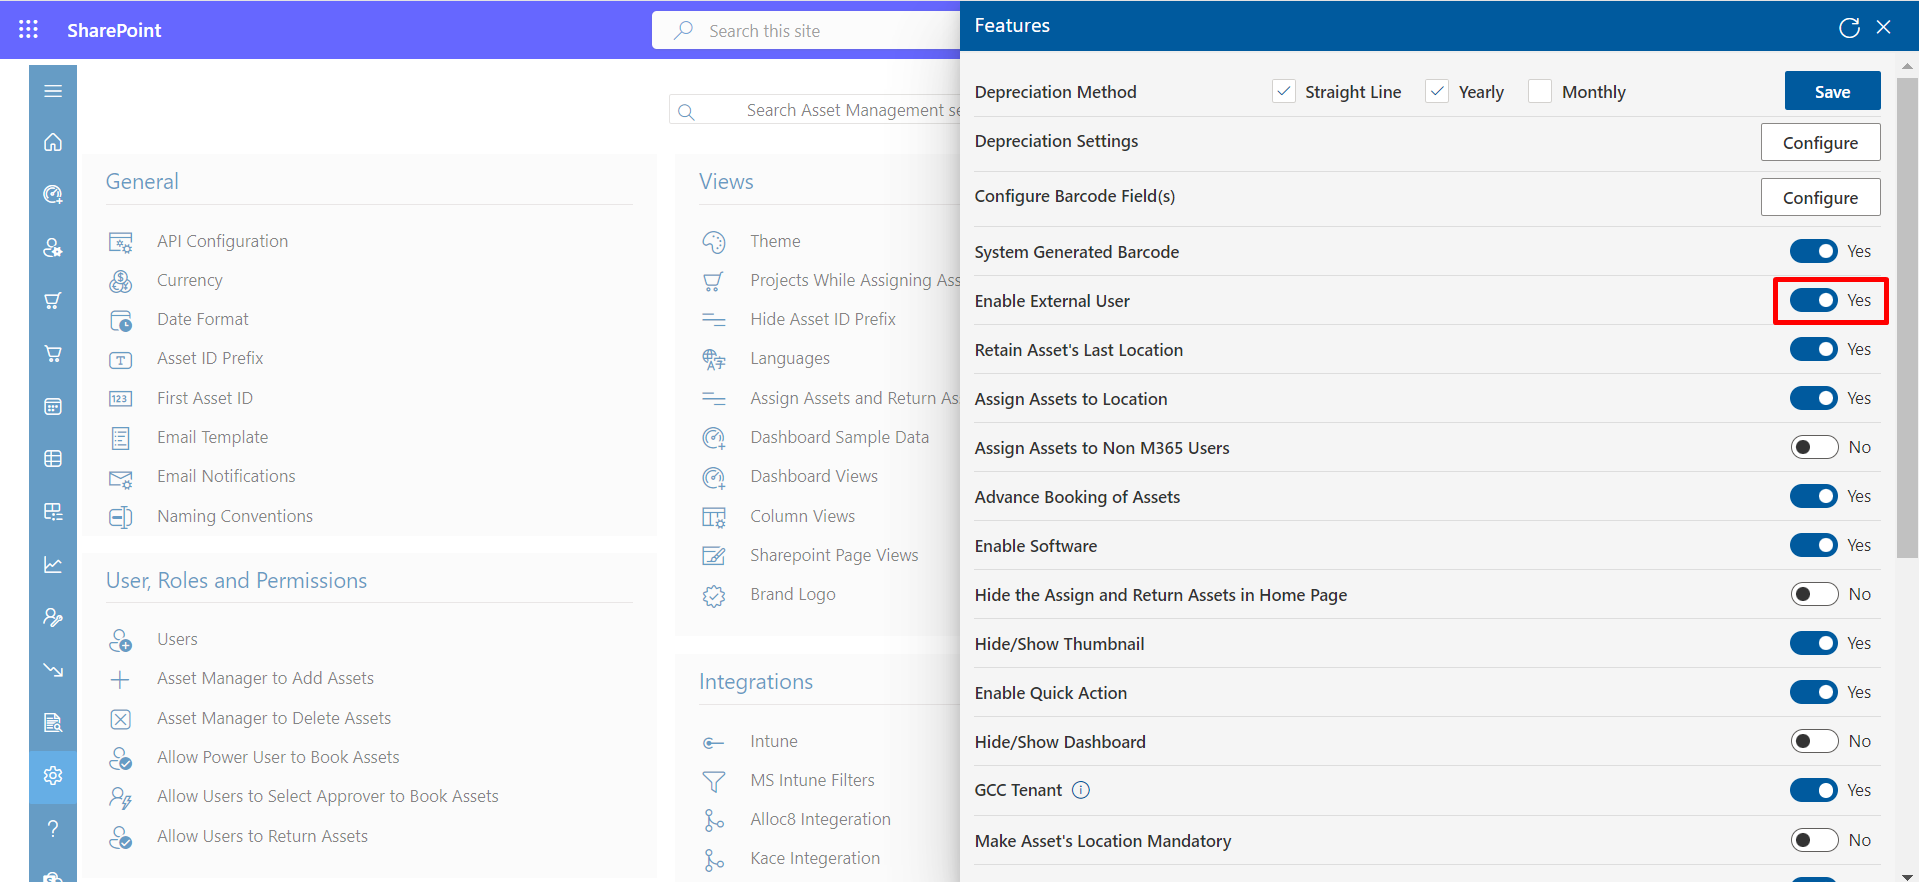
External User
If you enabled it, you could add external user's or guest user's in the application and can assign them assets.
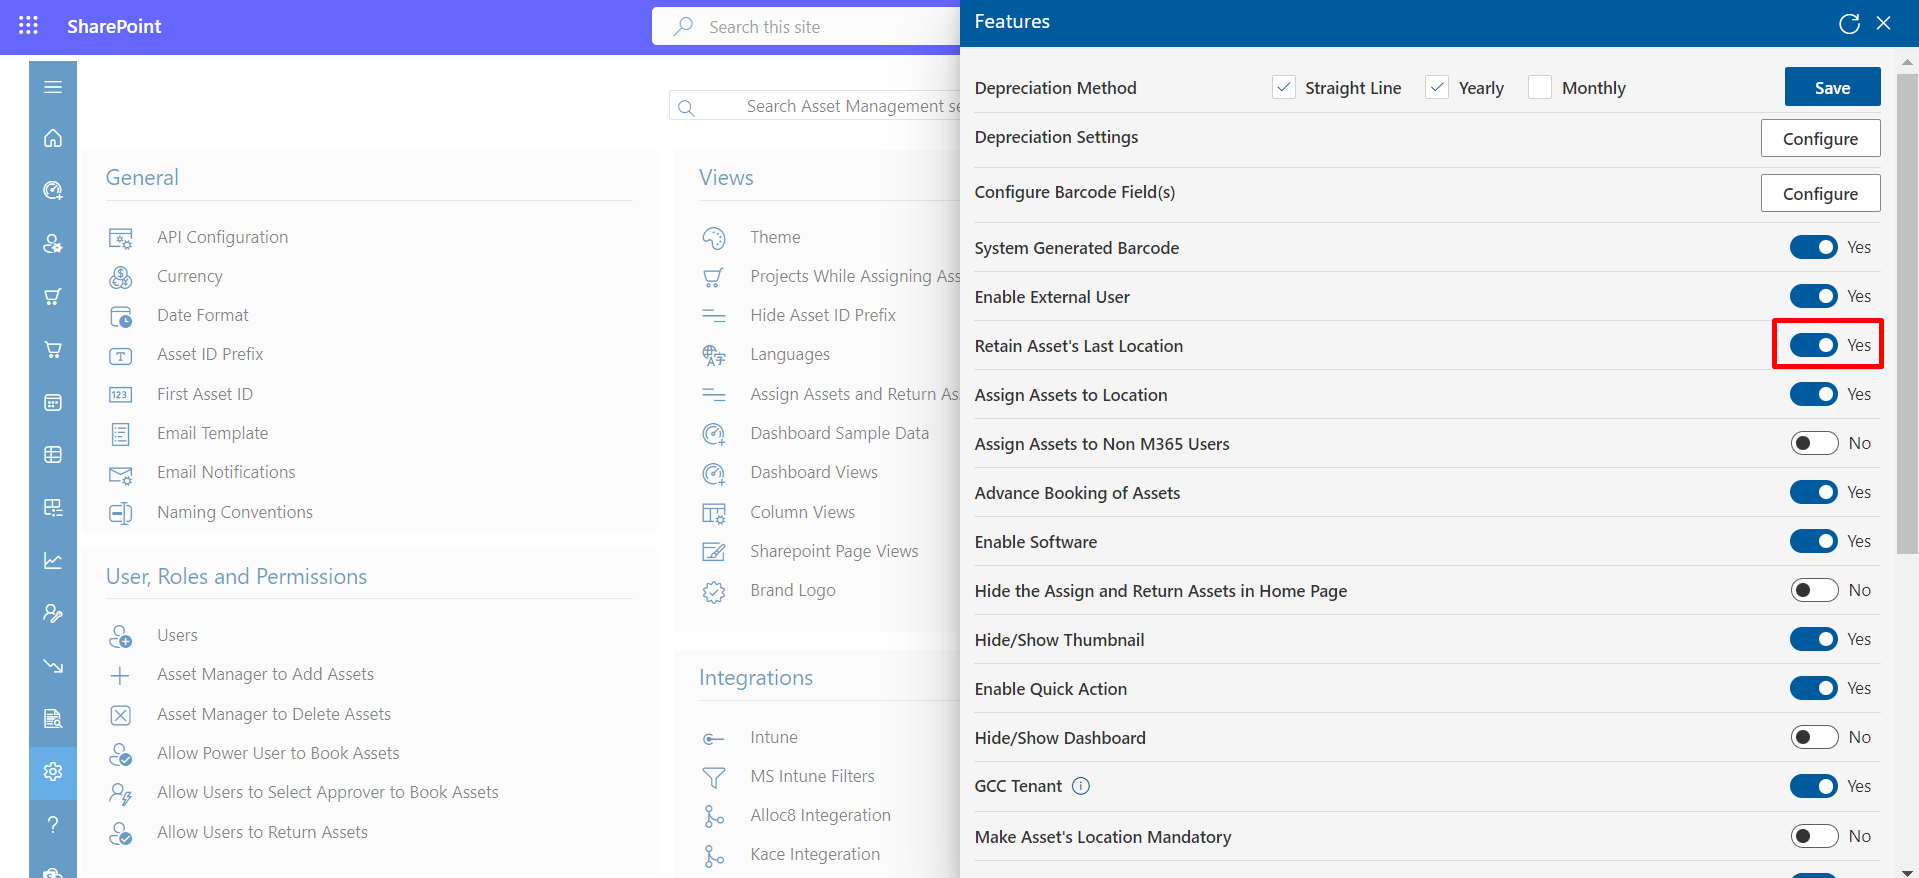
Retain Asset's Last Location
Upon enabling this feature, the user’s location would retain on available assets after returning the assets. You can see retained location in user location field of the assets.
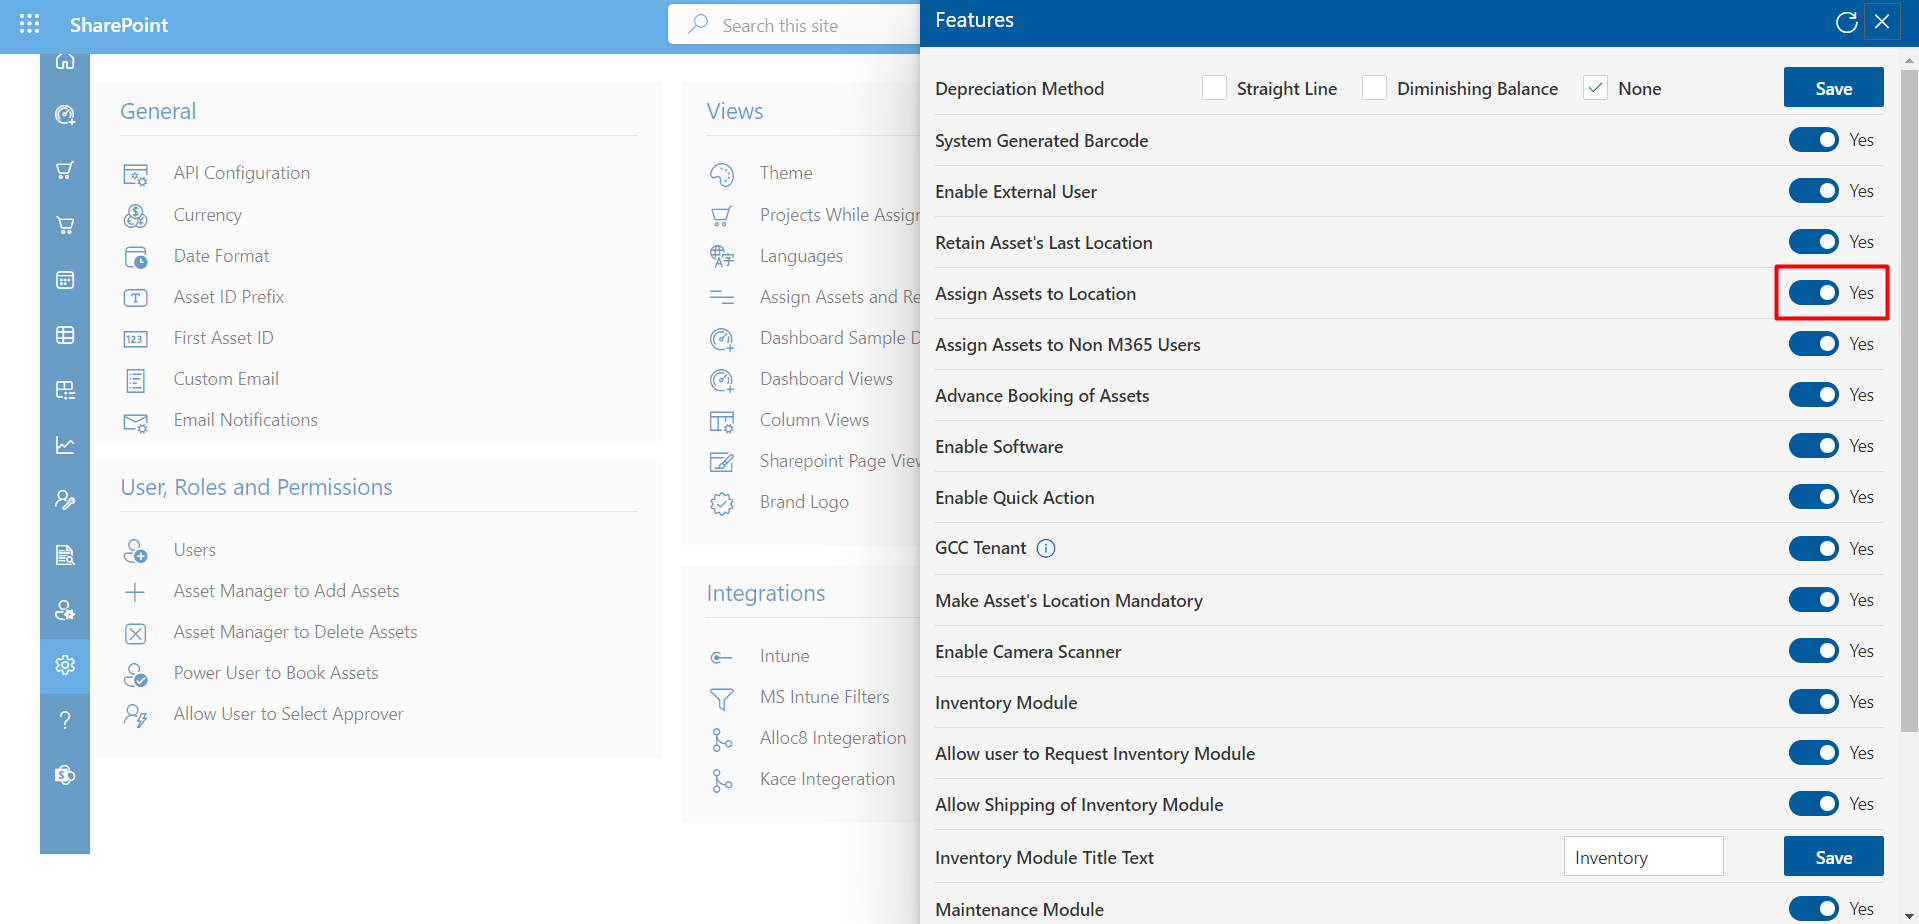
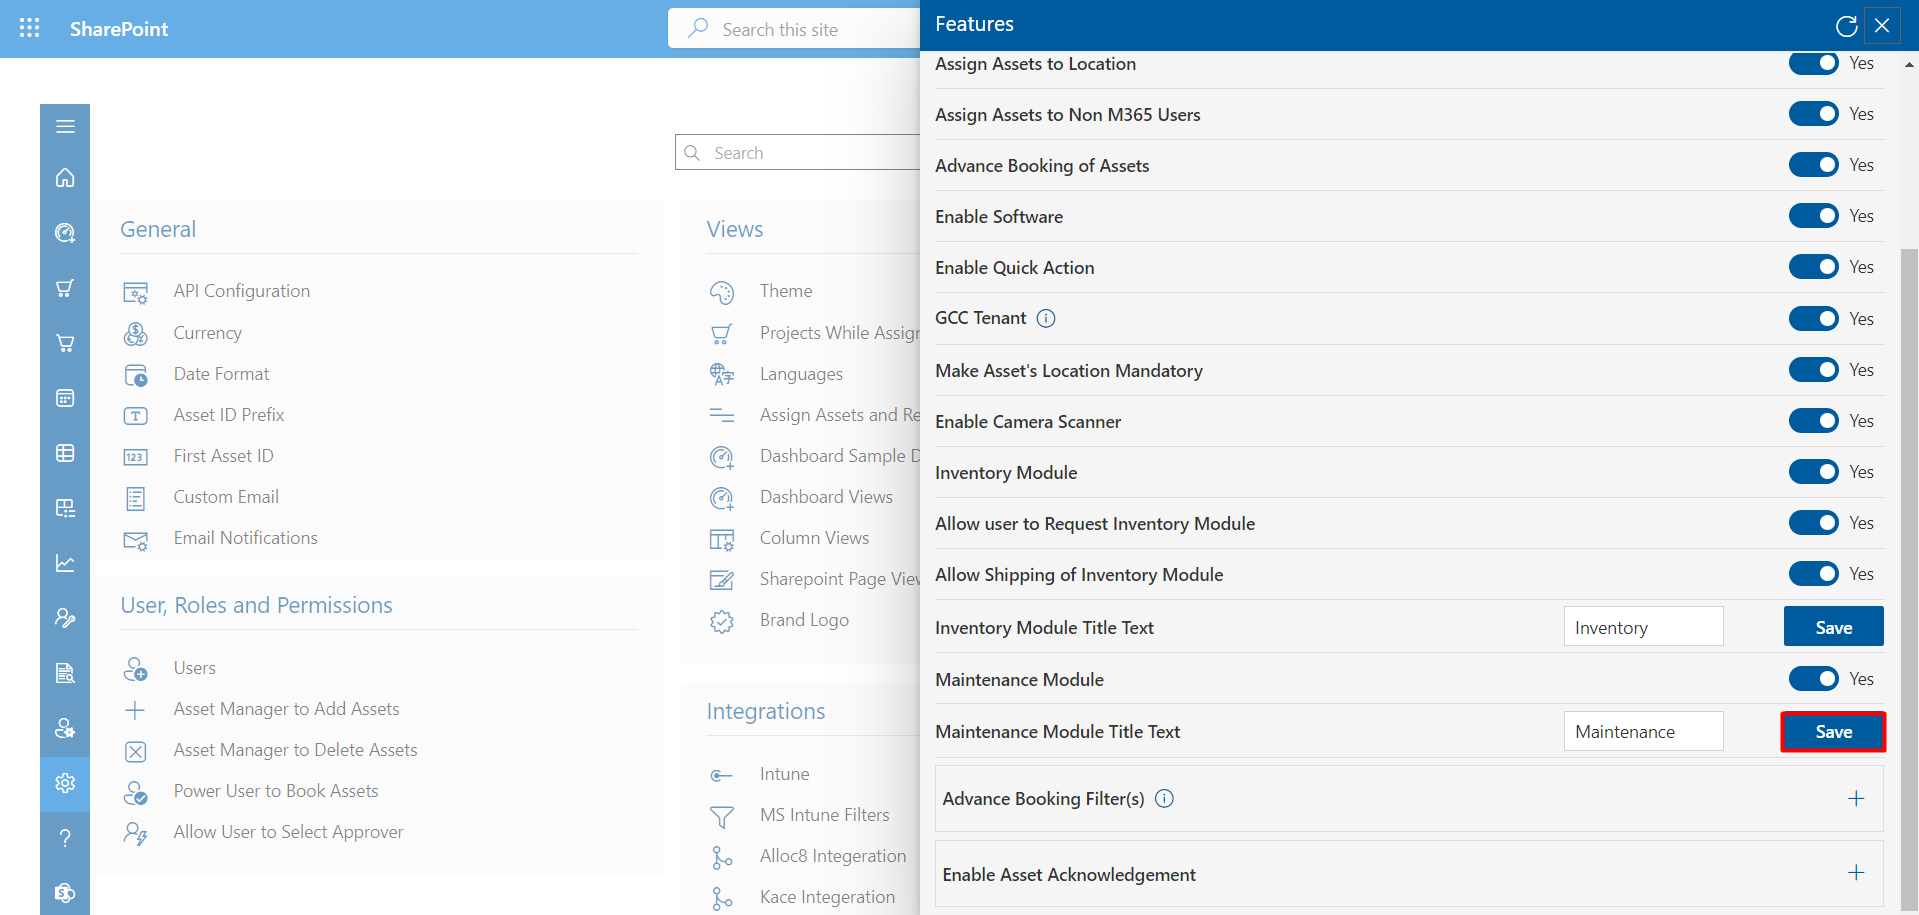
Assign Assets to Location
If this is enabled, location option will display while assigning assets in pop up, from where you can assign assets to the location.
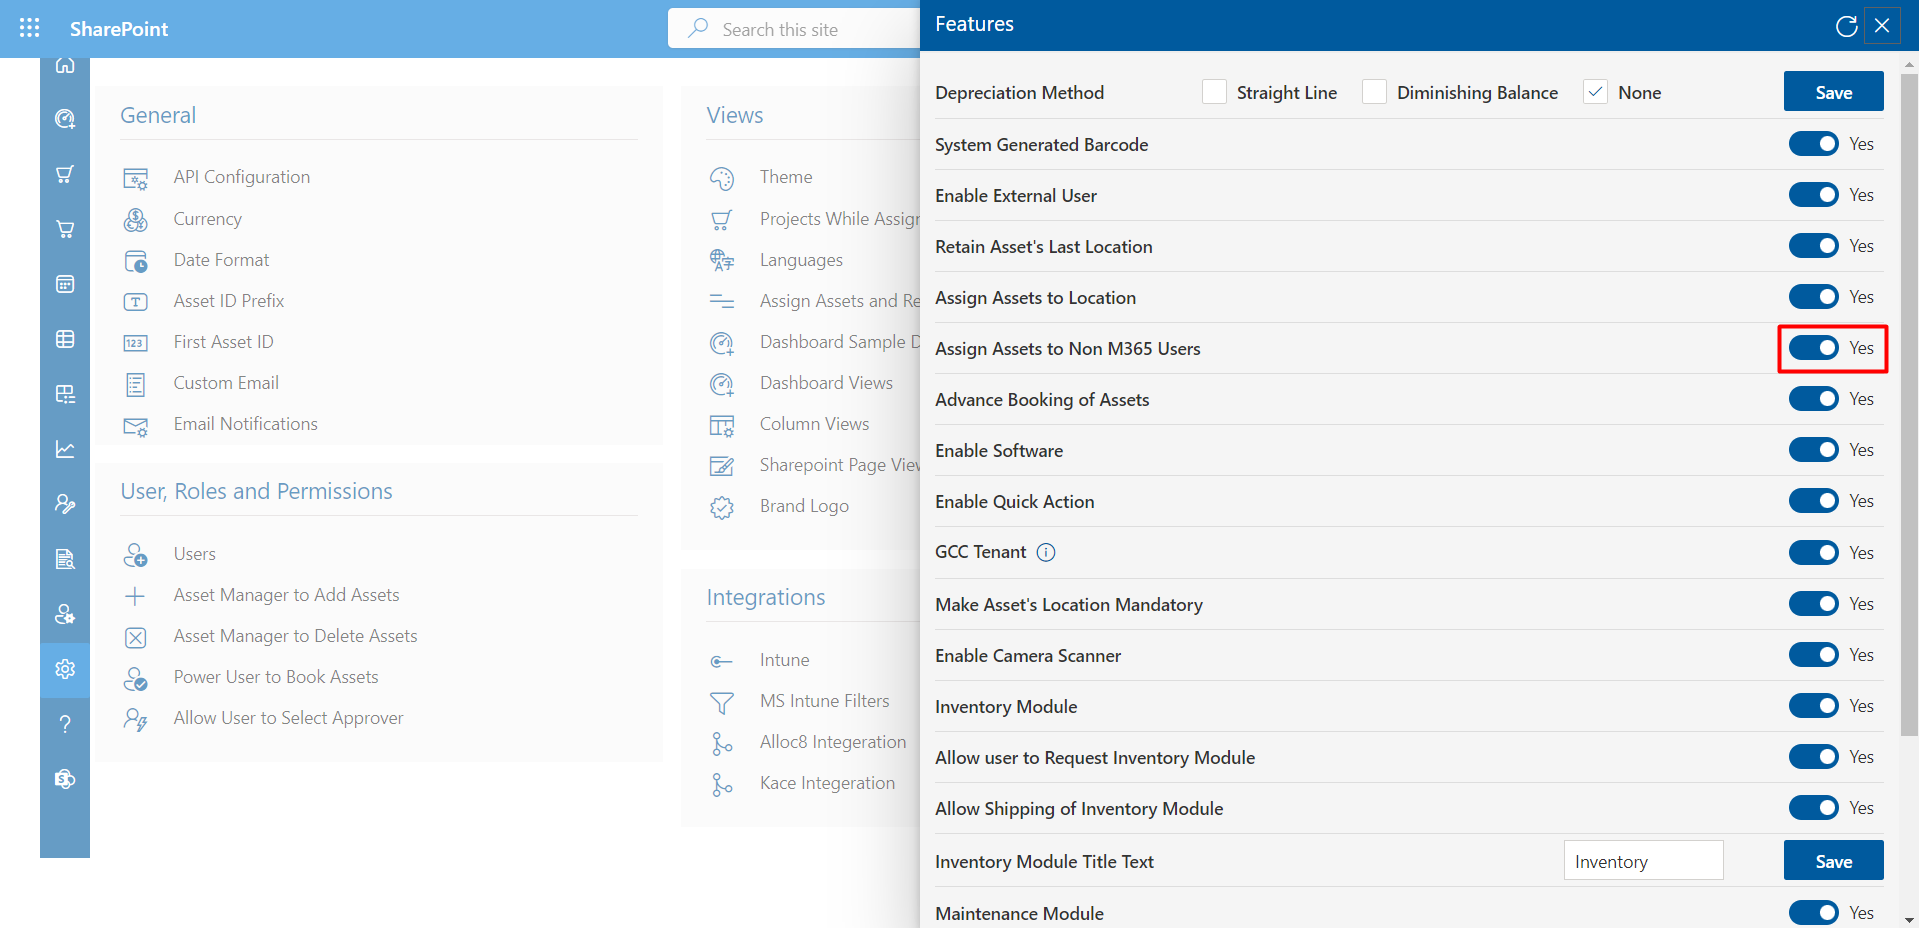
Assign Assets to Non M365 Users
If this is enabled, assign assets to non M365 user's option will display while assigning assets in pop up, from where you can assign assets to non O365.
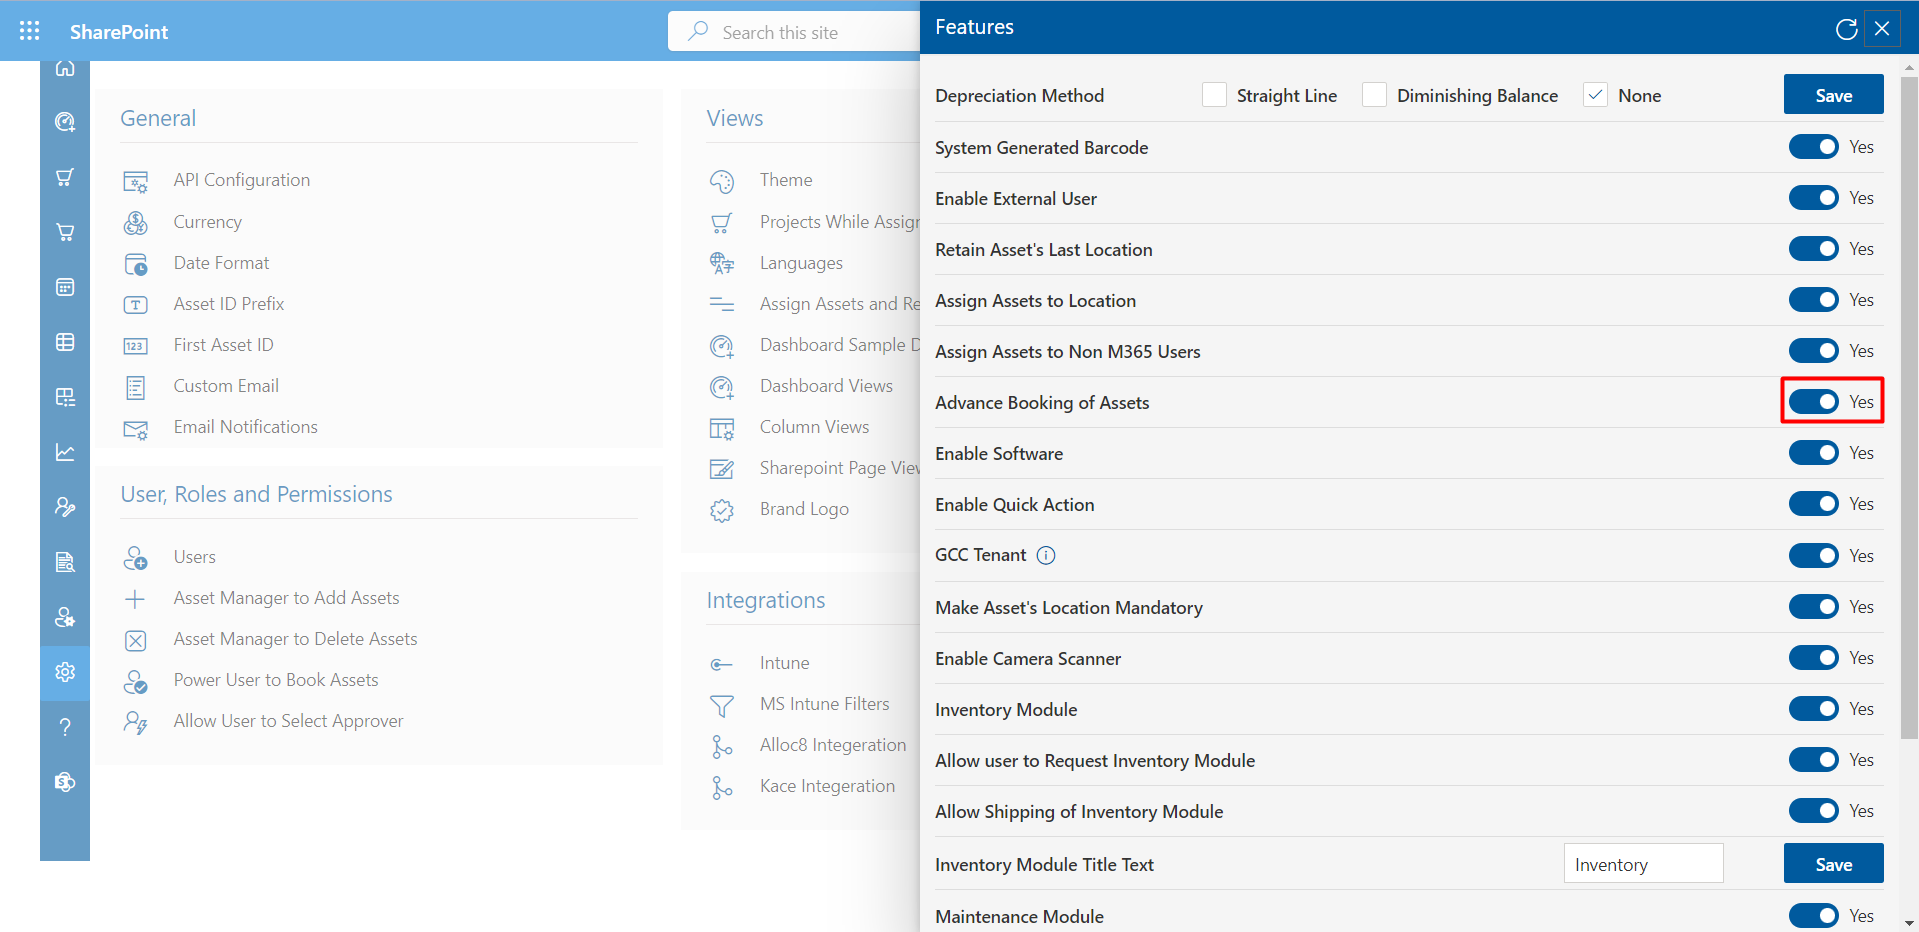
Advance Booking of Assets
If you disable this Assets Advance Booking feature it would be disabled from the application.
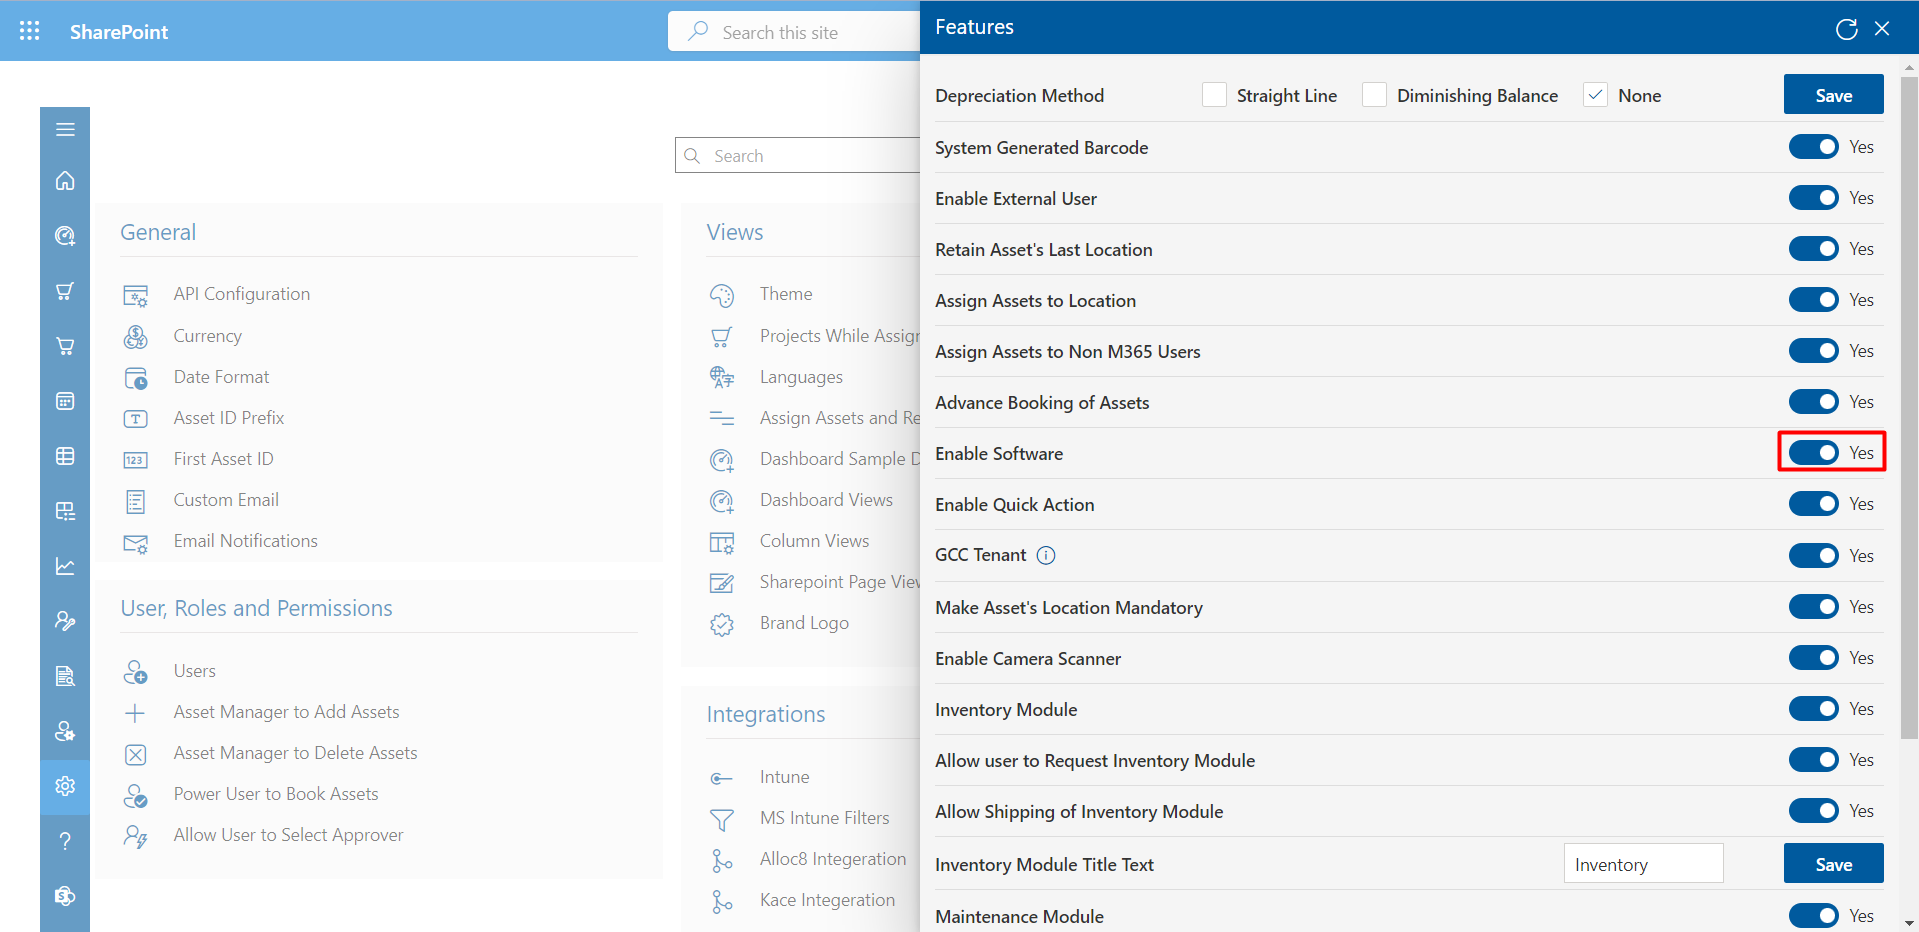
Enable Software
If this is enabled, software tabs on home page will display, one tab is used to sync O365 license ,and the other is used to add software manually along with assigning the asset to the users.
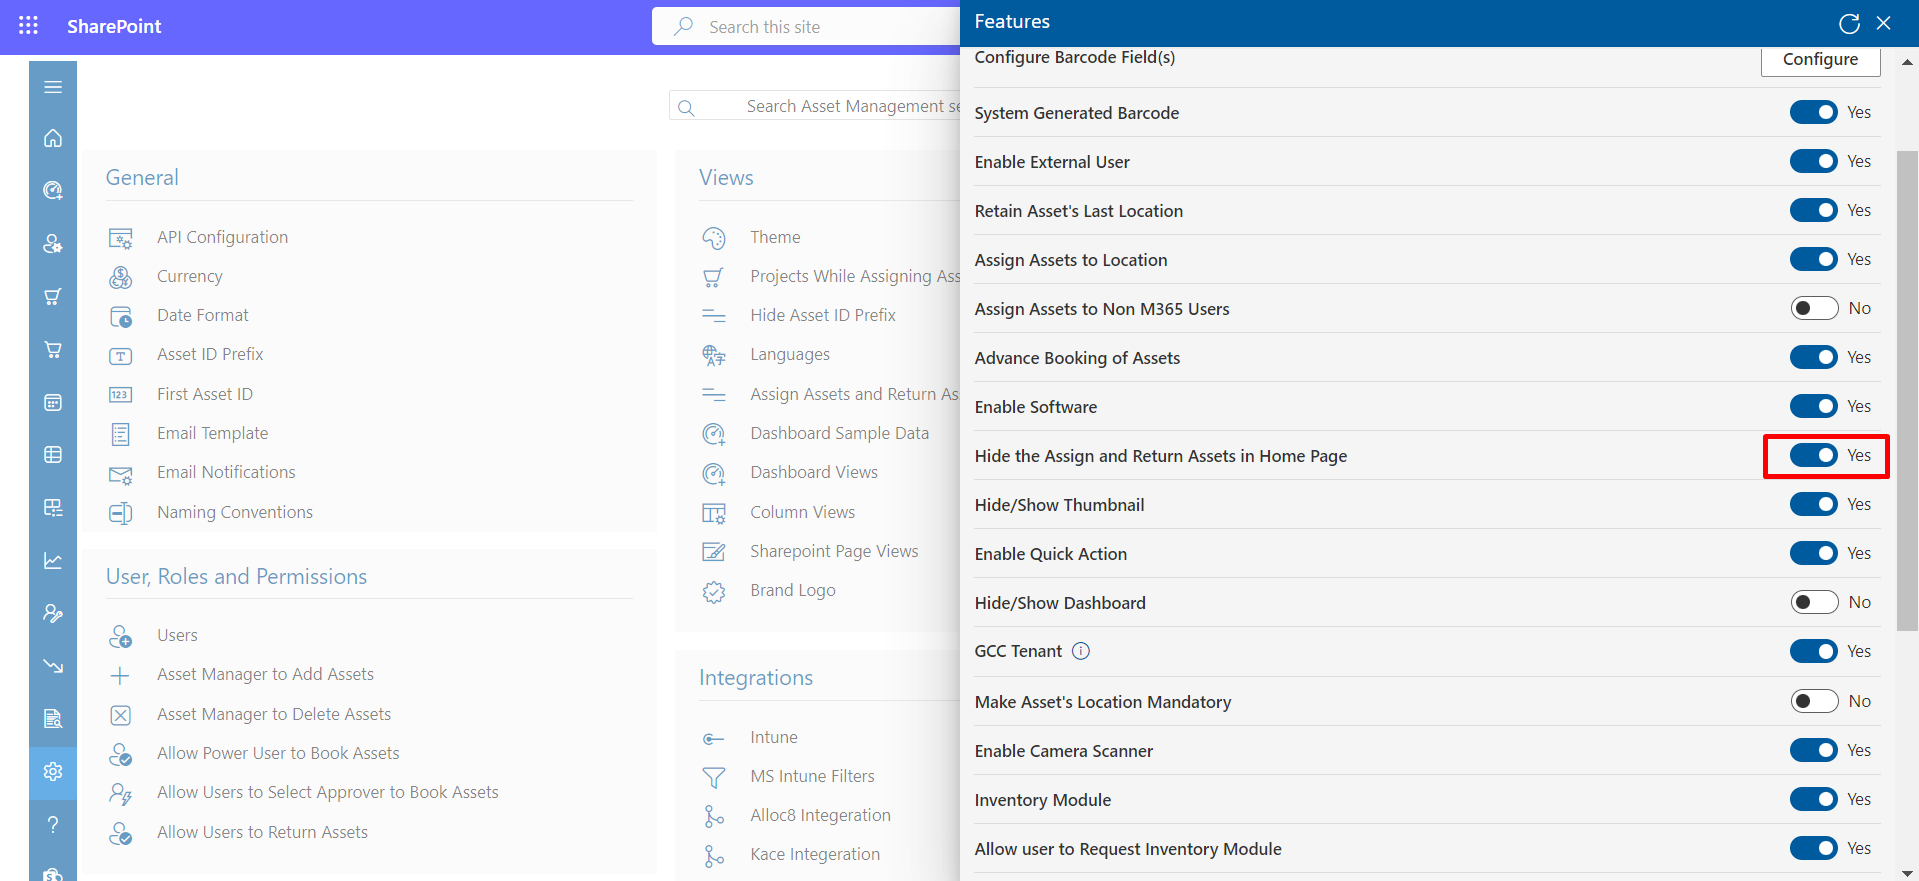
Hide the Assign and Return Assets in Home Page
Once you enable this toggle, you can hide the "Assign" and "Return Assets" options on the Home Page.
Hide/Show Thumbnail
Once you enable this toggle, you can hide.Show Thumbnail.

Quick Action
We can track the assets by scanning using a barcode-handled device with the quick action feature
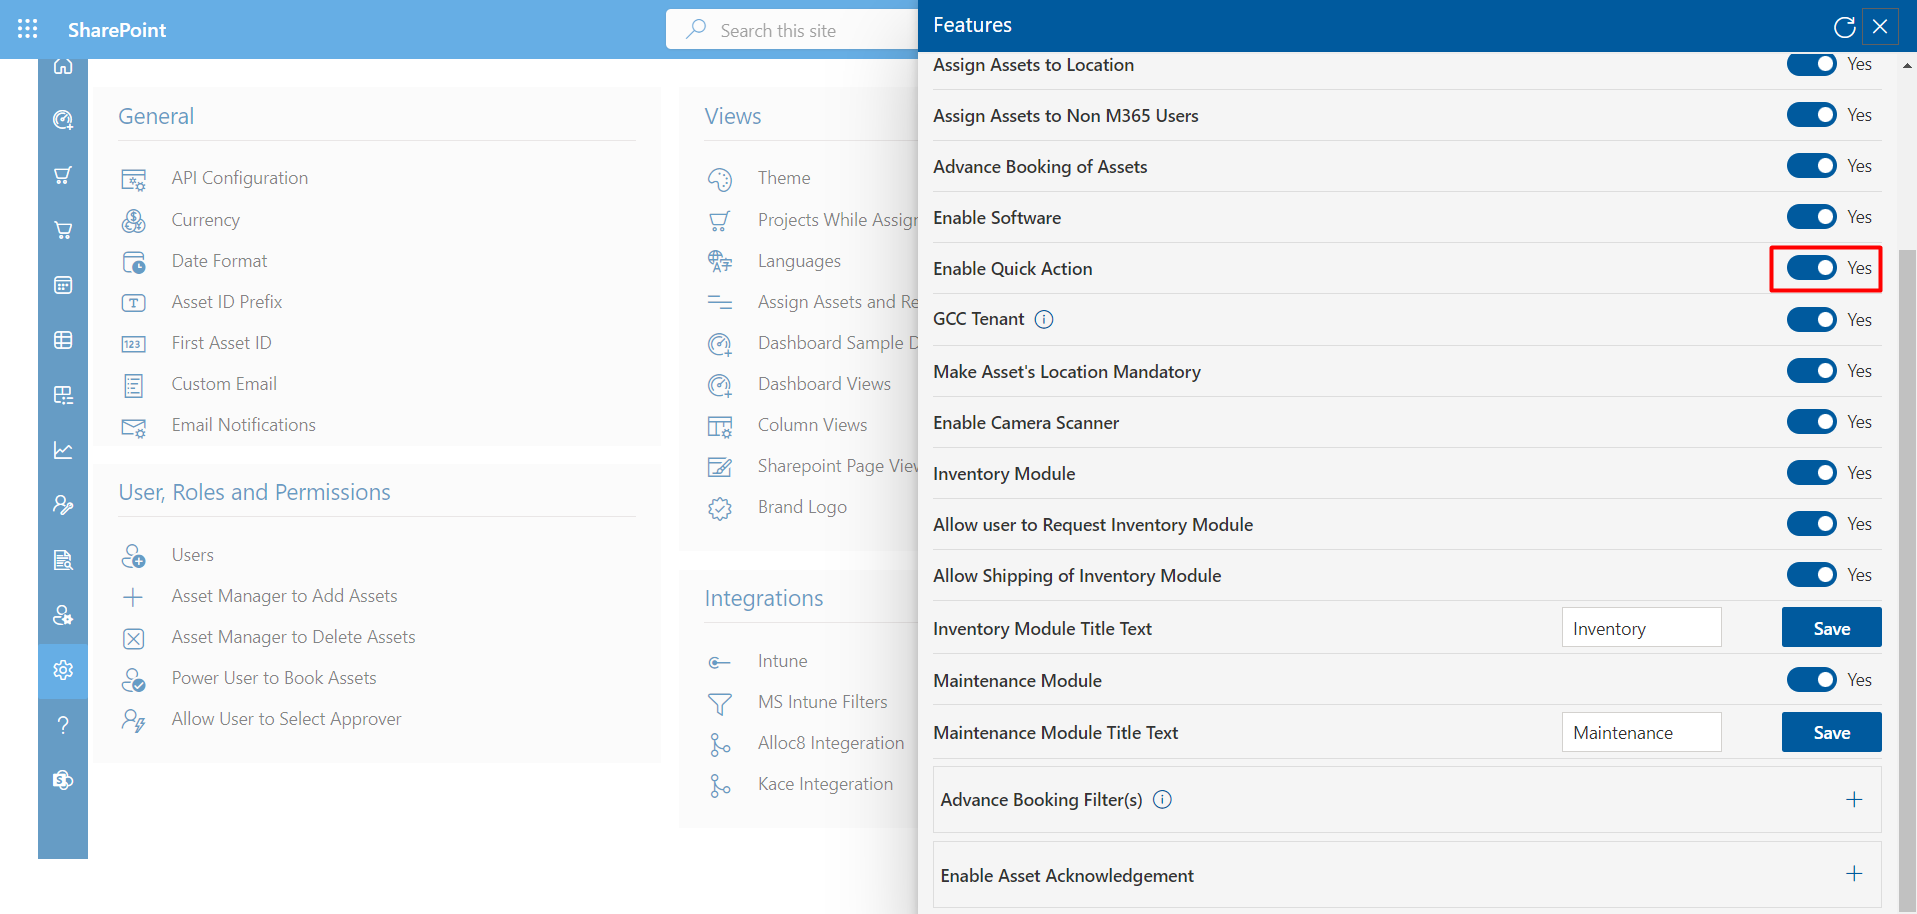
Click the Quick Action tab ,also Assign and Return the asset respectively

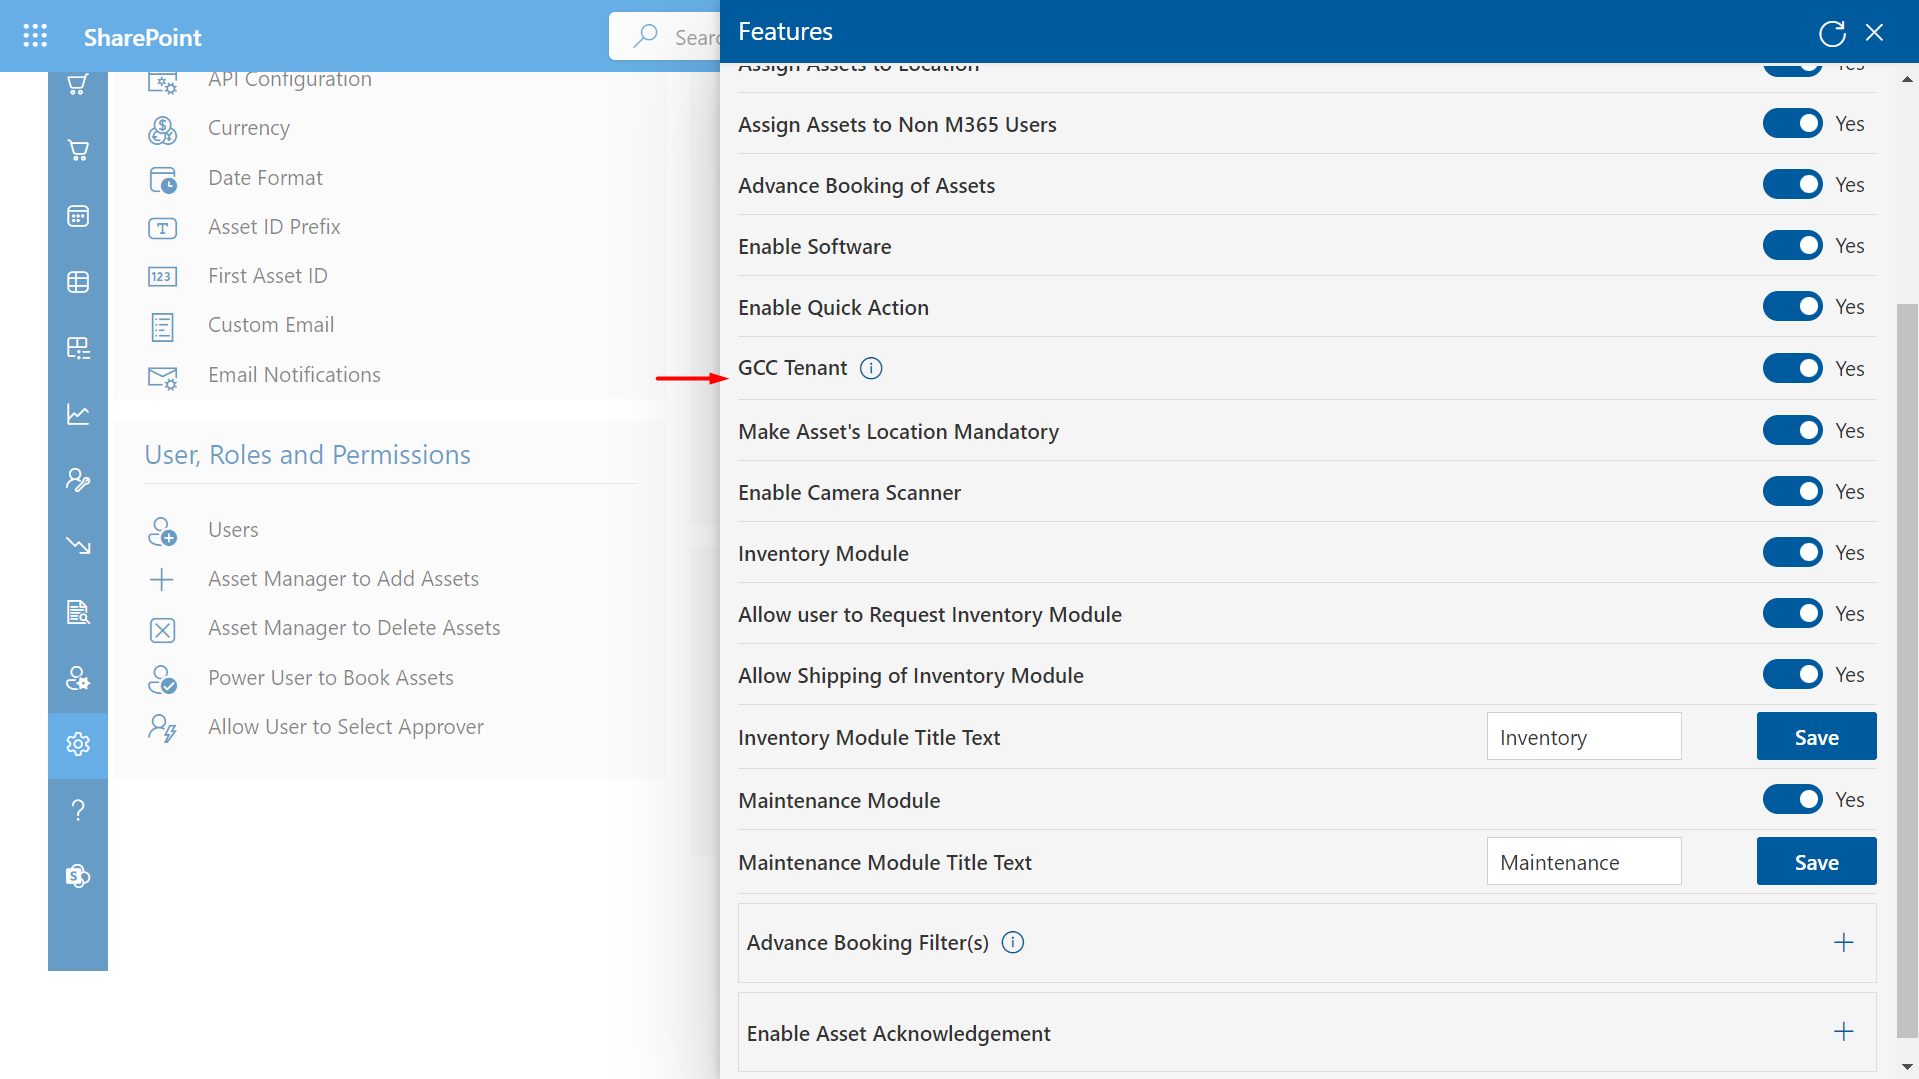
GCC Tenant
If your Microsoft 365 tenant is GCC (US Government Community Cloud), please enable this setting in order to make it work.
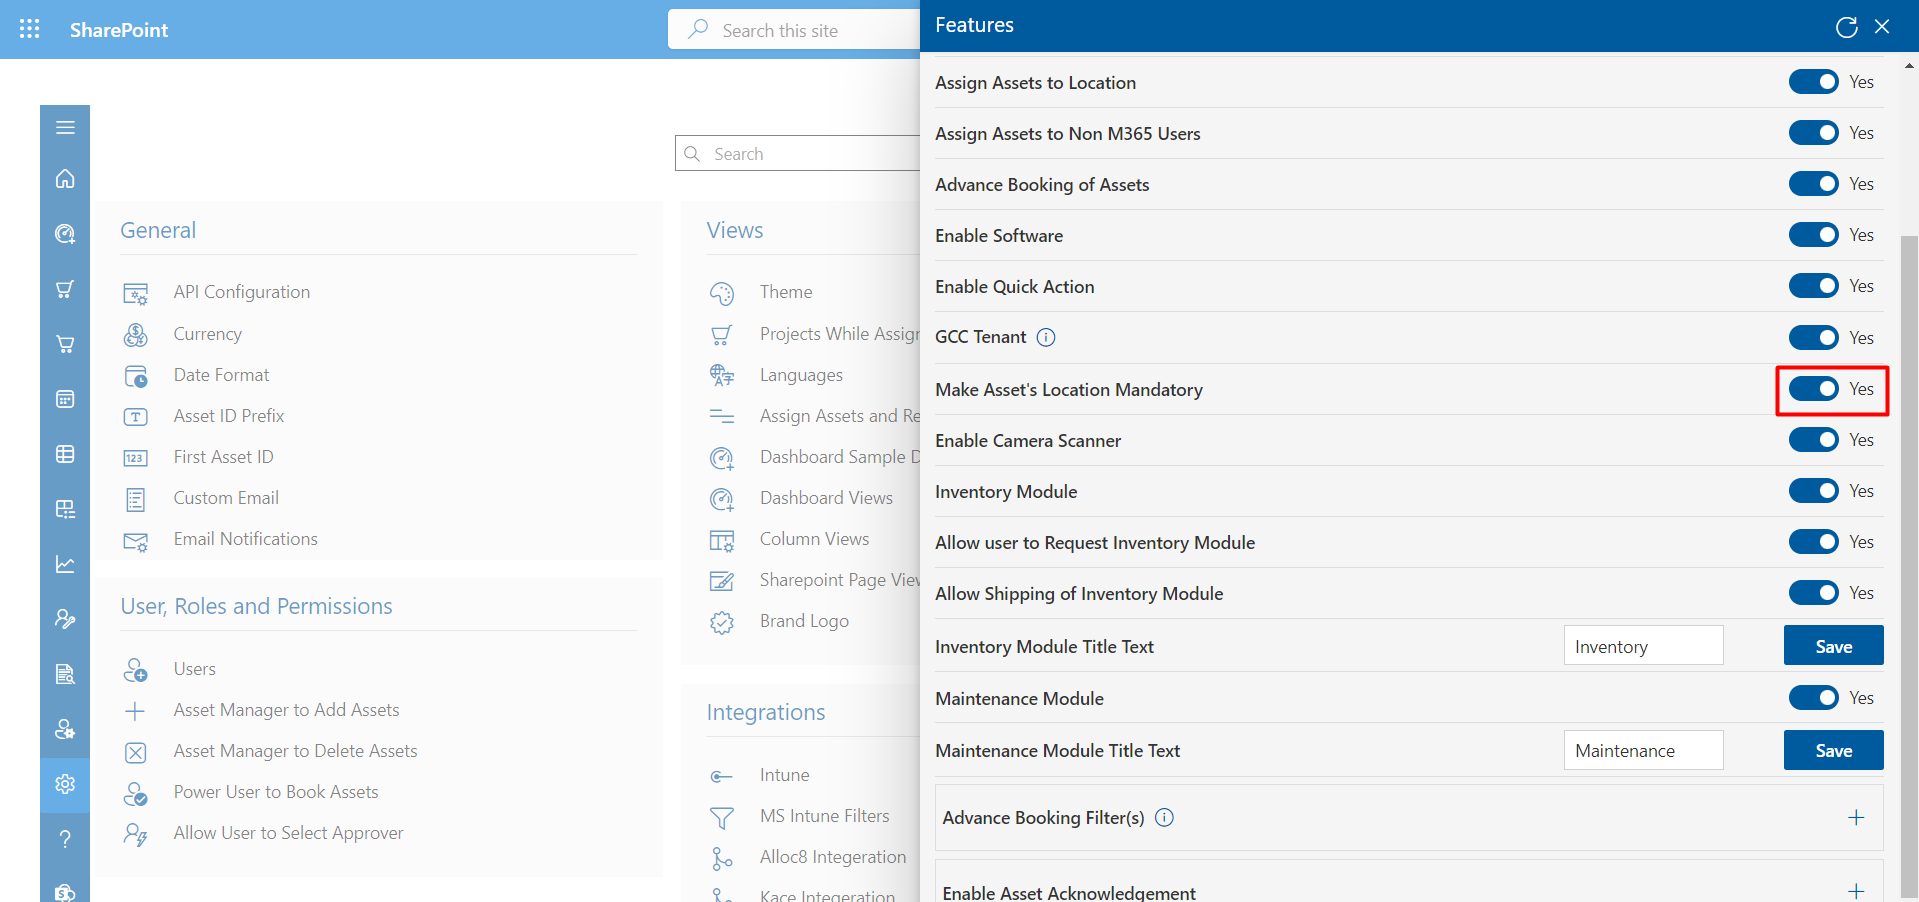
Asset's Location
Enabling this would allow to track the asset location.
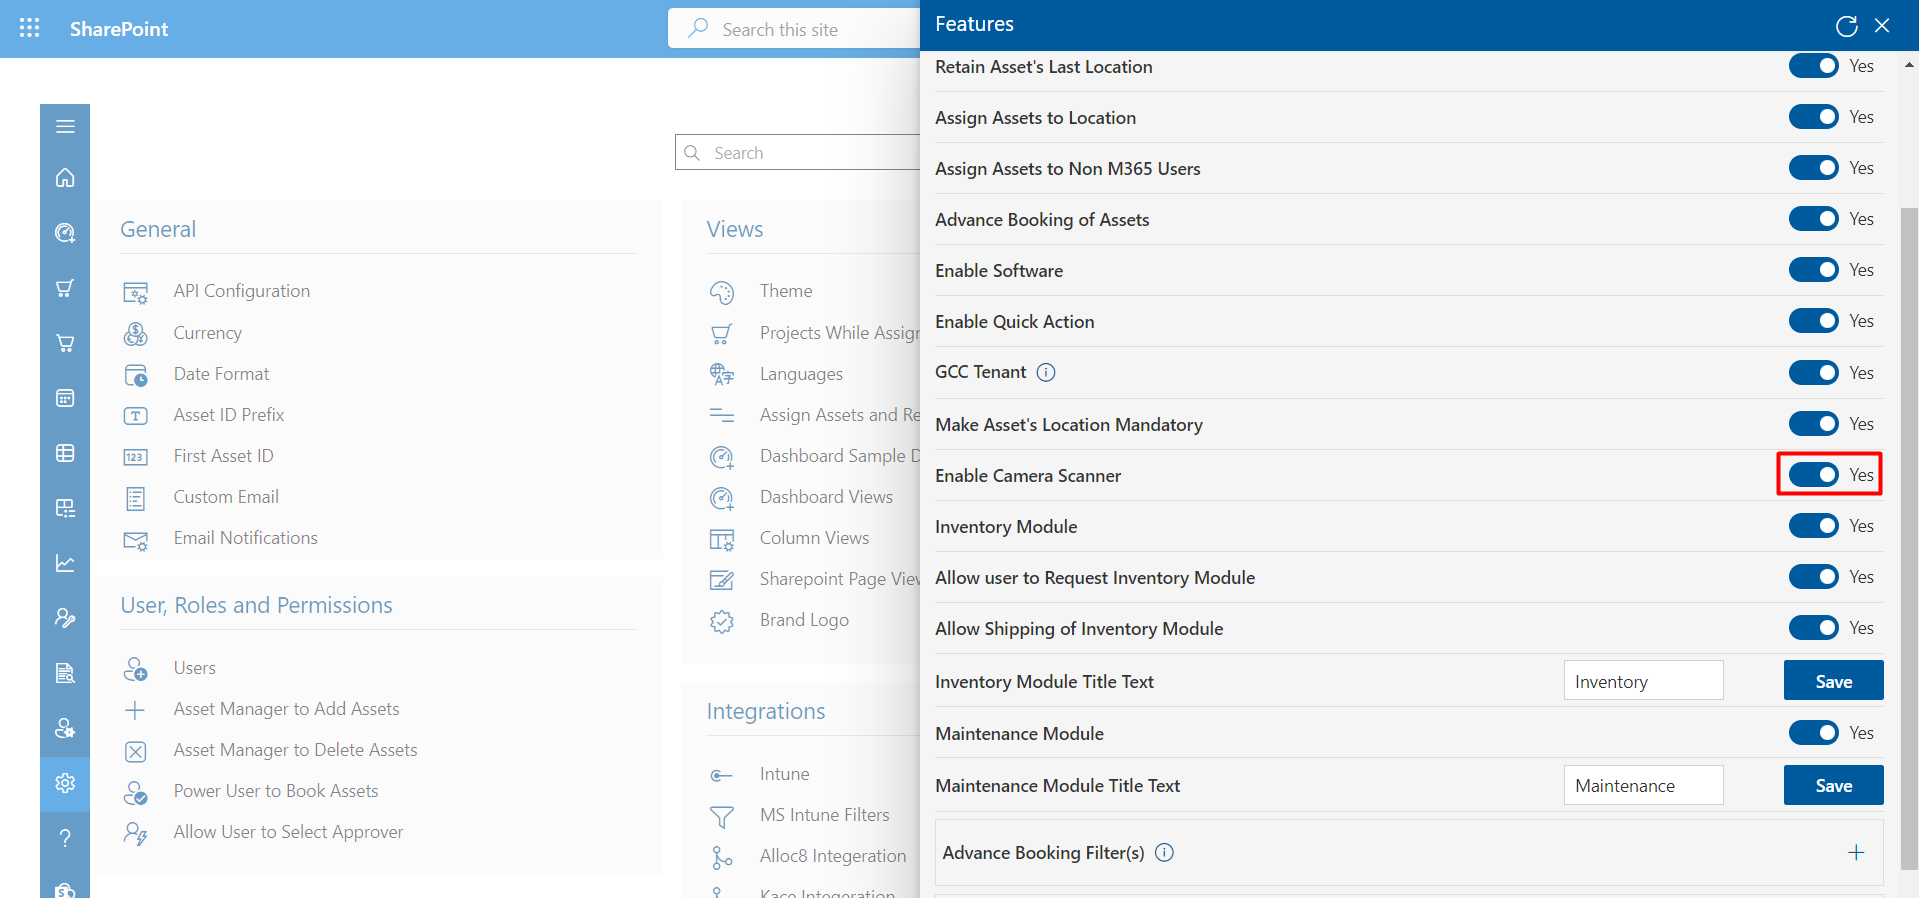
Camera Scanner
Camera scanner tab is displayed on the home page from where you can scan the barcode of the assets in searching them.
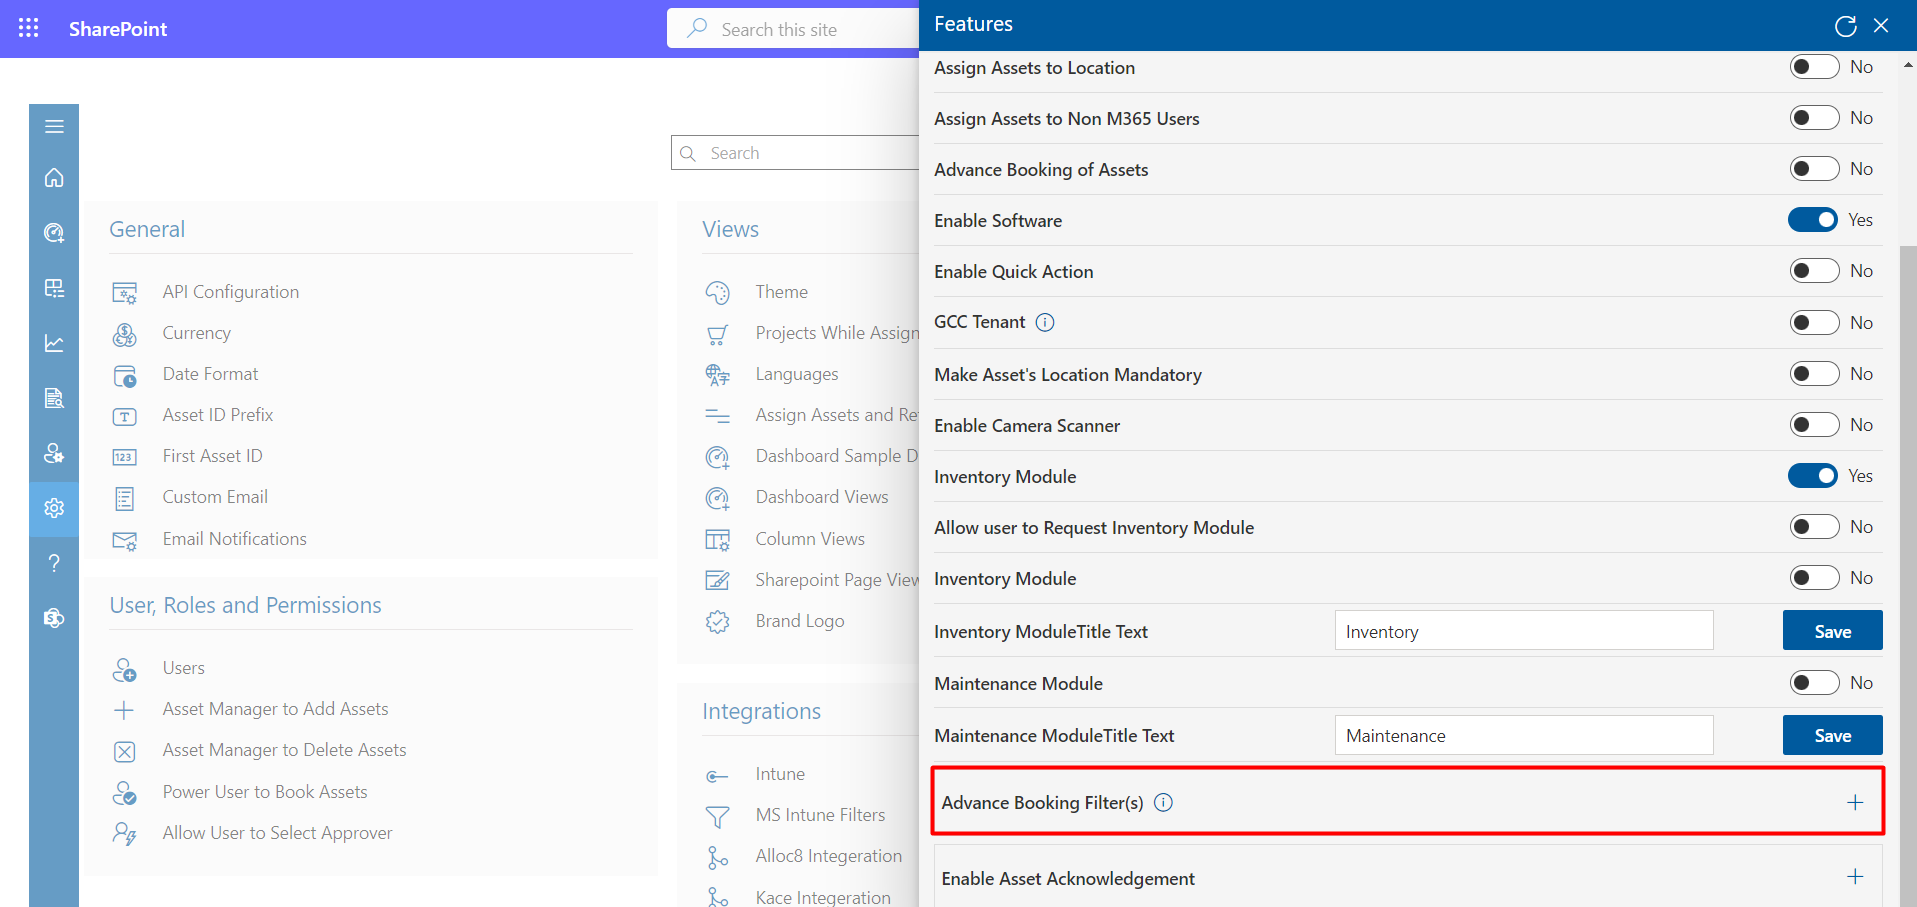
Inventory Module
If this is enabled, Inventory tabs will displays on the home page.
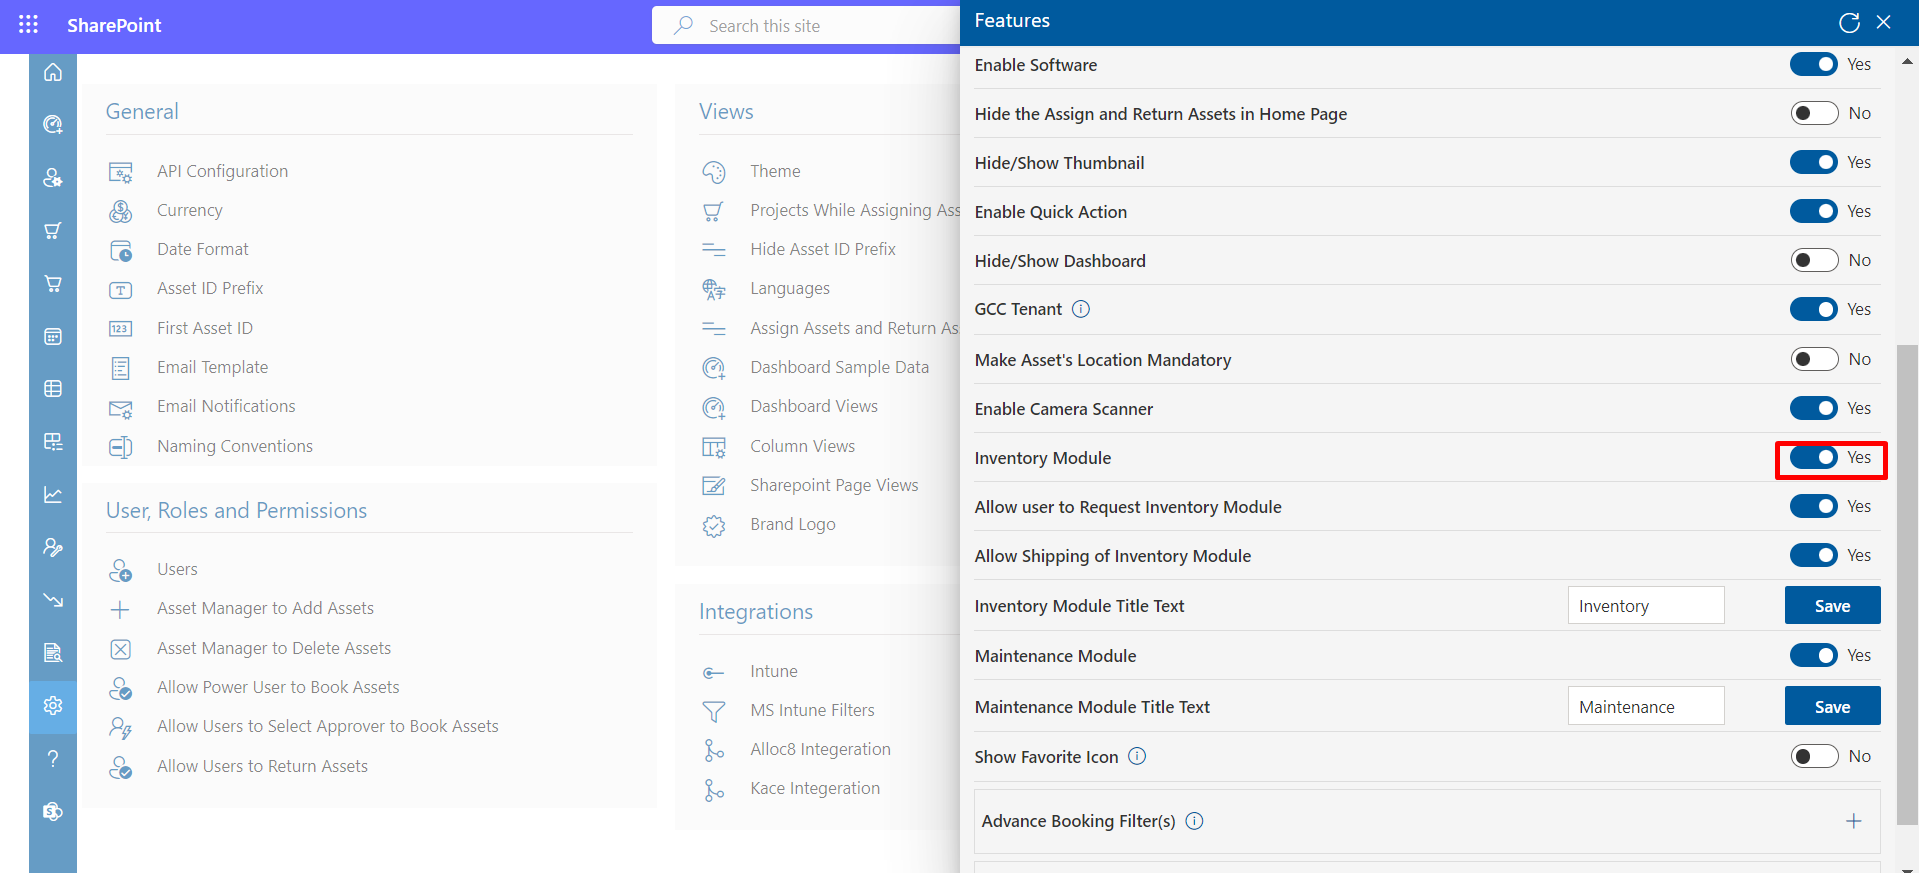
Allow user to Request Inventory : with this, users could raise requests for Inventory items.

Allow Shipping of Inventory : Enabling, users could request shipping of the consumable item.
Inventory Module Title Text : From here you can rename module title.

-
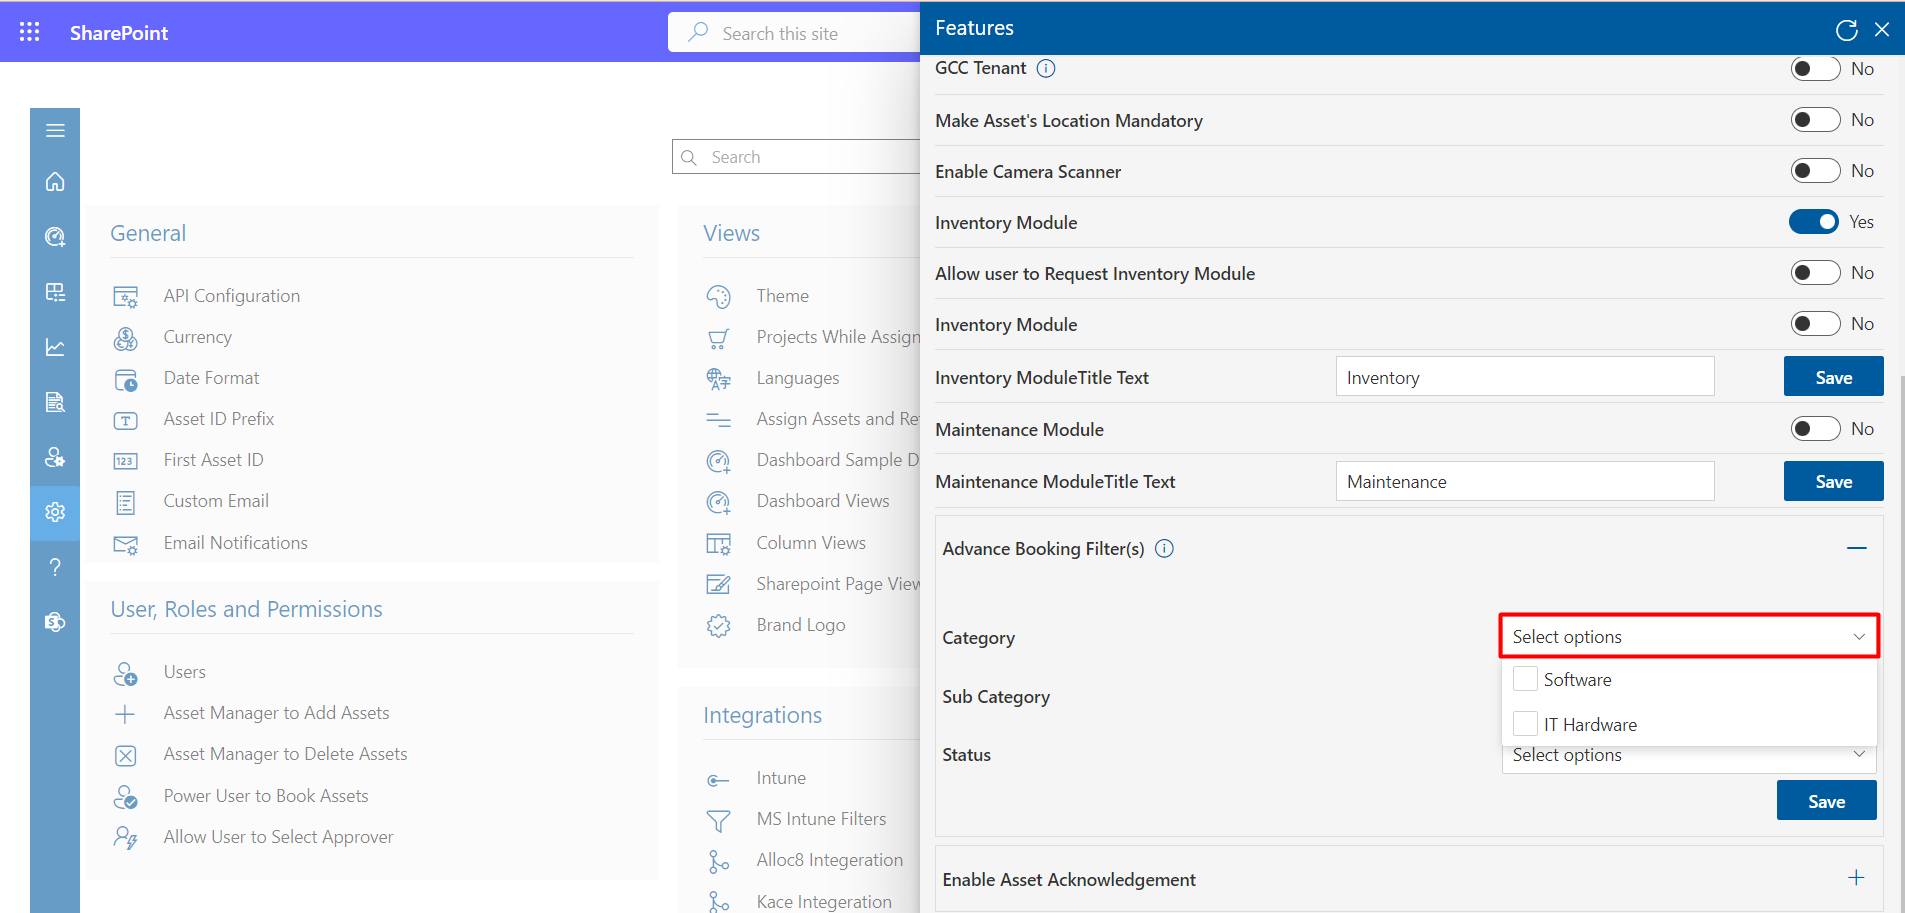
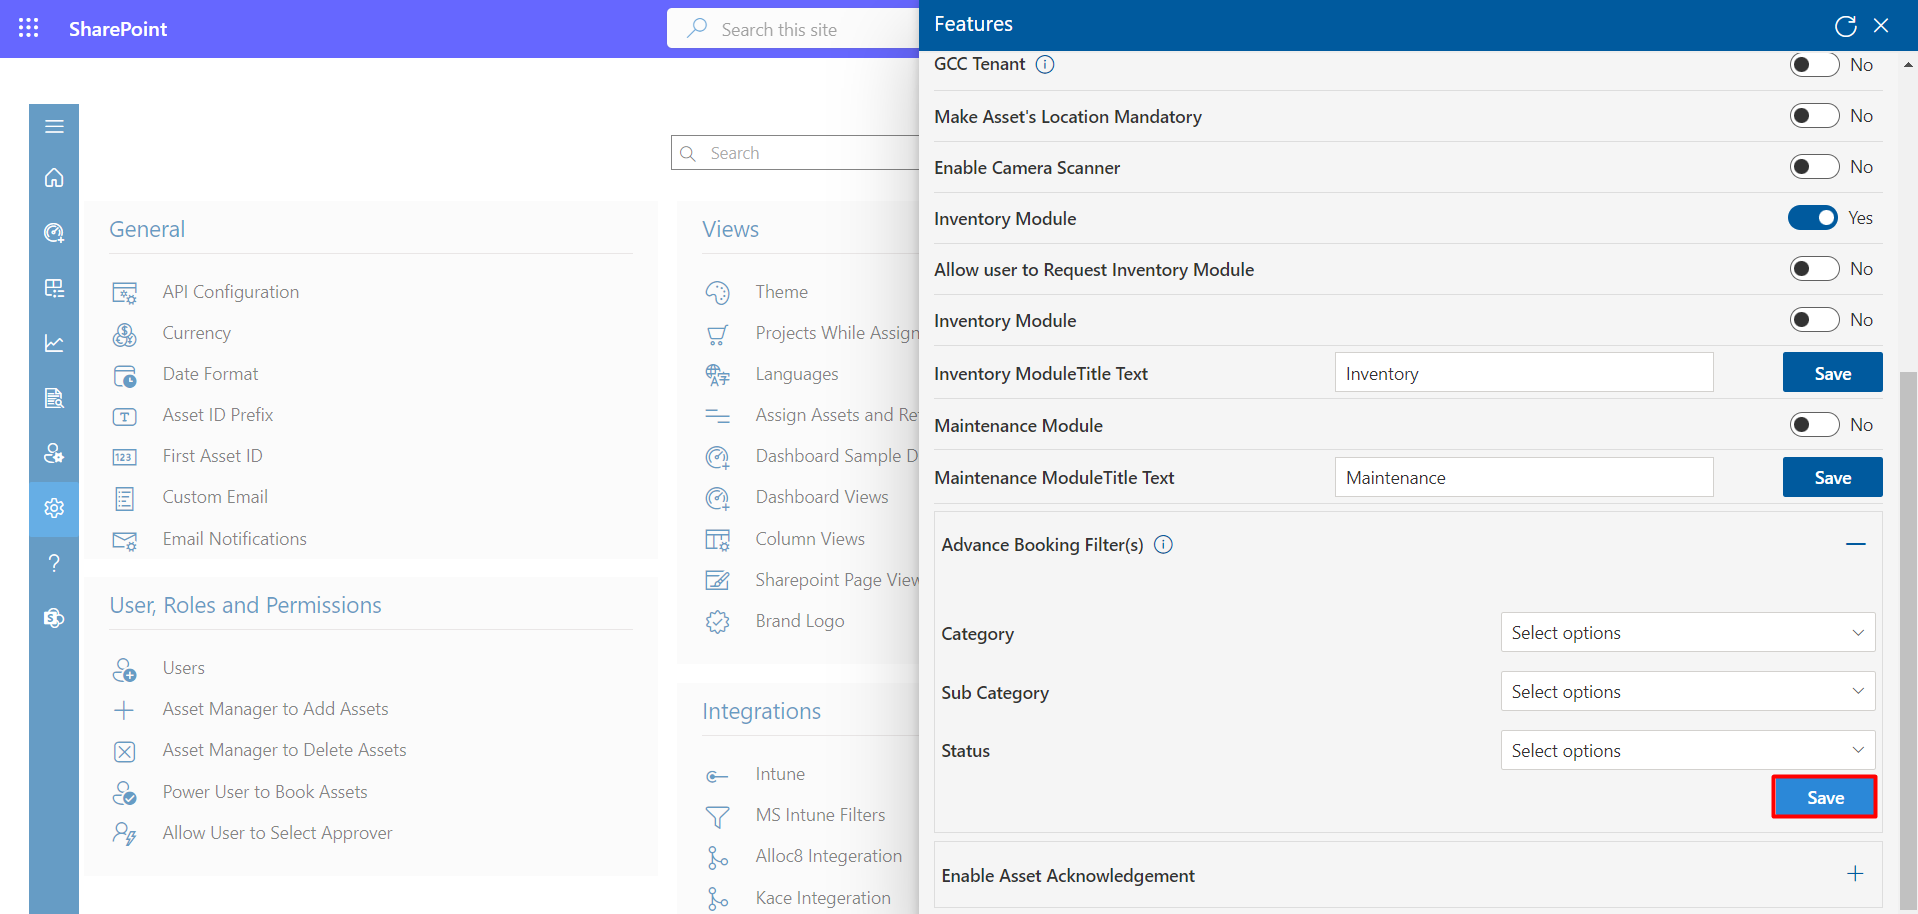
Category : Select the option from dropdown.
-
Sub Category : Select the option from dropdown.
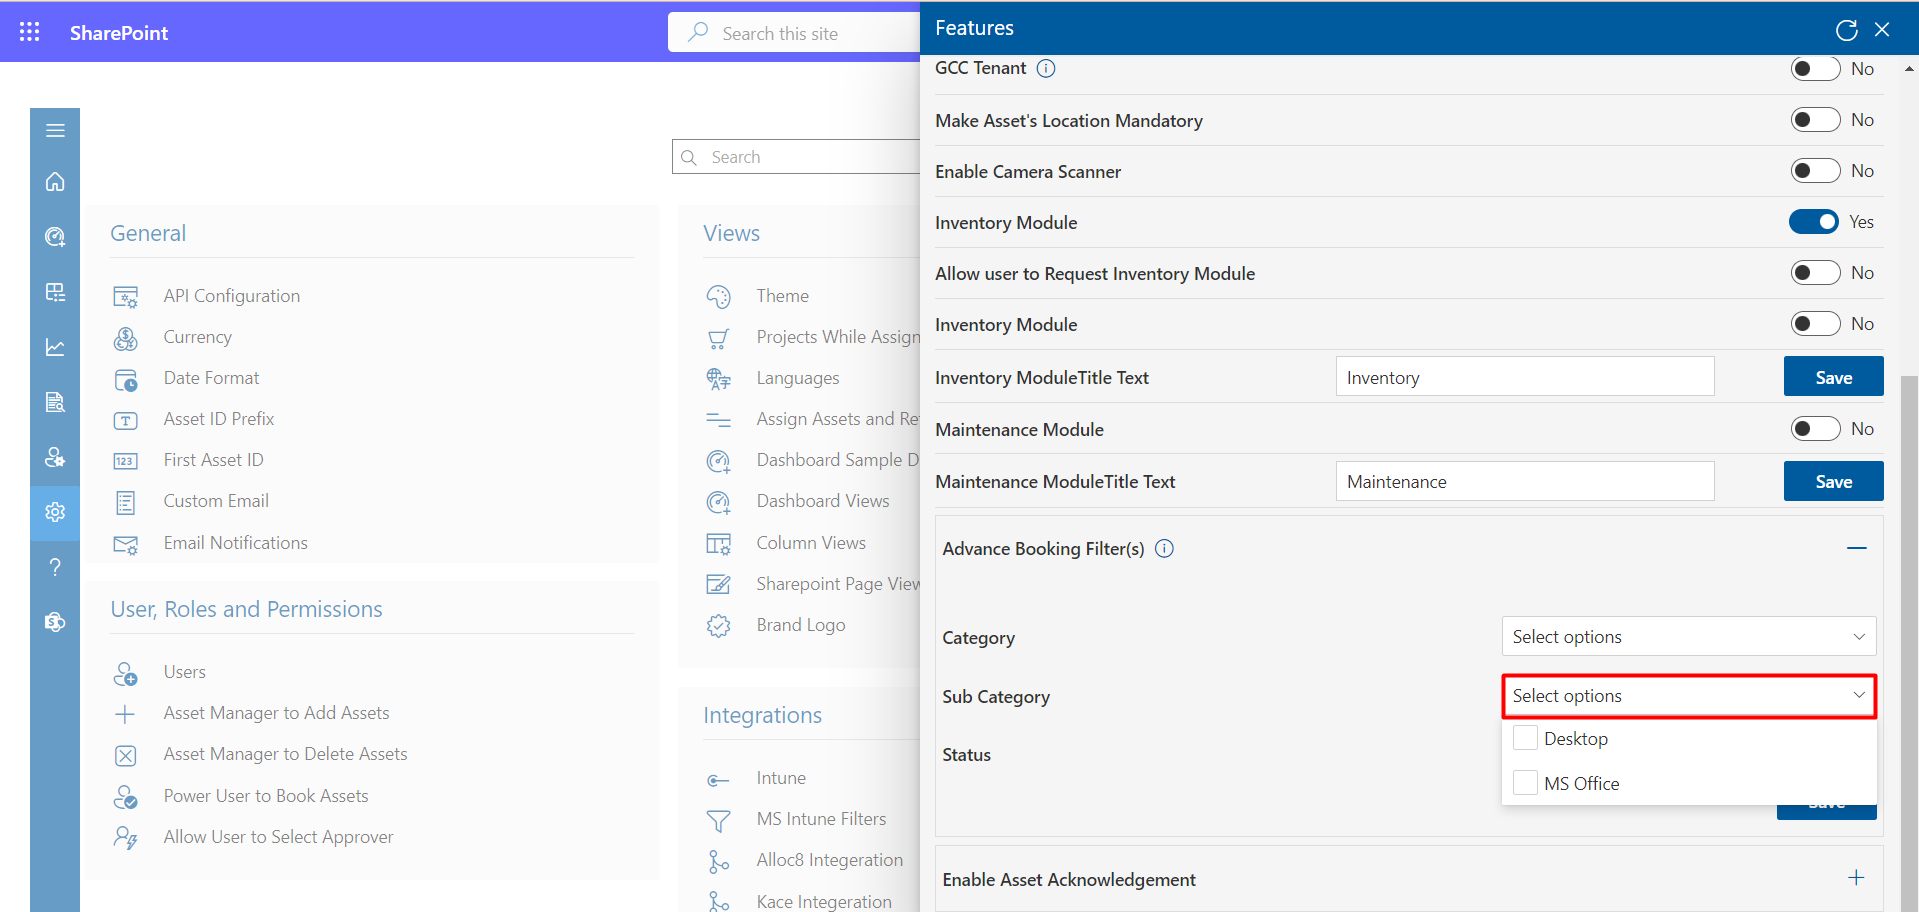
-
Status : Select the option from dropdown.
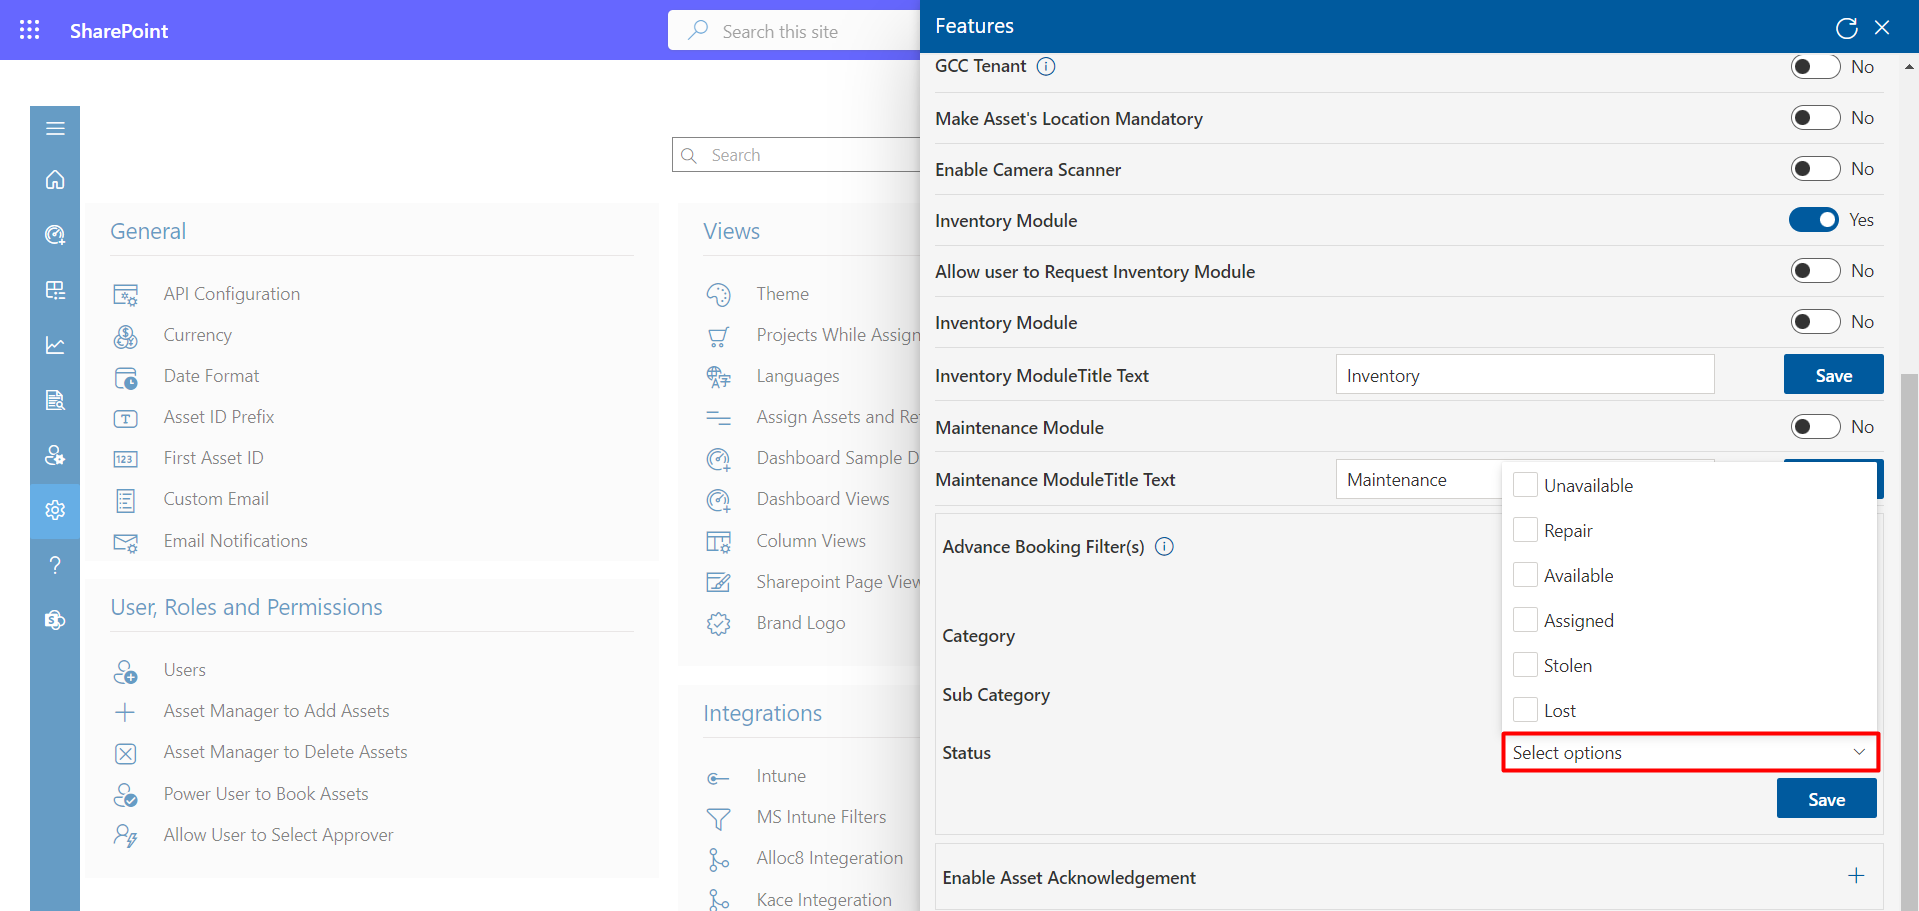
-
Click on Save Button.
Maintenance Module
If this is enabled, you can add maintenance frequency and maintenance due date while adding assets.
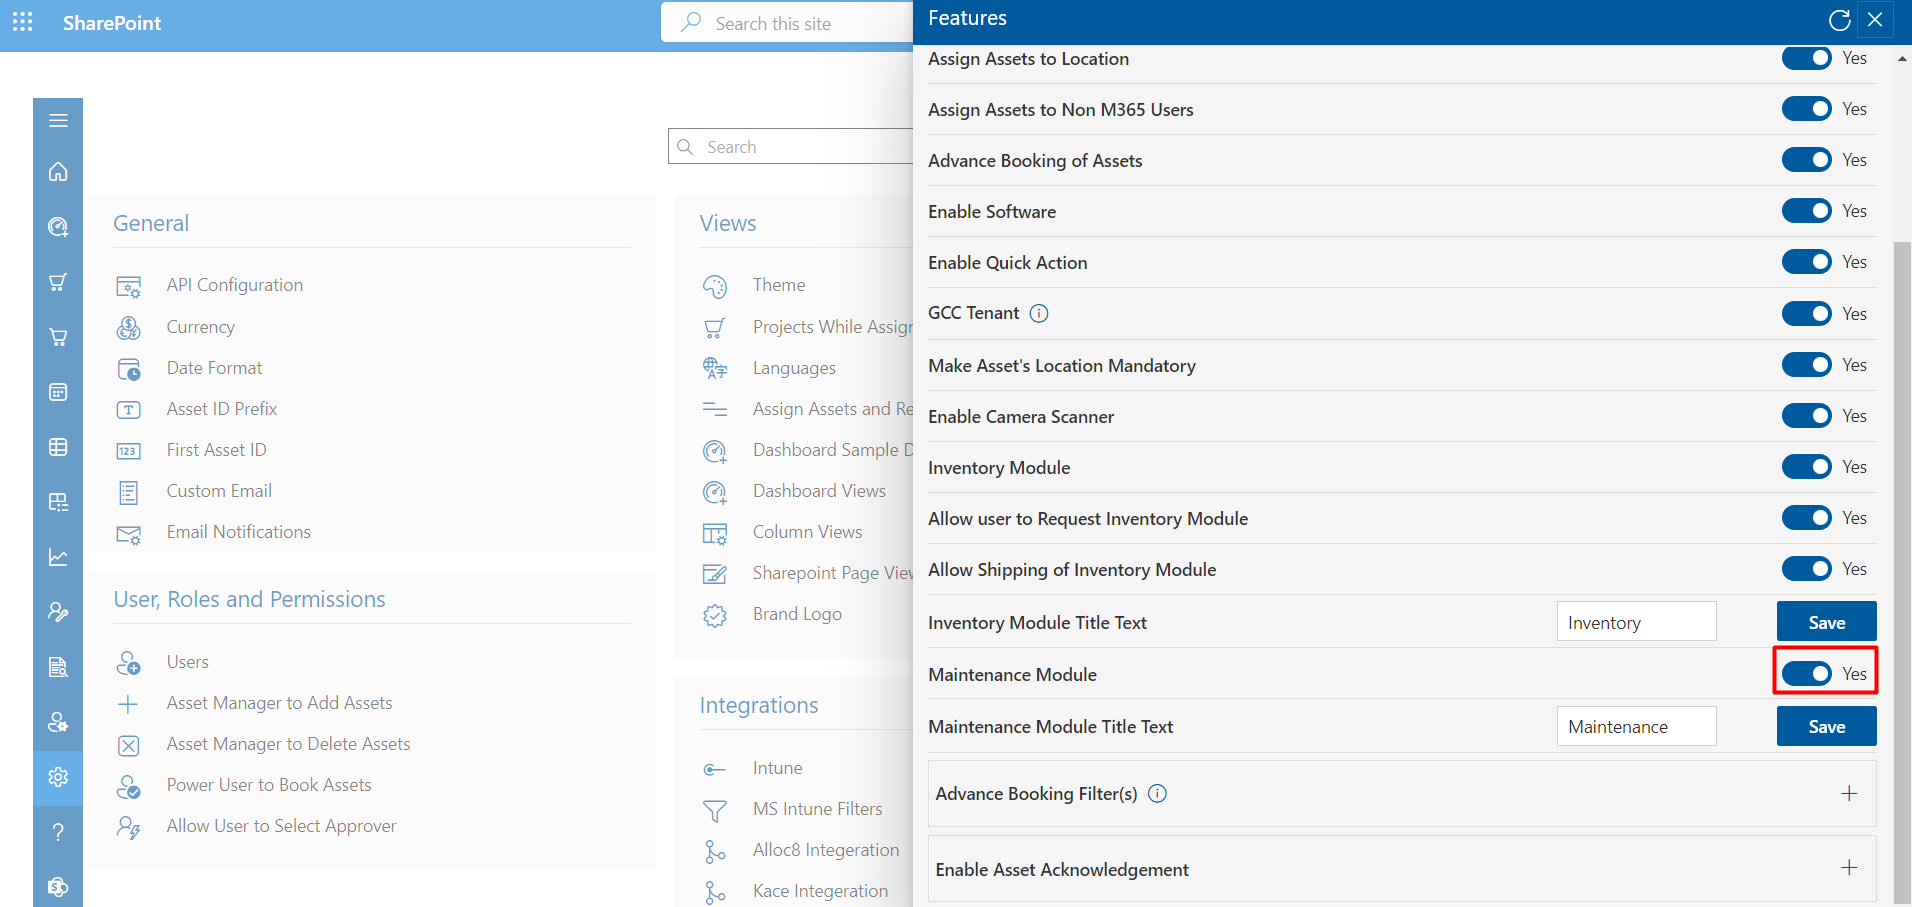
Maintenance Module Title Text : From here you can rename module title.
Advance Booking Filter(s) : The attributes you select here, only those will be available to the users for booking.
Asset Acknowledgement
If you type the acknowledgement text, user can see the acknowledgement page (the acknowledgement page link is available in the assigned email notification of the user).
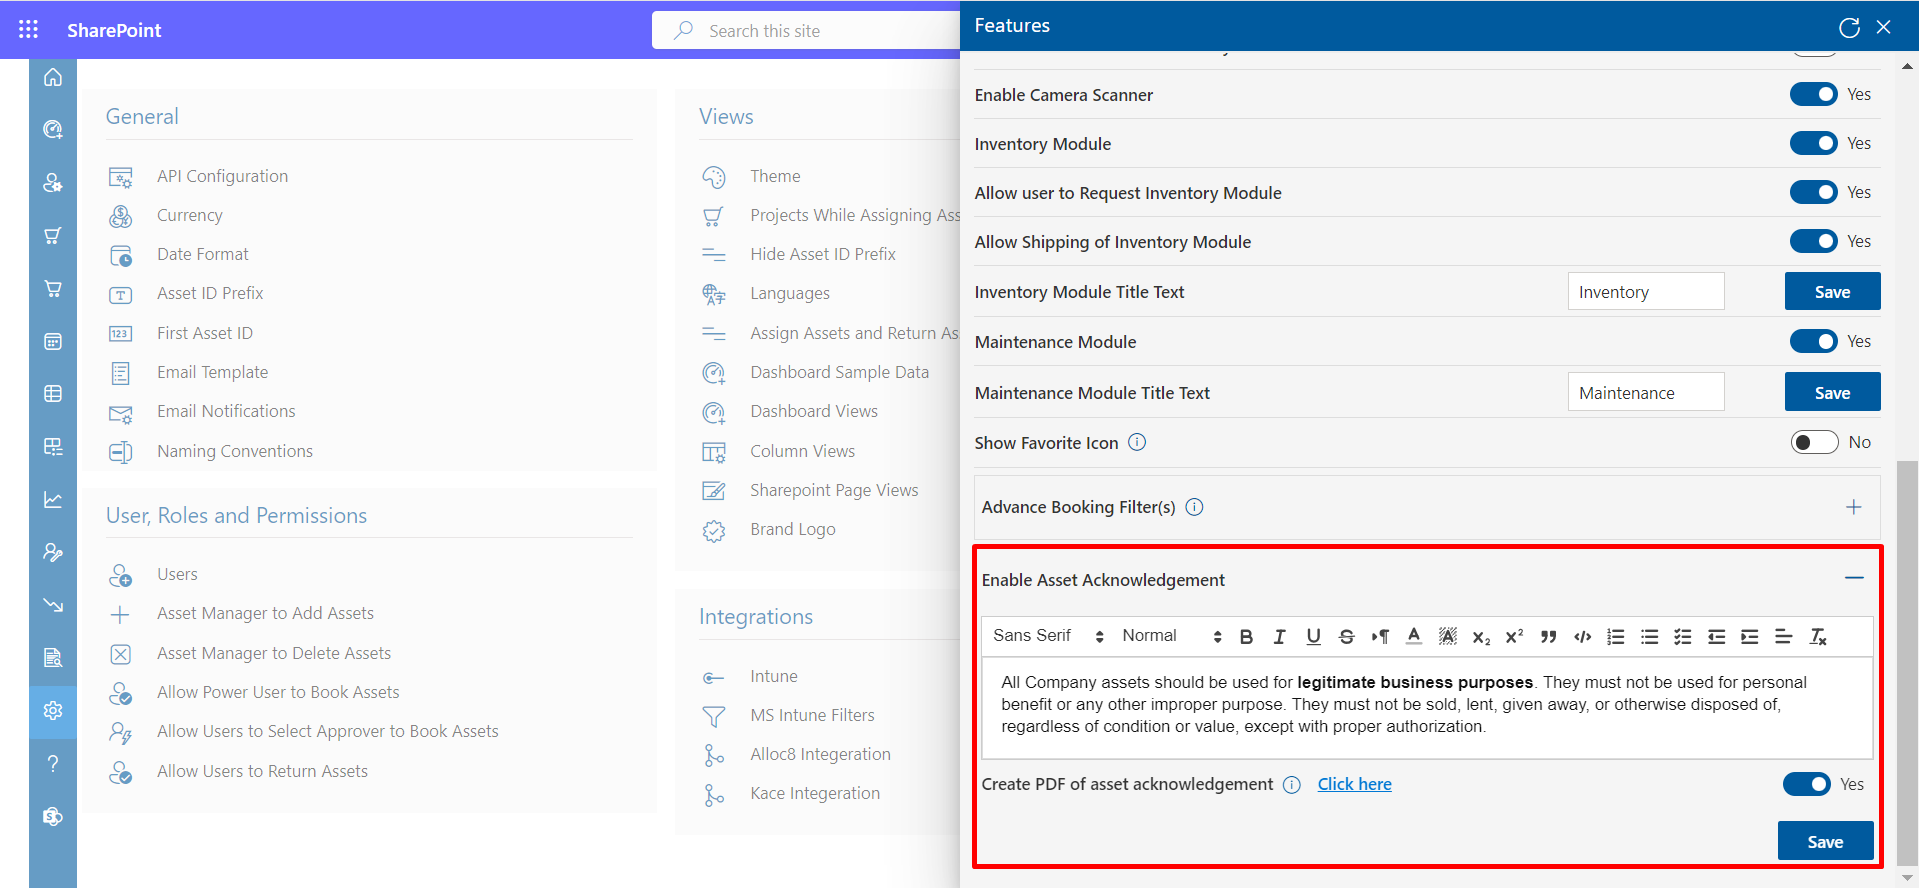
Create PDF of asset acknowledgment: When you enable this and set up power automate, pdf file would be created and stored in SP library moreover send it to user who has acknowledged the assets.
Below mentioned is the URL where you can find pdf files
https://YourTenantName.sharepoint.com/sites/SiteName/HR365AMPAssetdoc
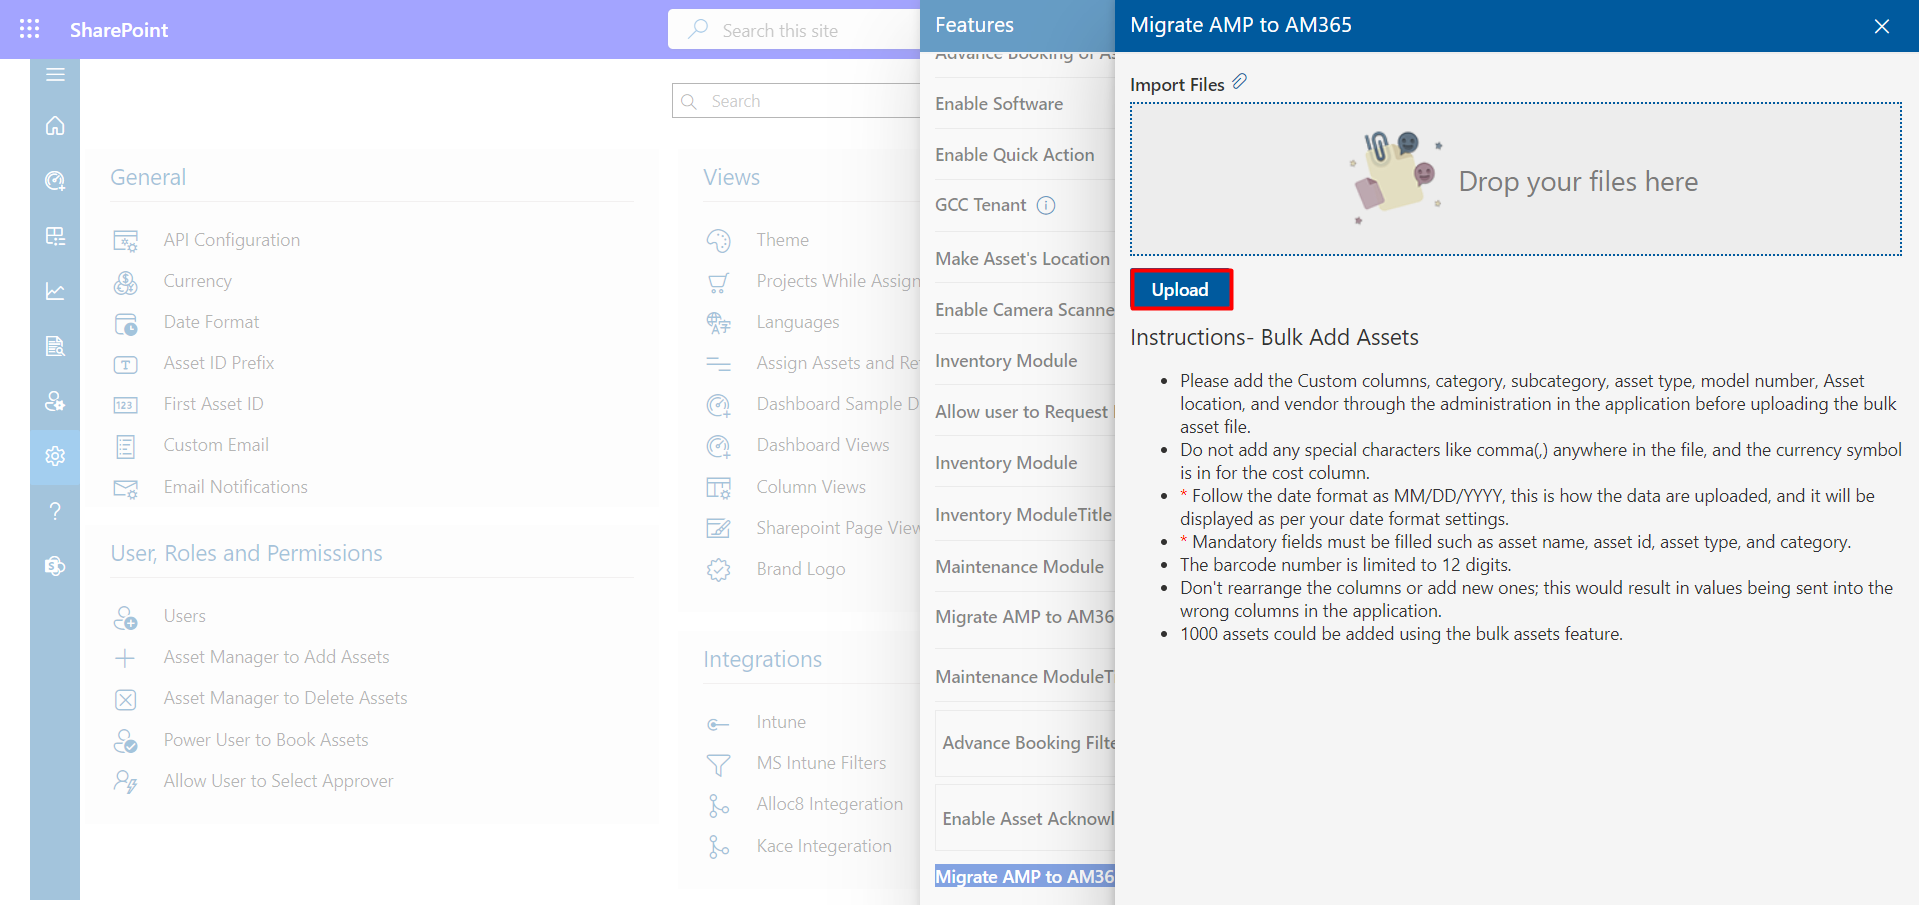
Migrate AMP to AM365 Click on Configure Button.
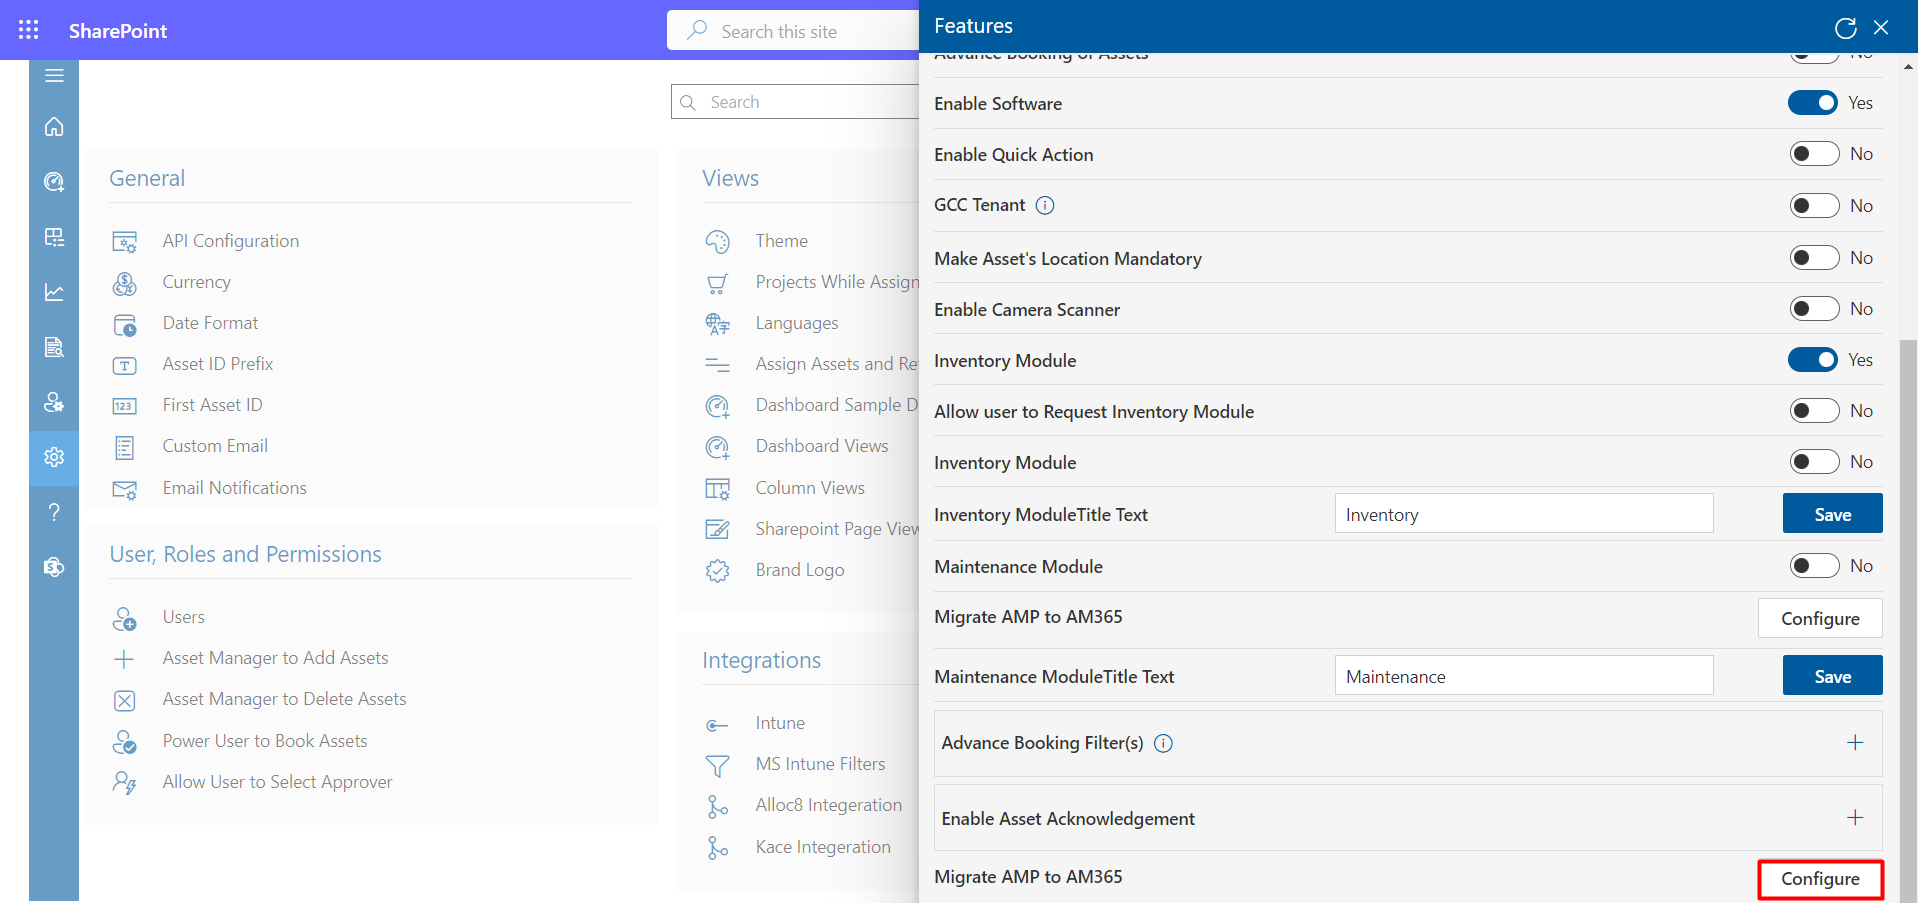
Here, You Can Import the file by simply click on upload Button.