Advanced
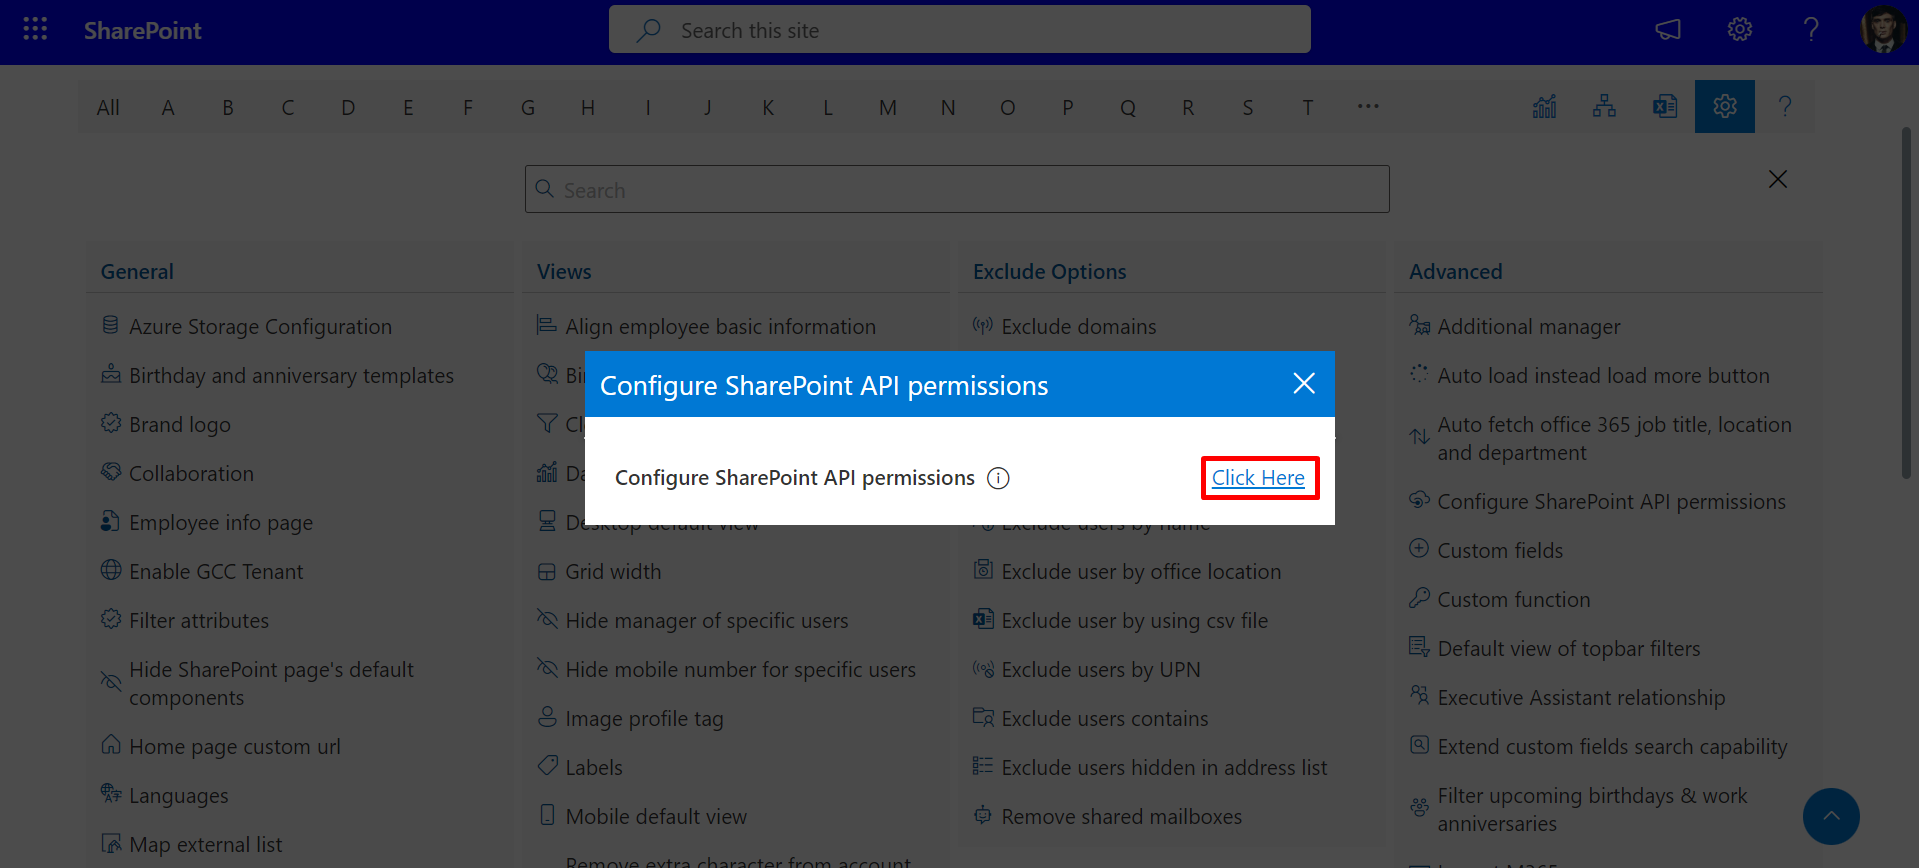
From here you can Configure SharePoint API permissions,Sync unlicensed users, Show external users etc.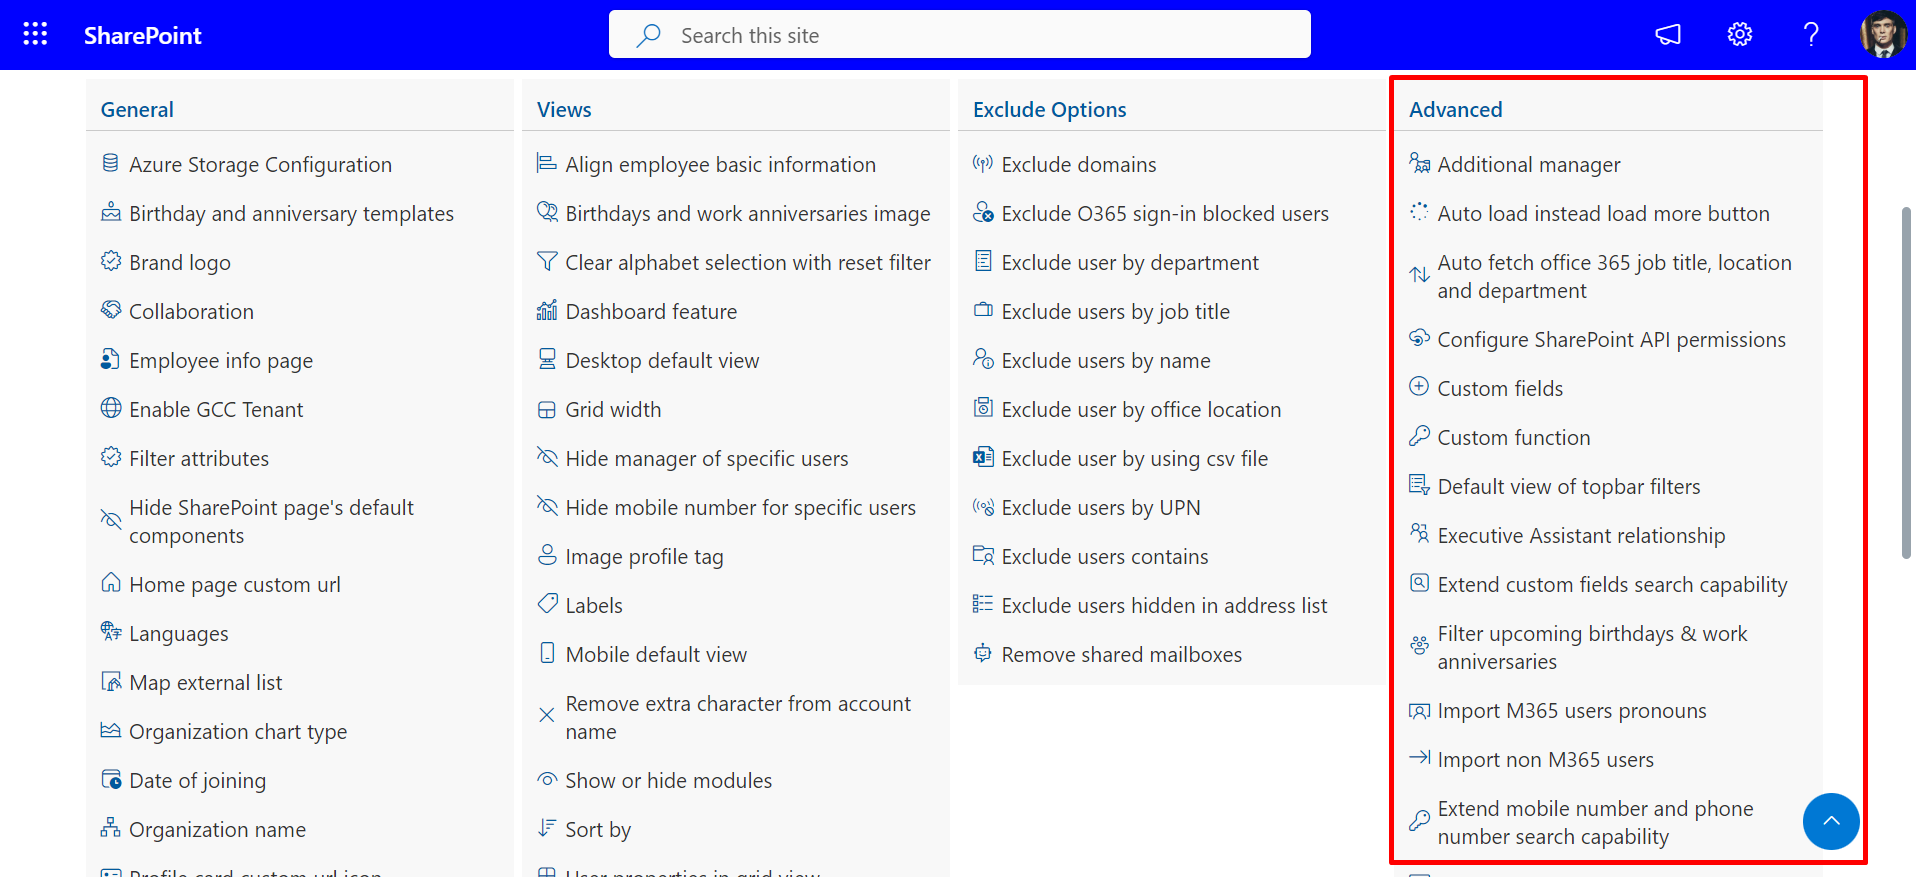
- Additional manager
-
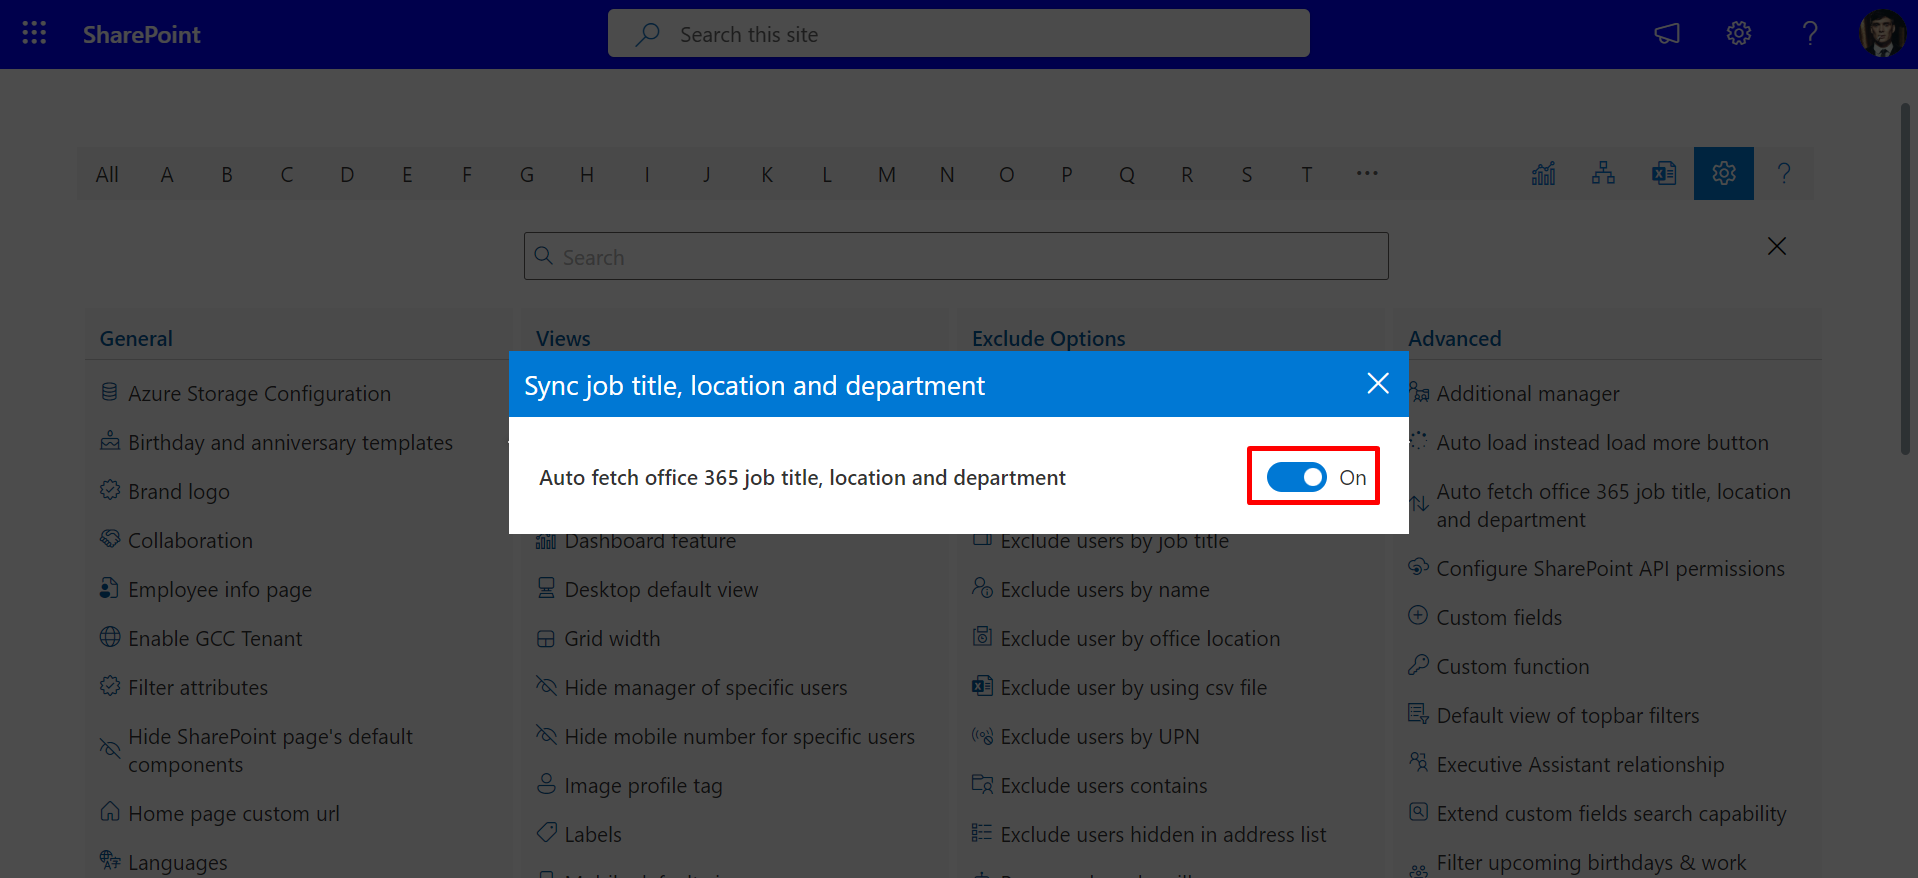
Auto fetch office 365 job title, location and department:
This feature can automatically retrieve job titles, locations, and departments from Office 365. -
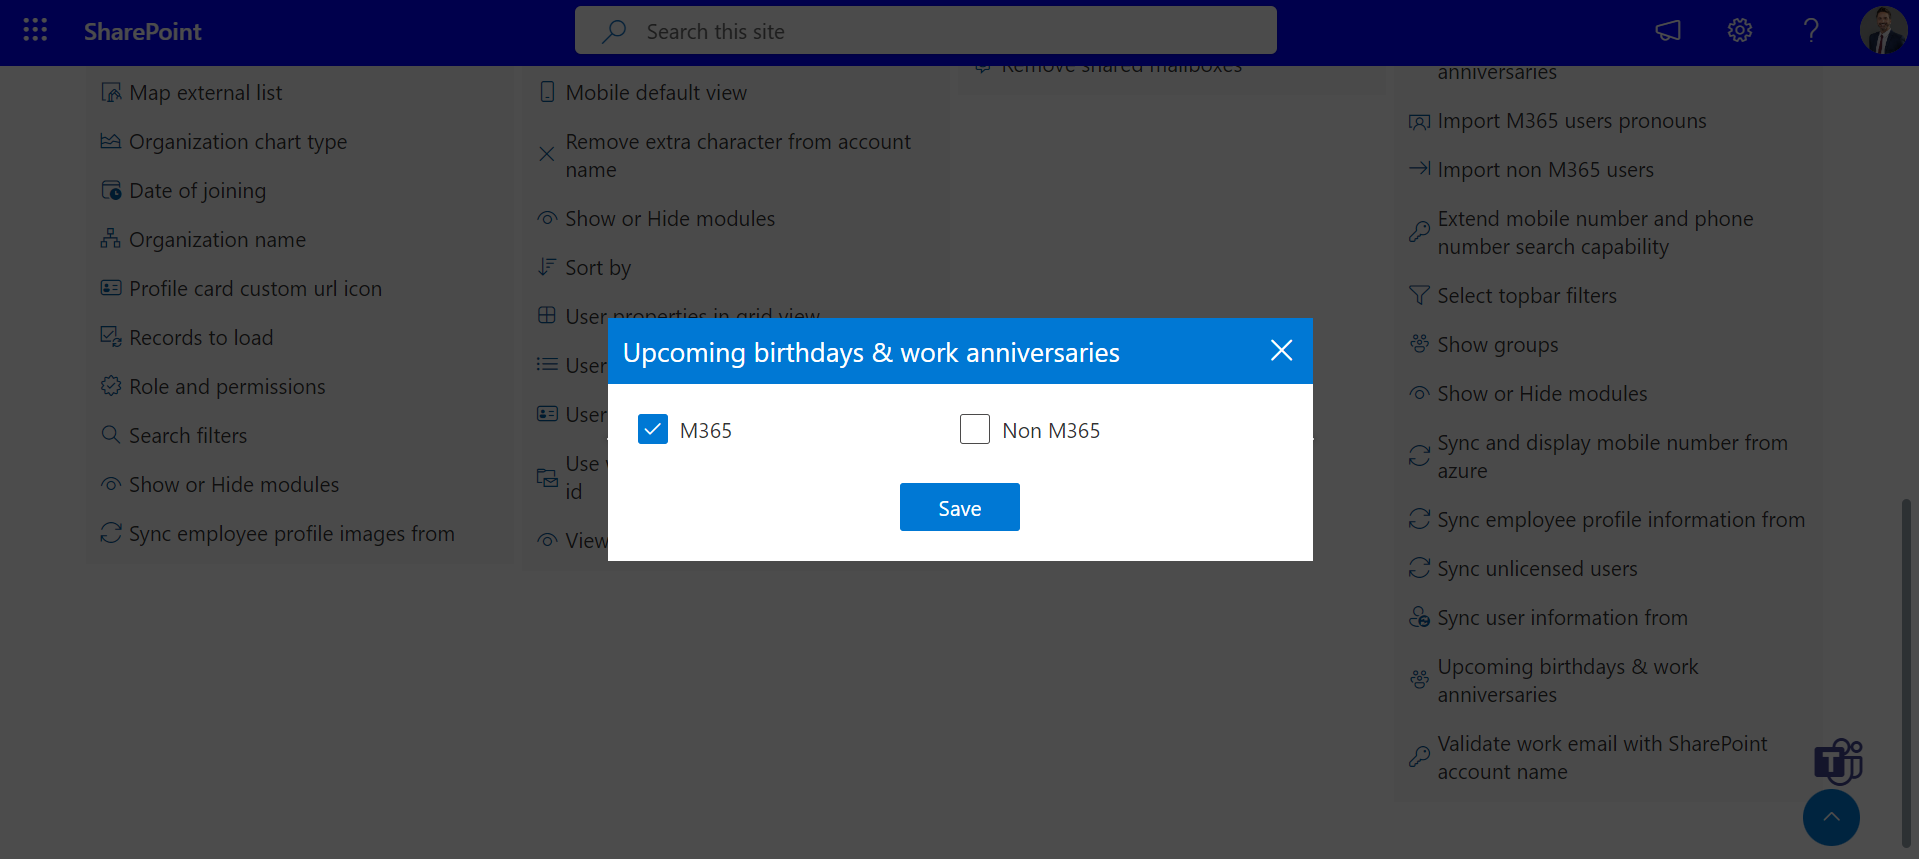
Filter upcoming birthdays & work anniversaries
:
This feature allows you to filter upcoming birthdays and work anniversaries by the current day, current week, or current month.
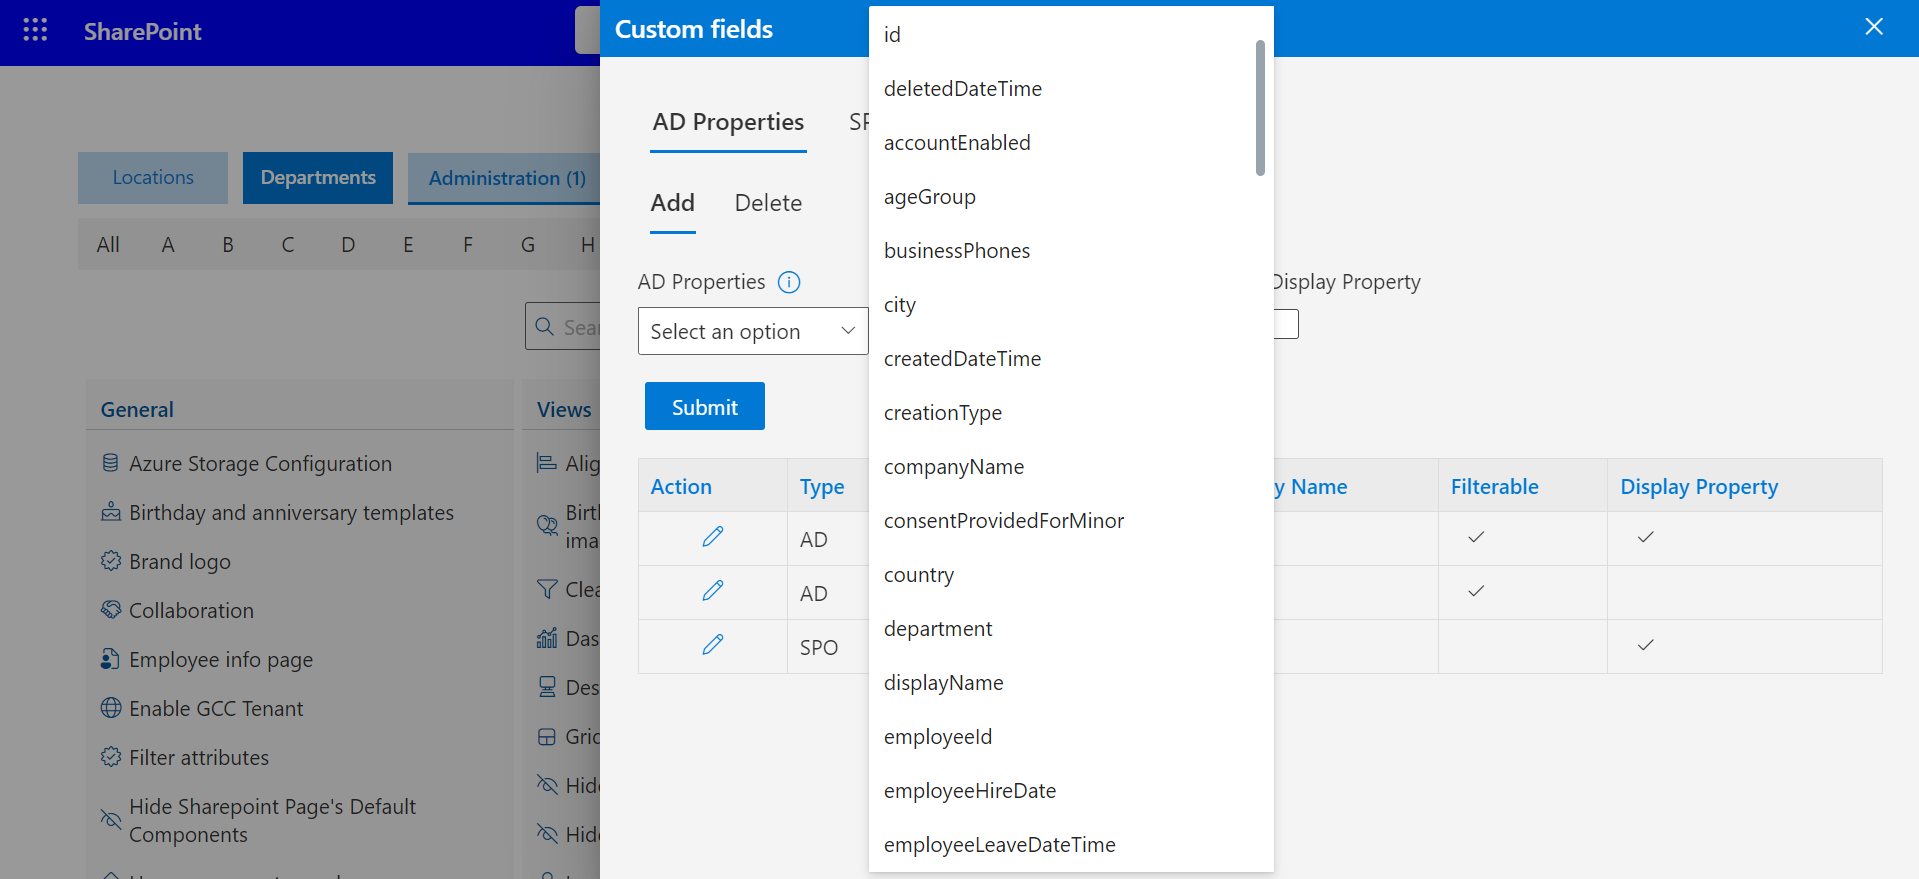
- Custom fields
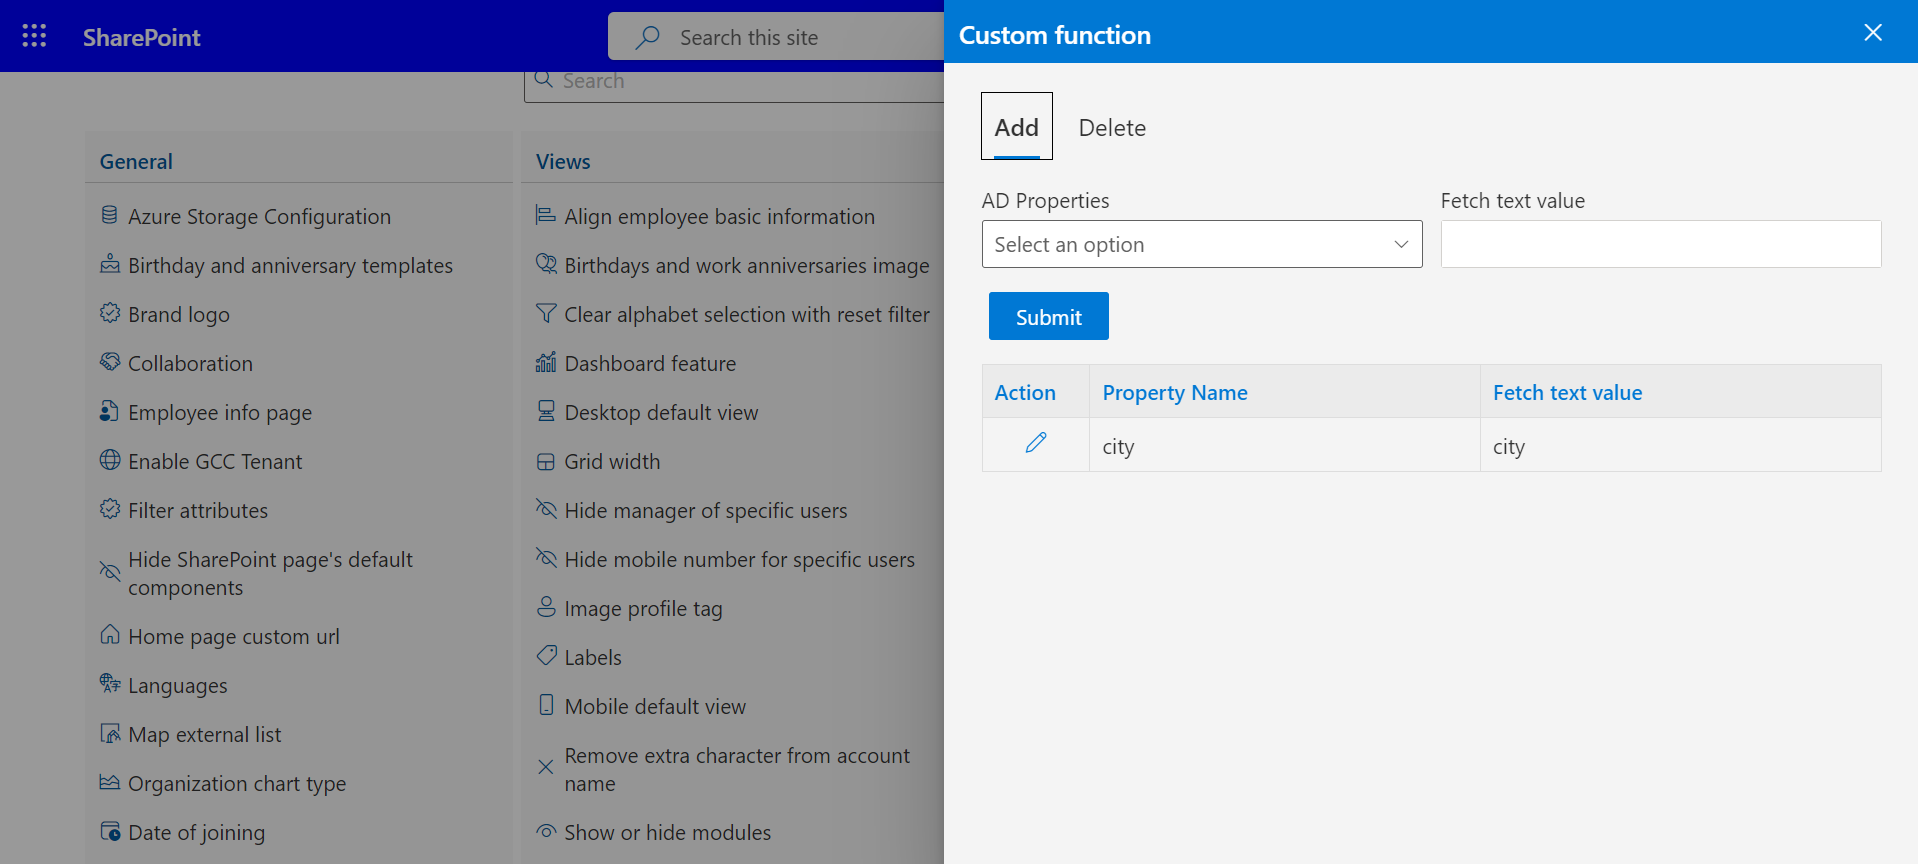
- Custom function:
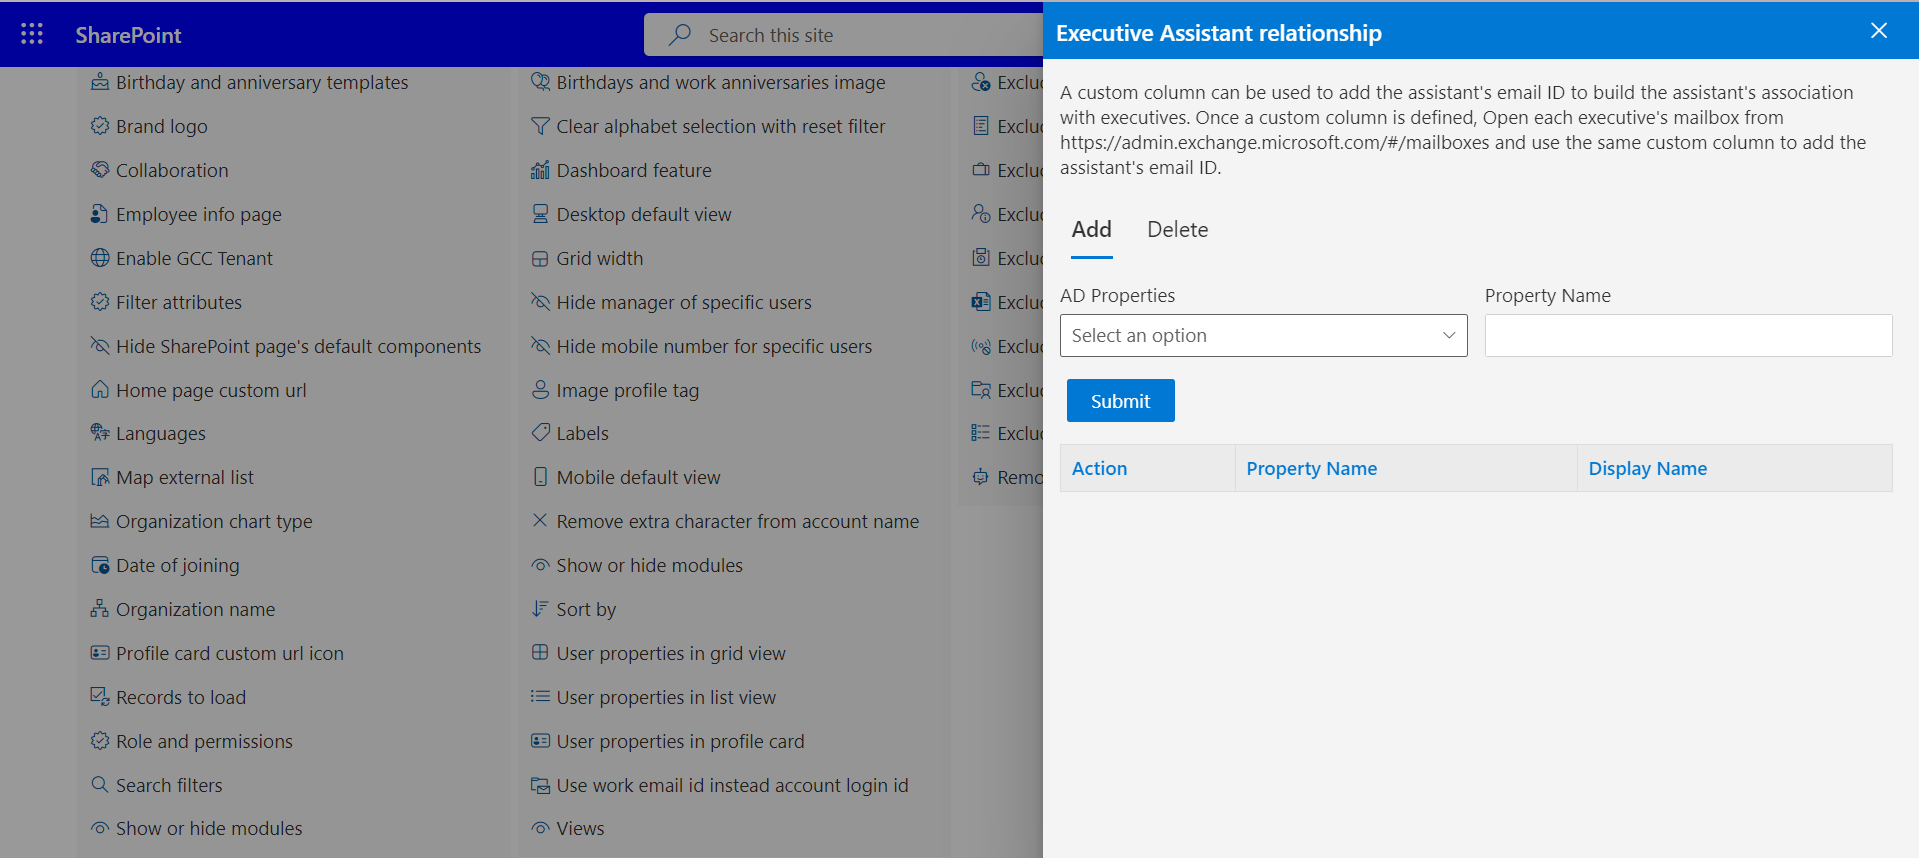
You can develop a custom function enabling users to select specific Active Directory (AD) properties and retrieve their respective values. - Executive Assistant relationship:
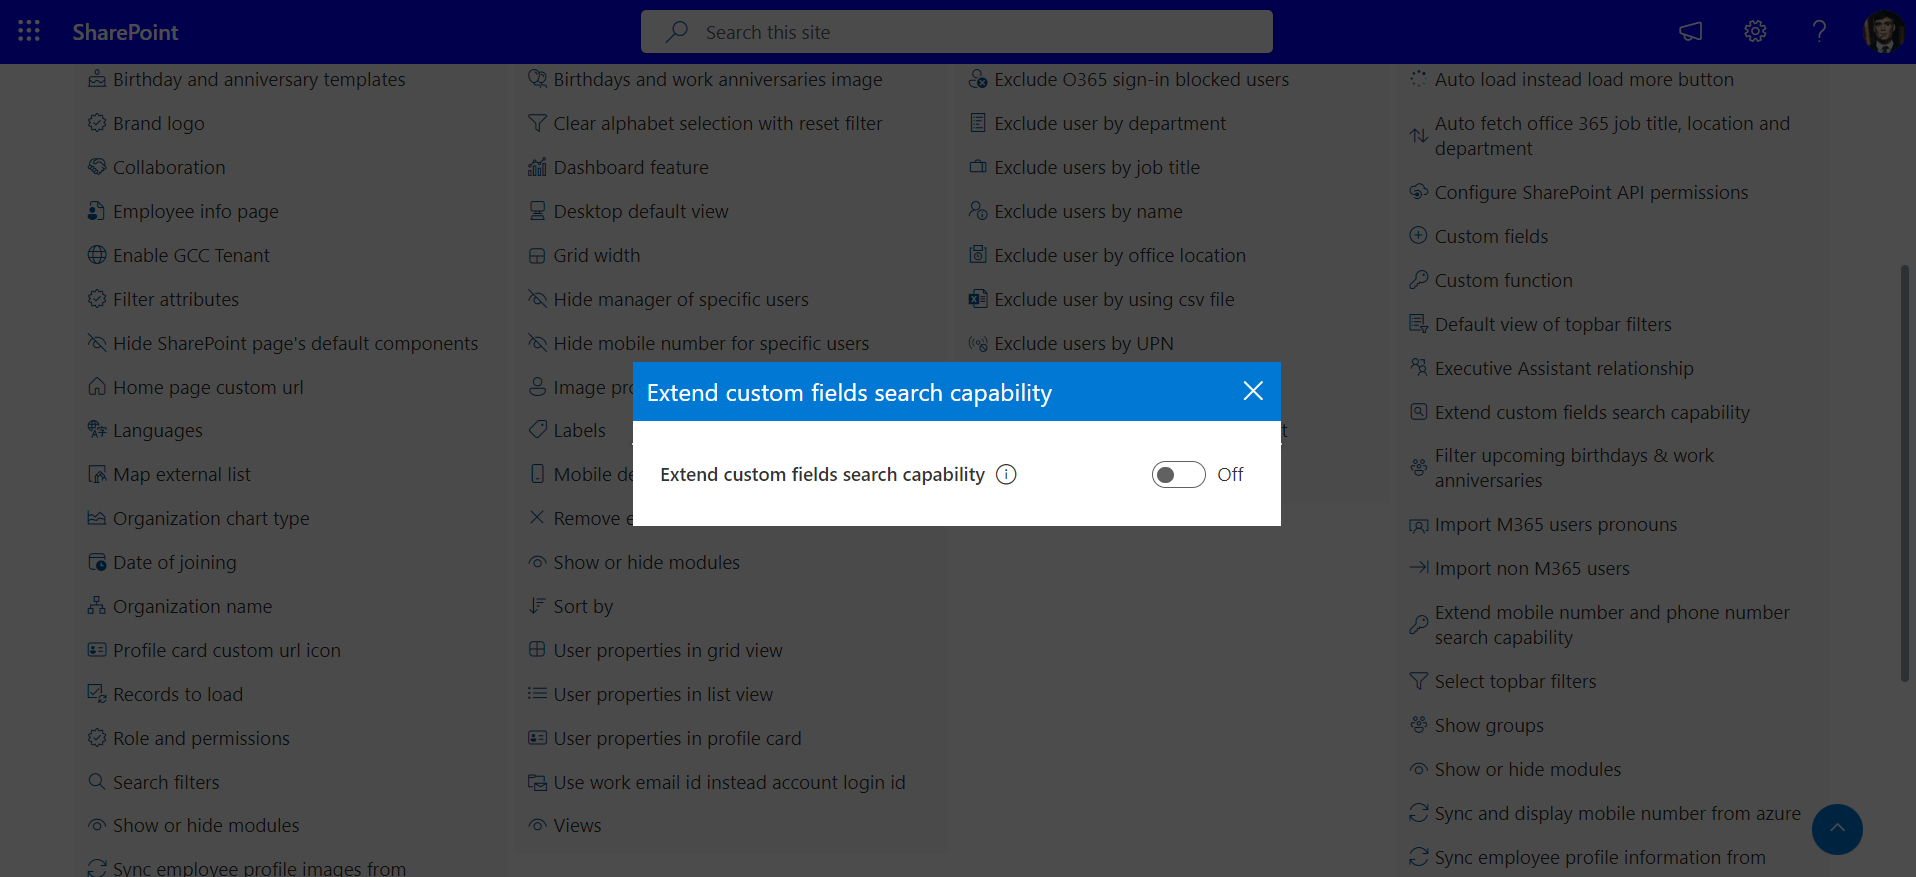
To establish the association between executives and their assistants, a custom column can be utilized to include the assistant's email ID. After defining the custom column, access each executive's mailbox via https://admin.exchange.microsoft.com/#/mailboxes and employ the same custom column to input the assistant's email ID. - Extend custom fields search capability:
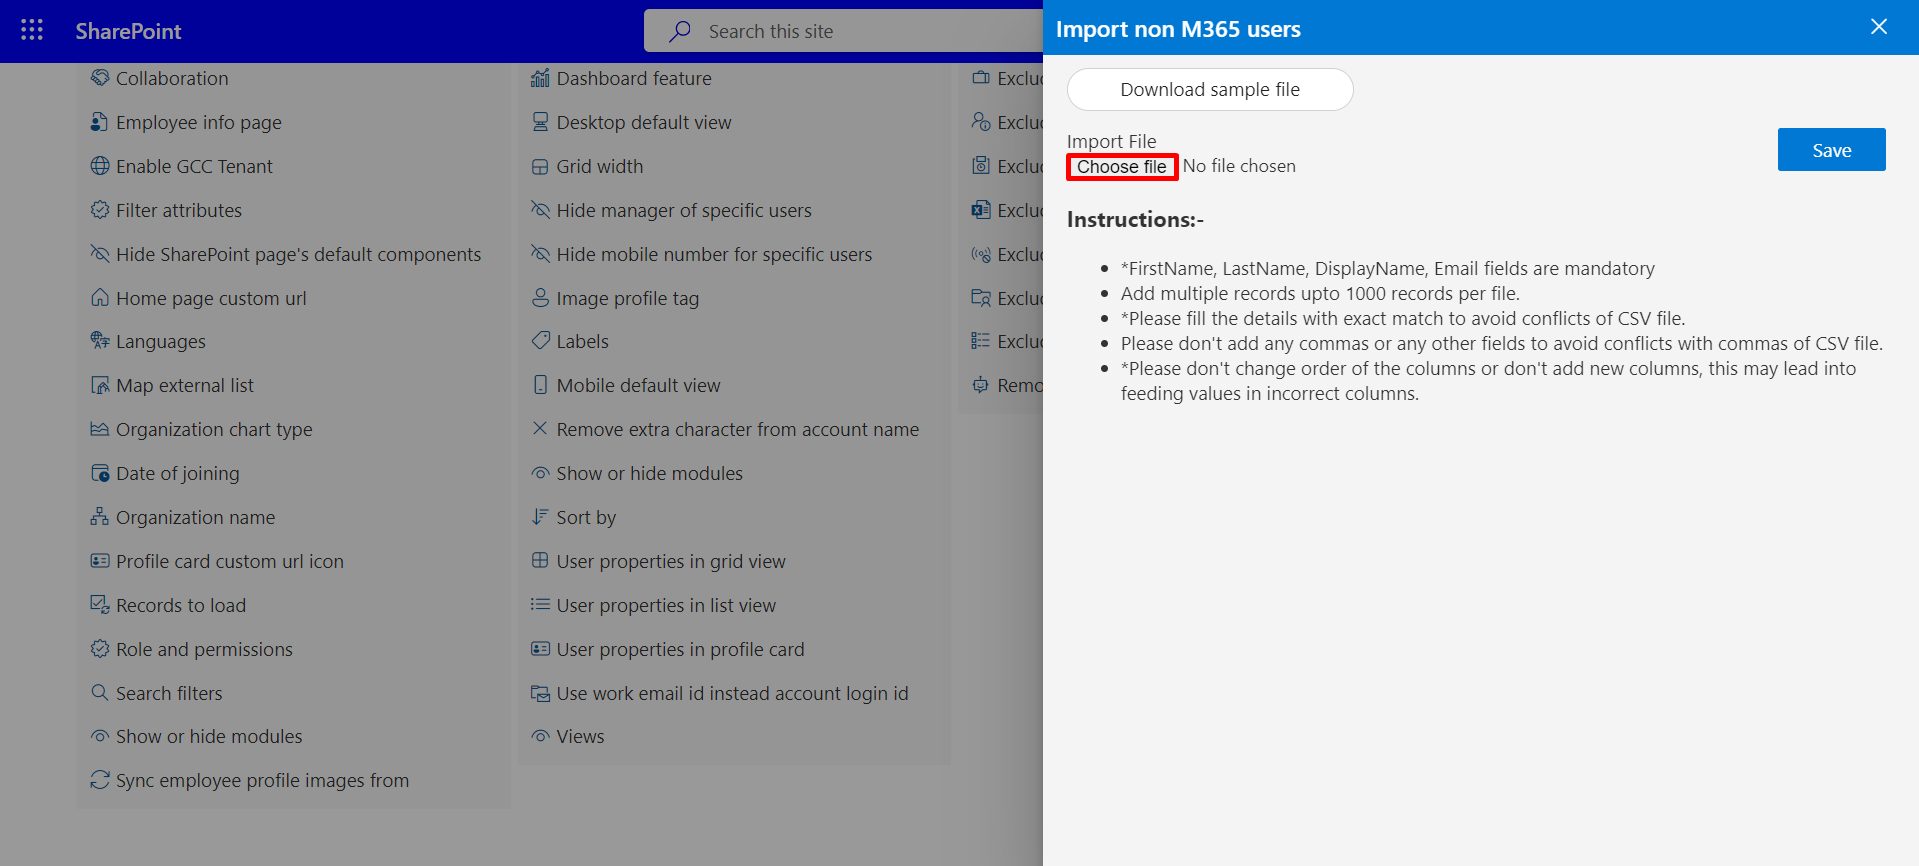
If you want to utilize the 'starts with', 'ends with', or 'contains' search functionalities, please enable this feature. Additionally, limit its use to cases where the number of employees is under 3000. - Import non M365 users:
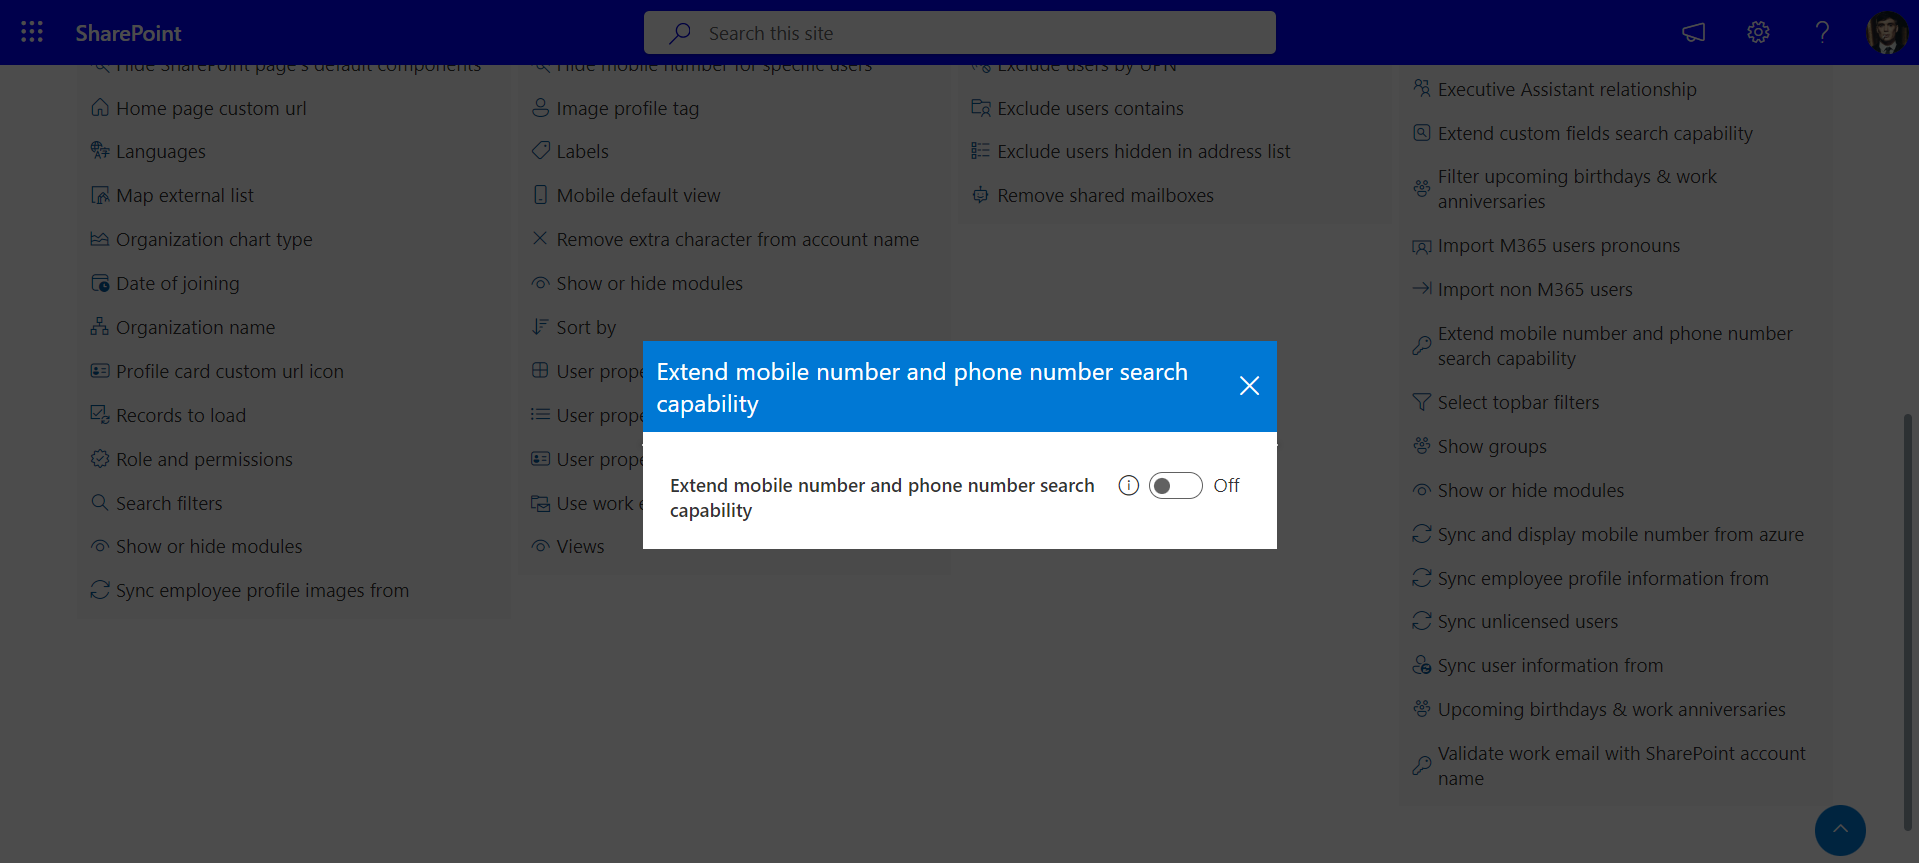
This feature allows you to import non-Microsoft 365 users. Before importing non-Office 365 users, please ensure to read the instructions provided below. - Extend Mobile Number and Phone number search
capability:
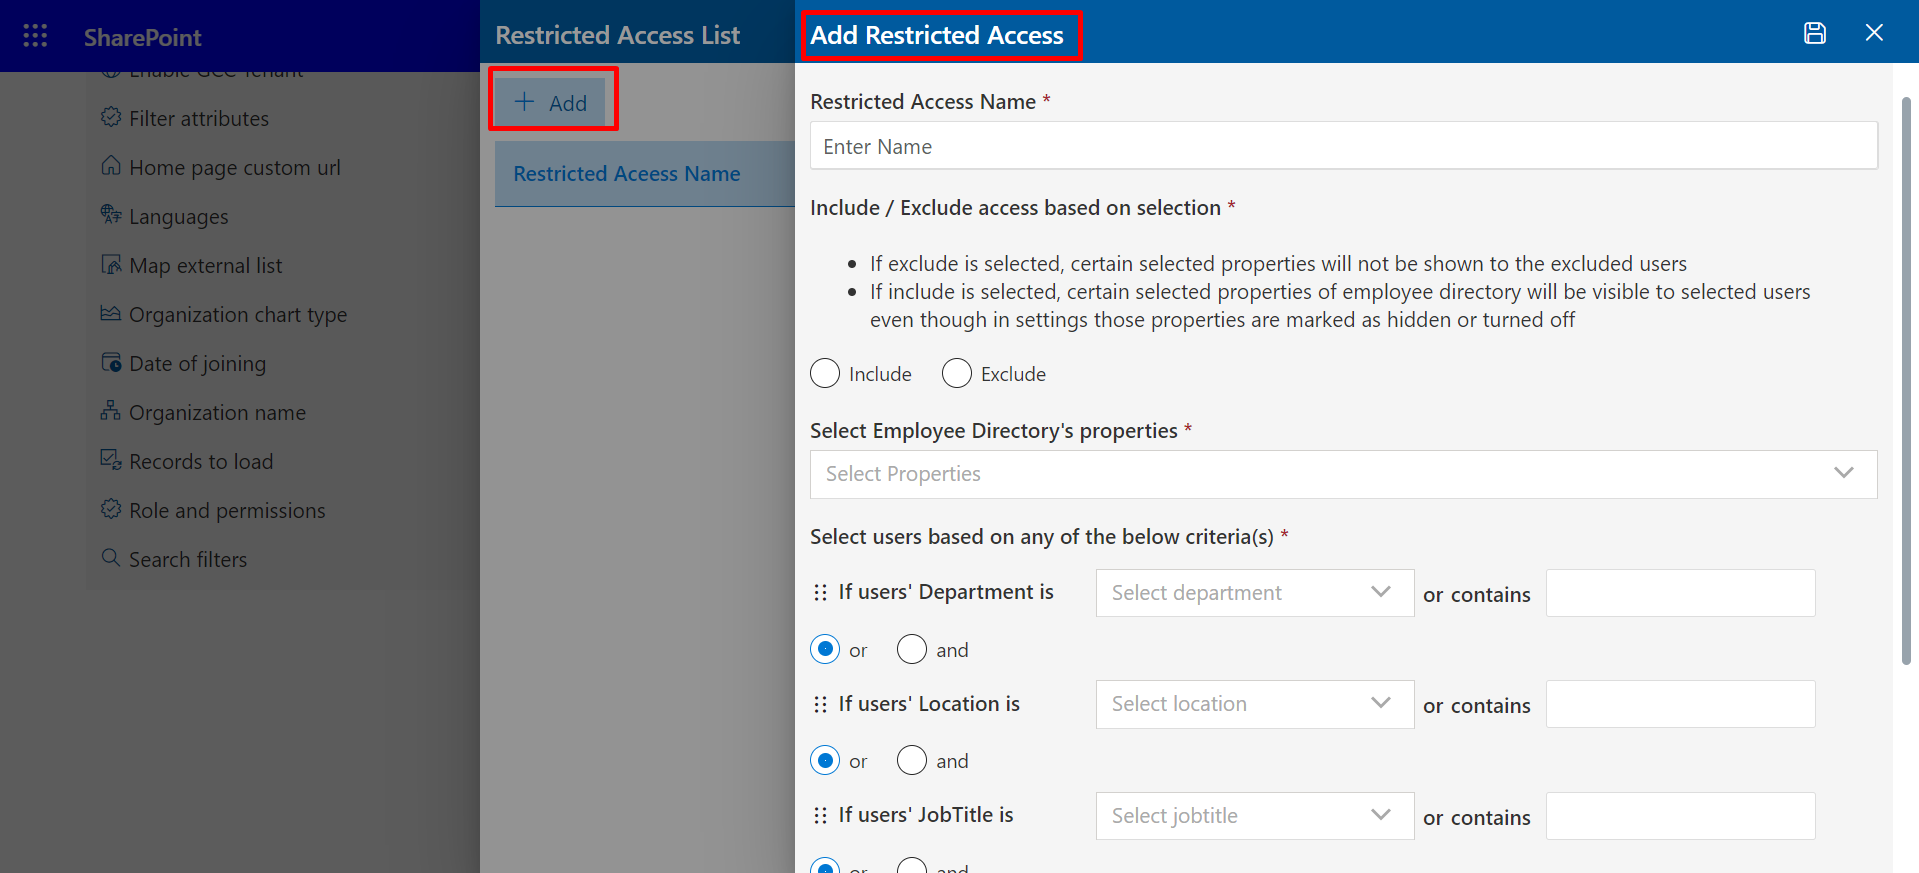
Please activate this feature if you want to search by 'starts with', 'ends with', or 'contains', but only if the number of employees is under 3000. - Restricted Access List:
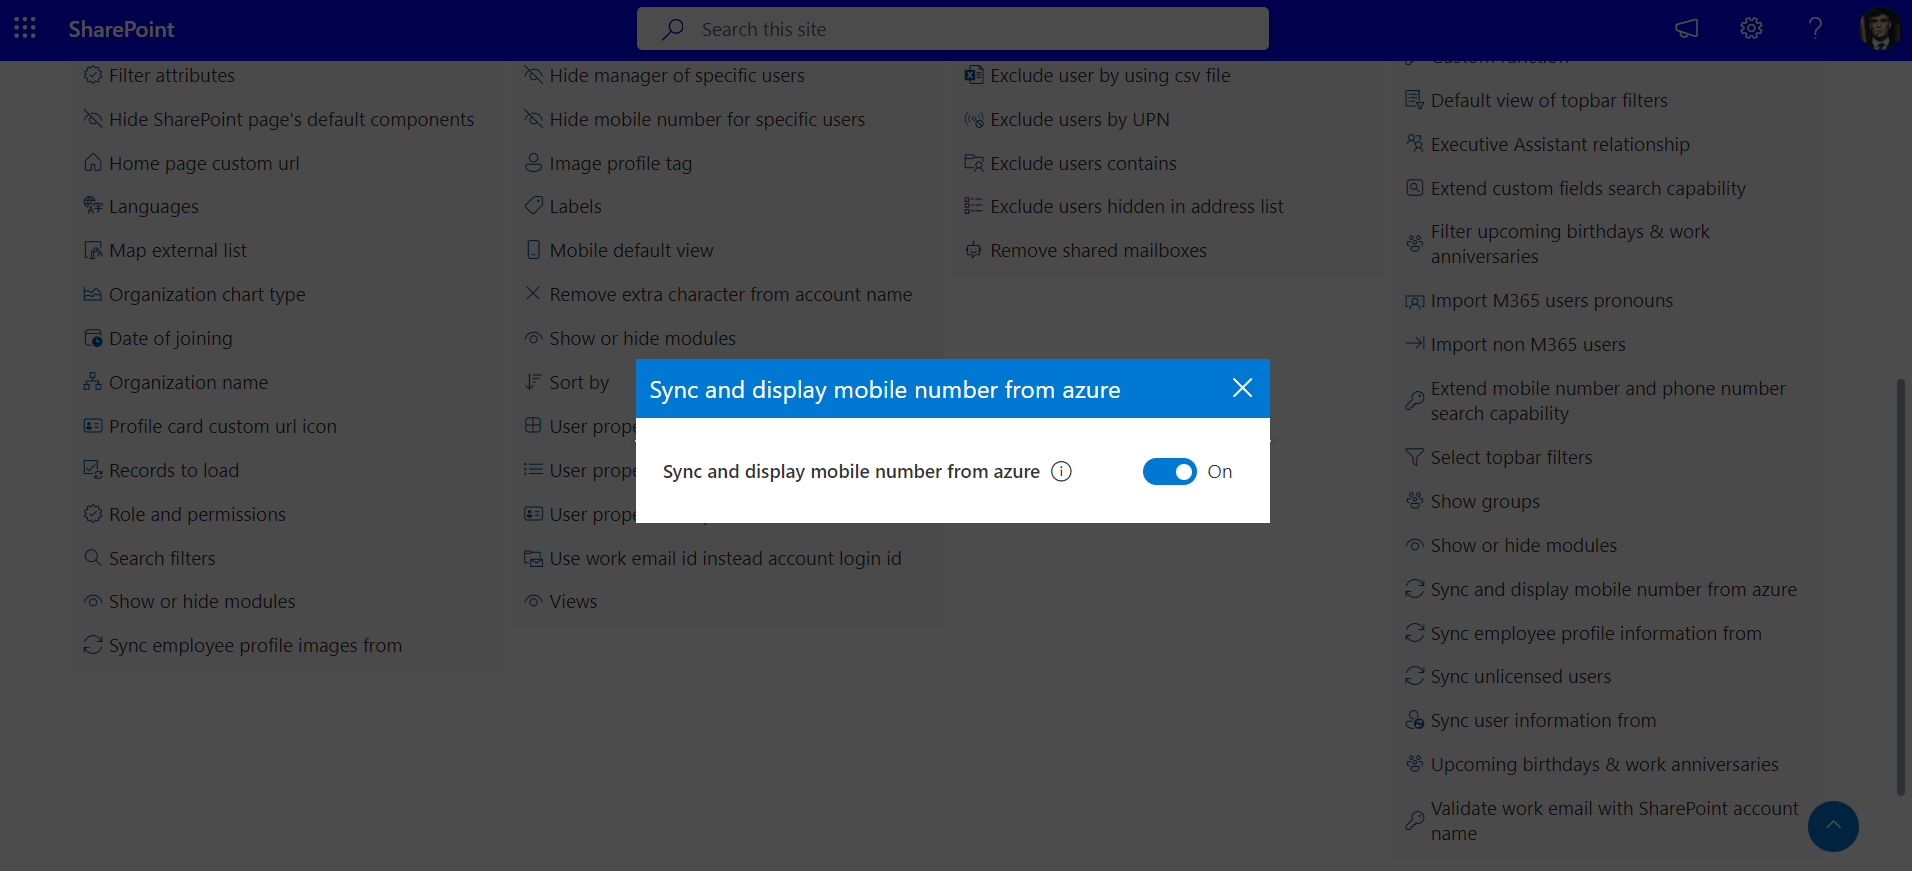
This feature limits access to certain modules or data based on user roles and permissions. Only authorized users will be able to view or modify the restricted content, ensuring data privacy and security - Sync and display mobile number from azure:
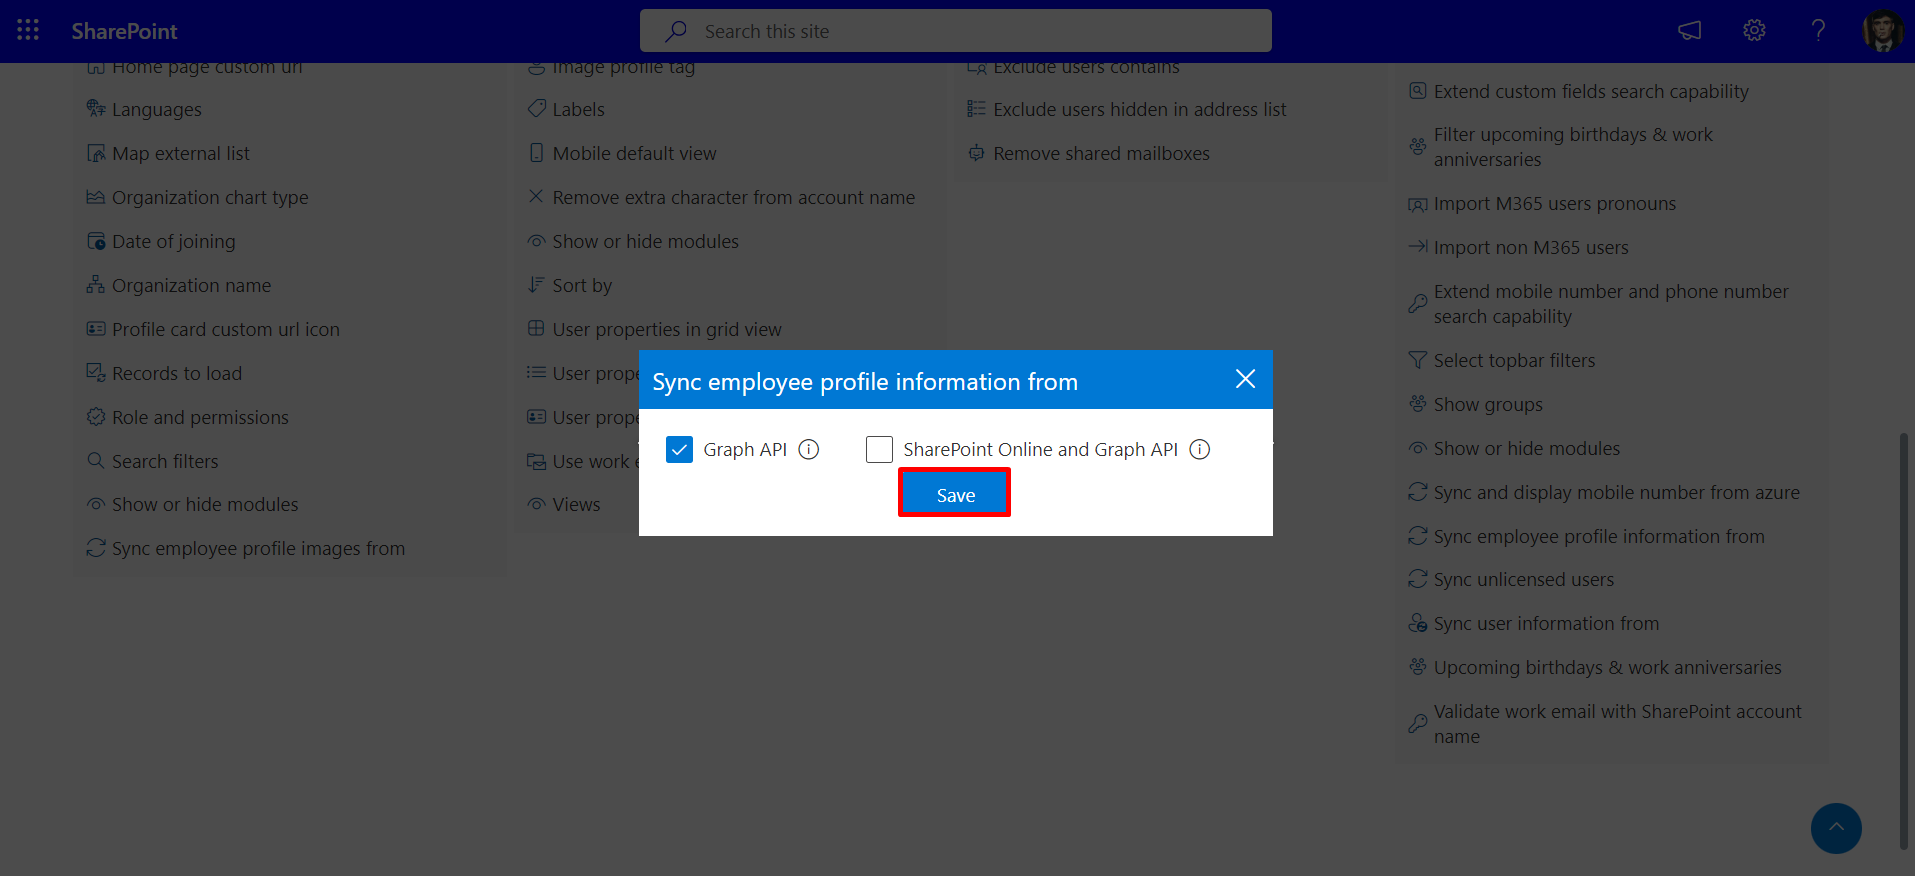
This setting will be functional when the SharePoint API is activated. For instructions on enabling it, please refer to this link. - Sync employee profile information from :
- Graph API : The recommended configuration for the Employee Directory app is to utilize the Microsoft 365 Graph API as the primary data source to fetch all information. It is advisable to use Microsoft 365 as the data source for the majority of attributes.
- Sharepoint Online and Graph API: The Employee Directory app utilizes SharePoint Online and the Microsoft 365 Graph API as data sources to retrieve all information. It is recommended to enable this setting only if advised by the support or consulting team, particularly if there is a specific need such as sorting results by last name or other requirements that cannot be fulfilled using the Graph data source alone.
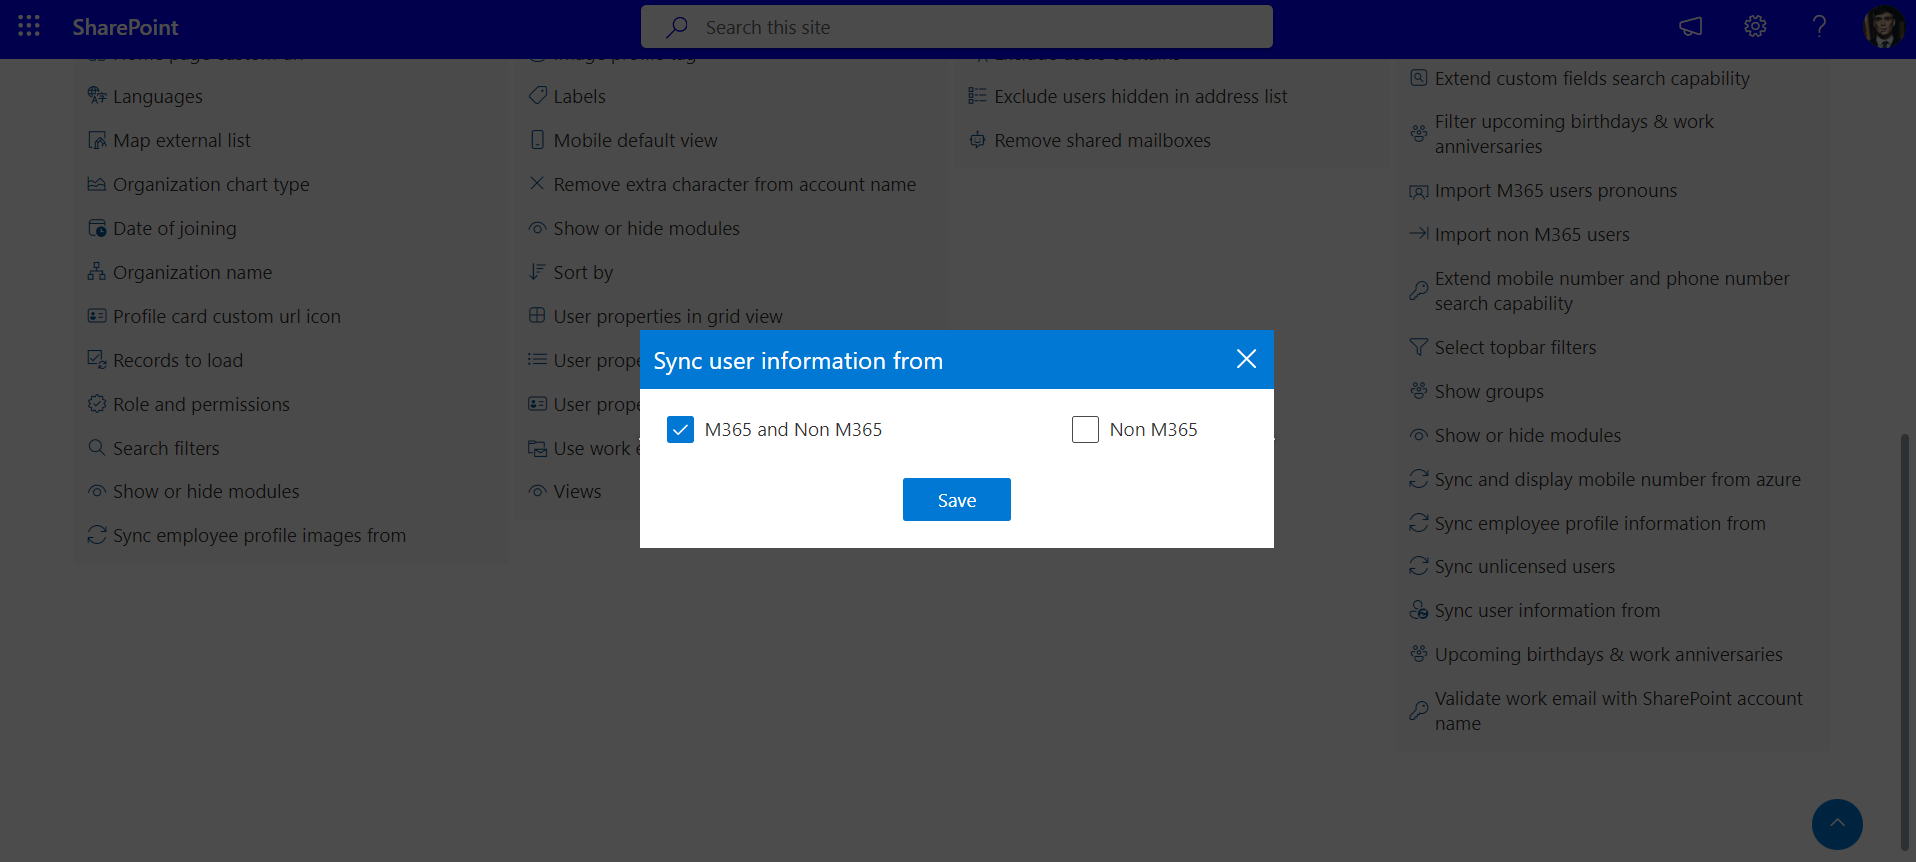
- Sync user information from
- Topbar Filter
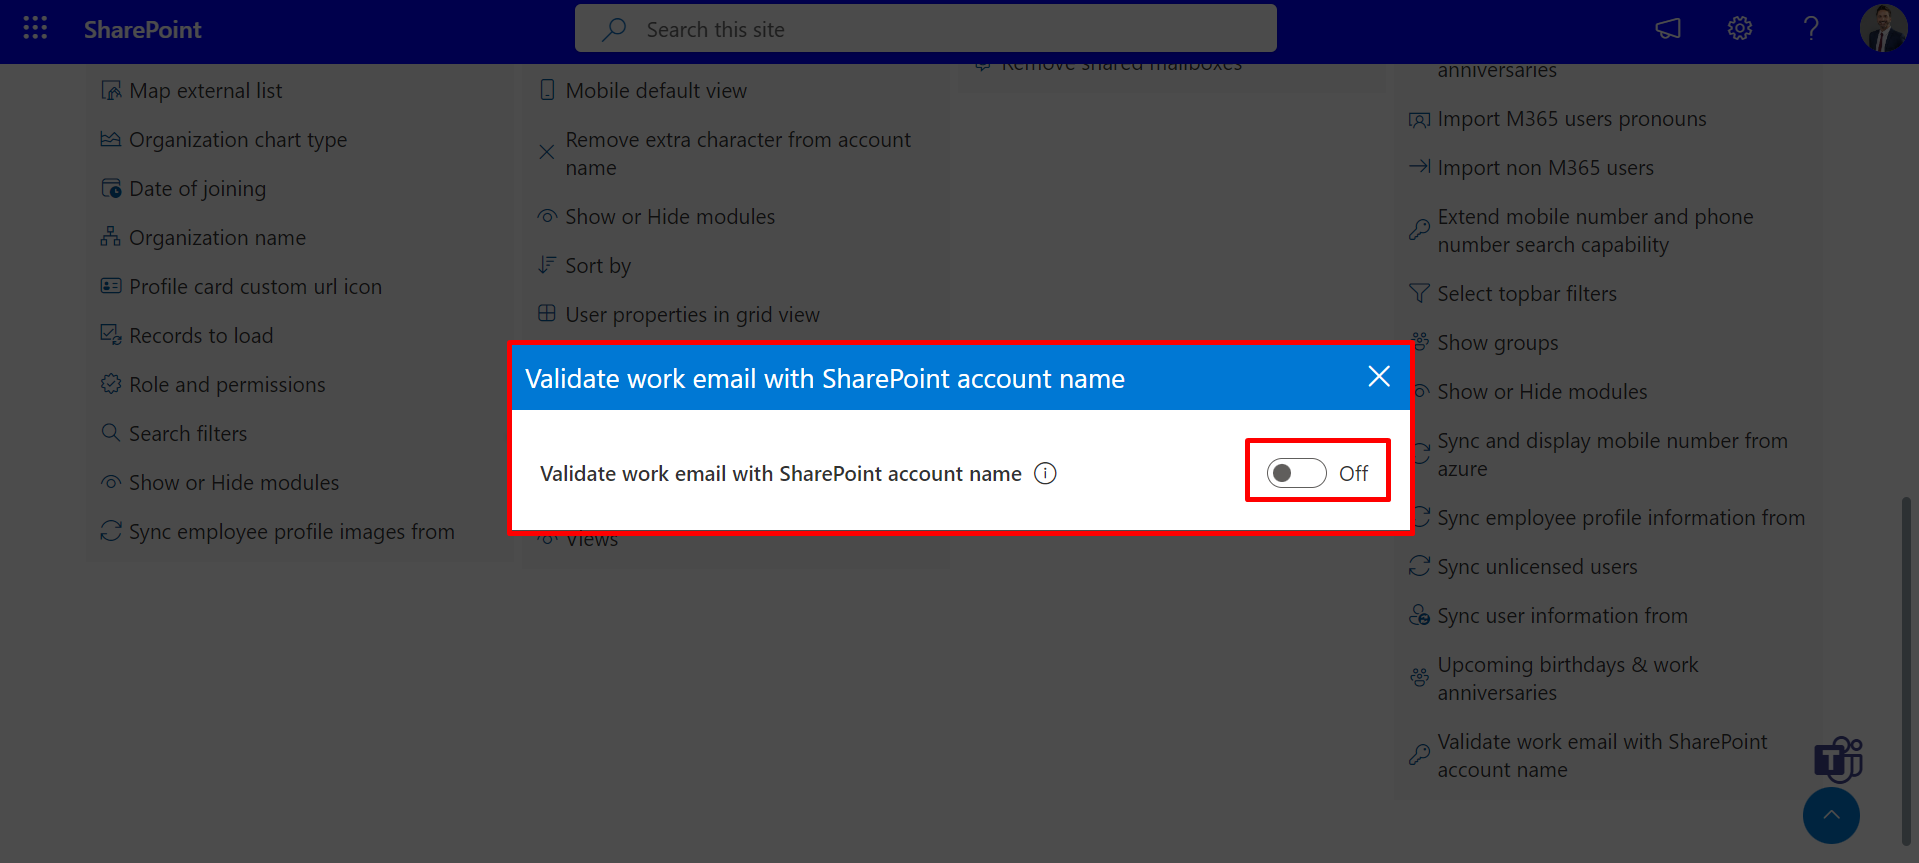
- Validate work email with SharePoint account name:
Enable this setting to validate the work email with the SharePoint account name. Note that enabling this setting may increase the page load time of the application, so use it judiciously.
This feature enables users to add or remove additional managers, as well as assign additional properties based on the manager's preferences.


When selecting properties such as 'EmployeeHireDate' and saving their values in attributes, individuals associated with those values will have them displayed on their profile cards, in list views, and elsewhere.
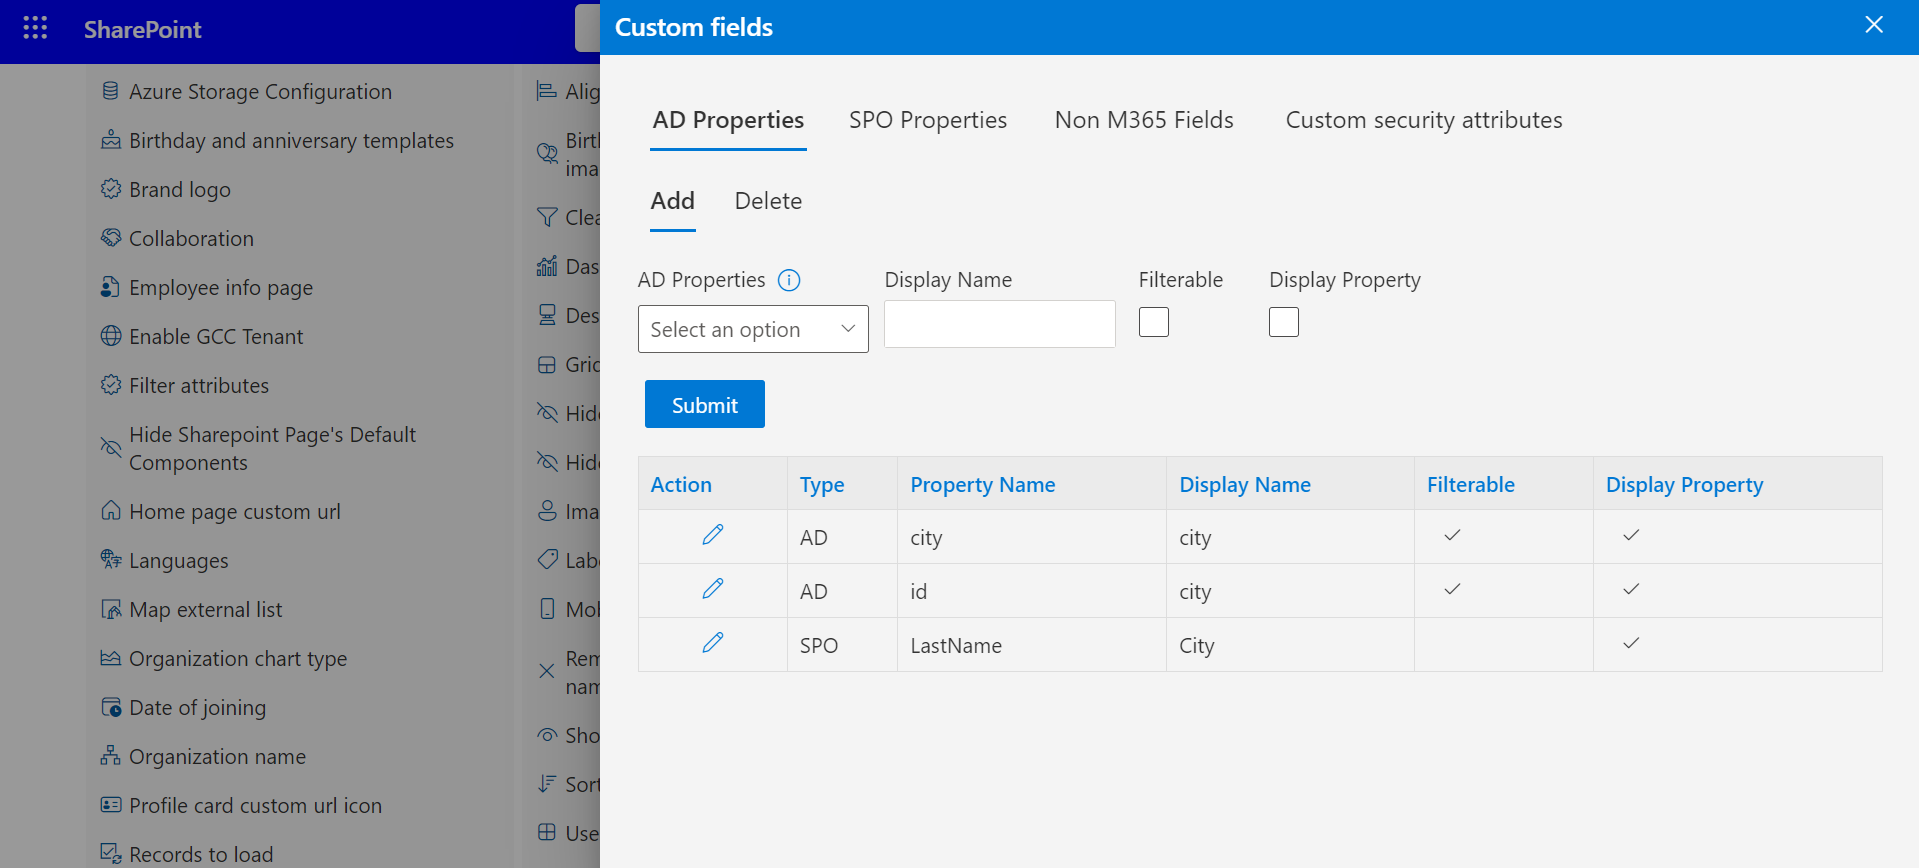
AD Properties:Custom attributes and extension attributes of employees can be fetched and viewed across all views. You can also filter by these attributes by adding filters. Currently, custom attributes are not included in the "free search" feature.
In this feature, users have the option to synchronize user information from two different sources: M365 and non-M365. Alternatively, they can choose to synchronize only user information from non-M365 accounts.
Select Topbar filter:Users have the option to filter results by choosing either department or location.
Default view of topbar filters: This setting allows users to select which property values they want to display as filters on the homepage. The department and location are the only two properties available for this purpose.