Administration
This option is available for HR Manager, HR Head, Admin, HR Manager Admin, and HR Head Admin. All the above roles could add users to the application, and categories, add KRAs (Key result areas), and create a KRA template
Users
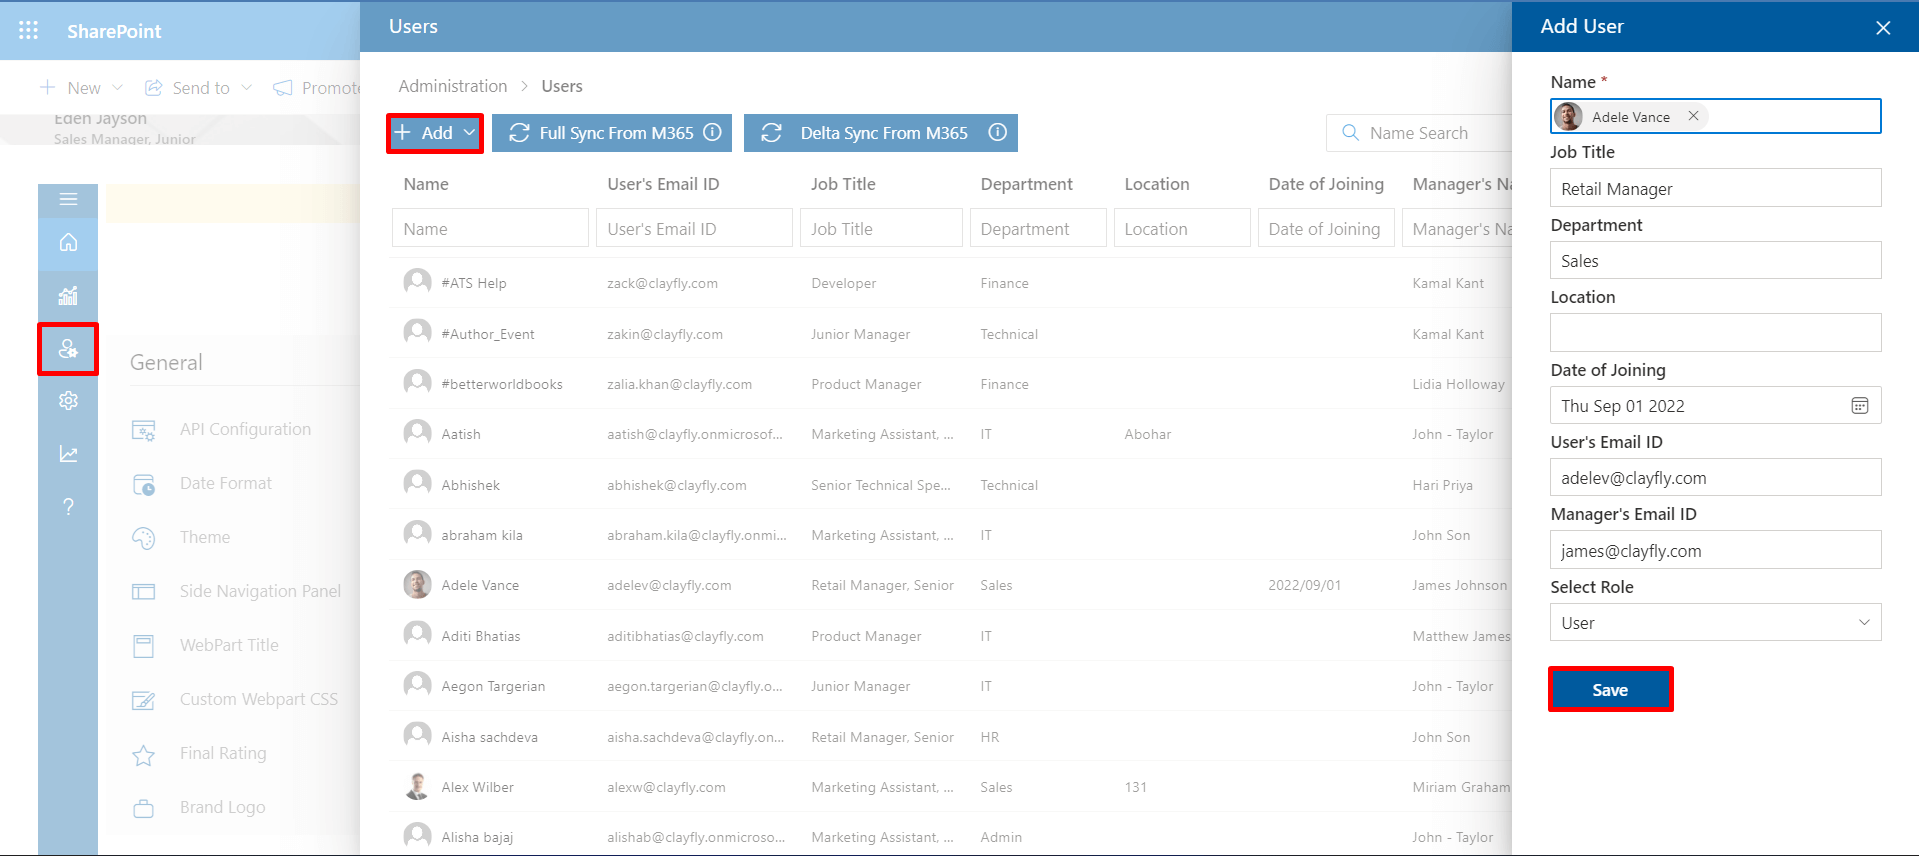
Add users: Add users feature could be used to add single users. Clients/ Admin can use the primary key like email id and insert the user from the autosuggestion. The profile of the individual is auto-populated from M365, if the profile exists on M365, admin can select the role and add or update the user’s details, and save the file using the save button.
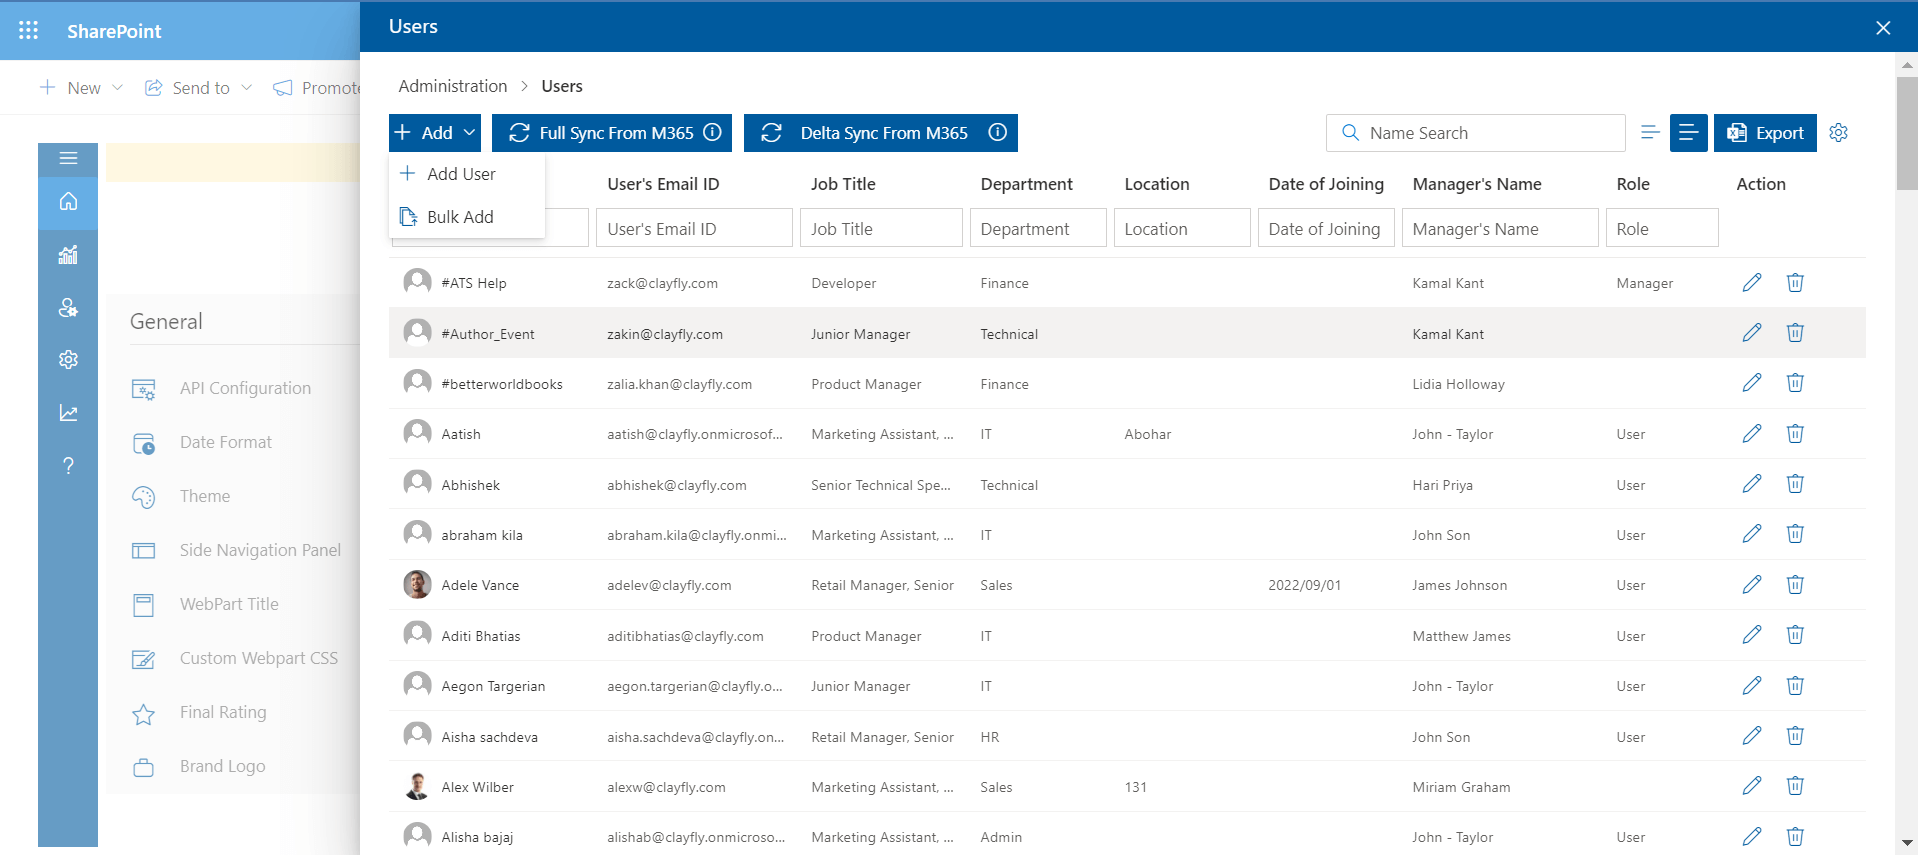
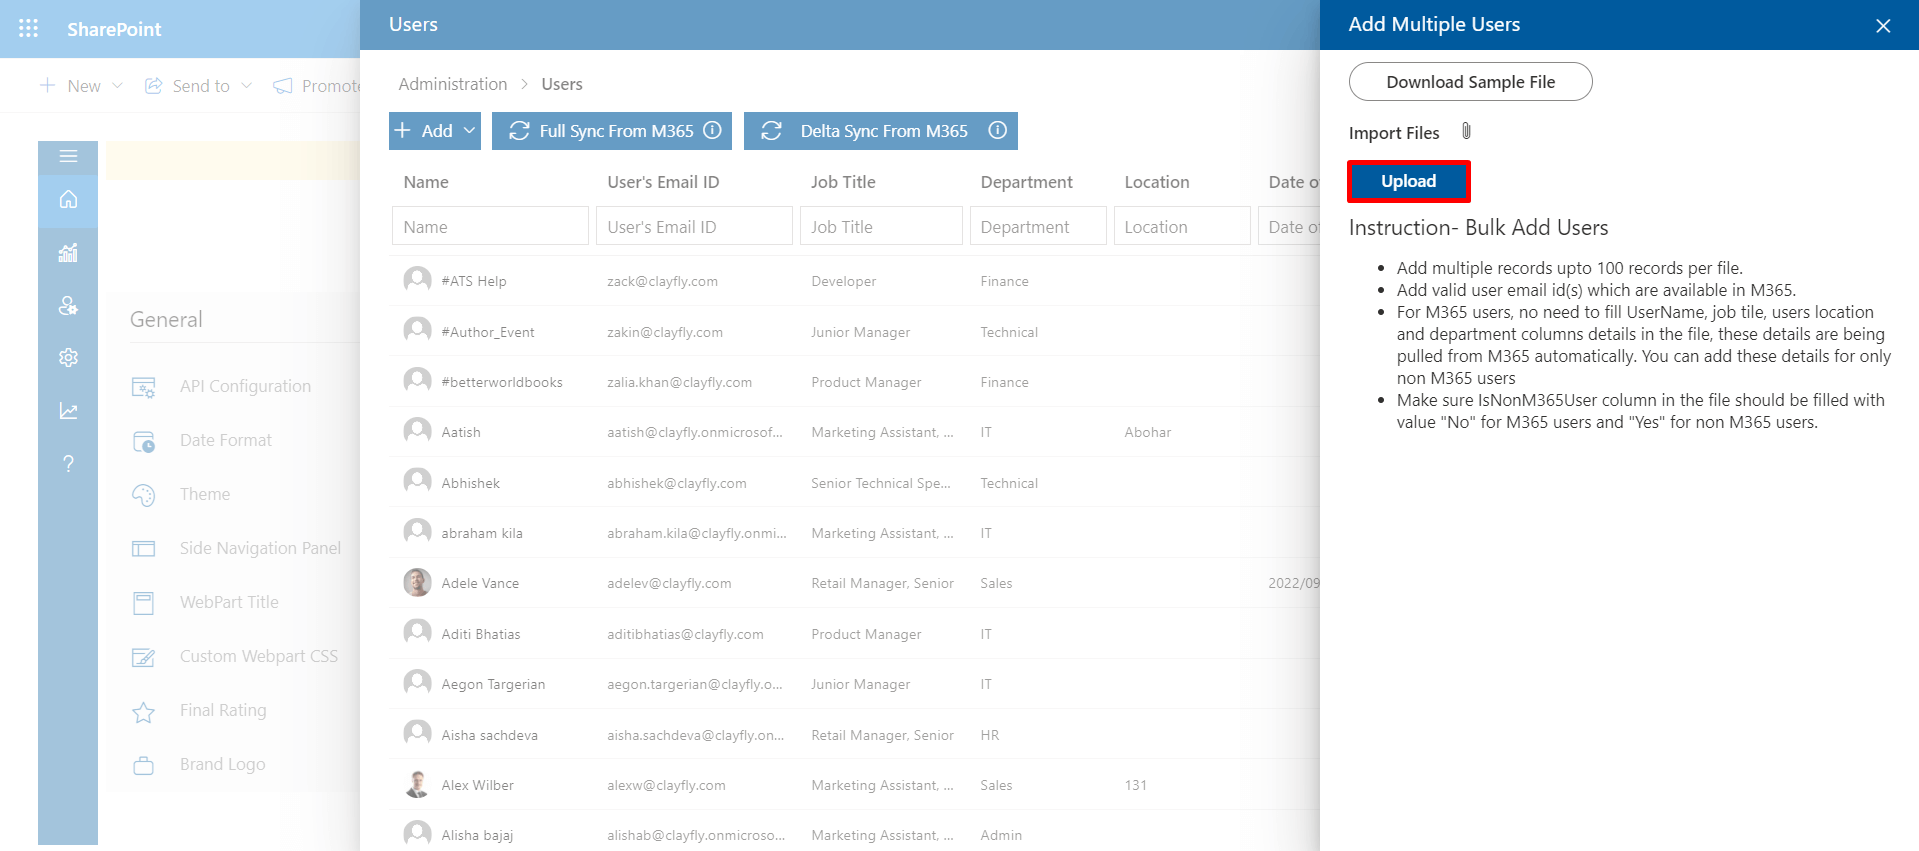
Bulk Add:Using Bulk add option-Multiple users can be uploaded to the platform using CSV files. To add users in bulk users, download the sample file and update the details as per the specified format, finally, the file could be uploaded.
Full Sync from M365: The O365 users can be synced or integrated into the application by clicking on the FULL SYNC button.
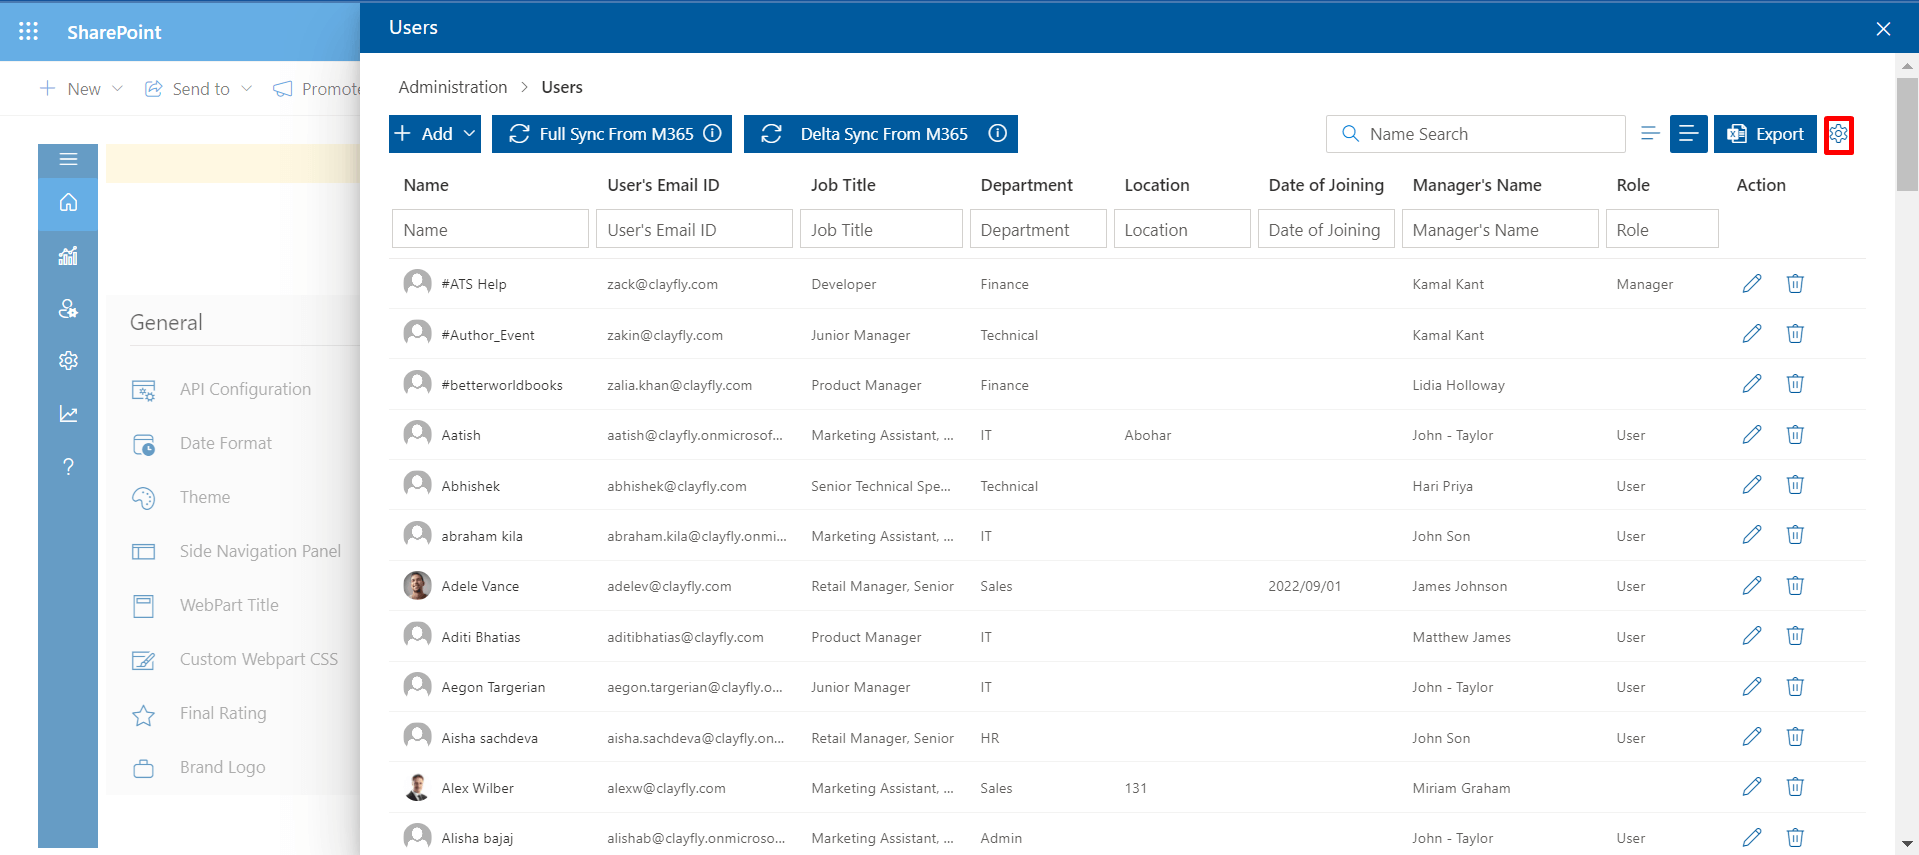
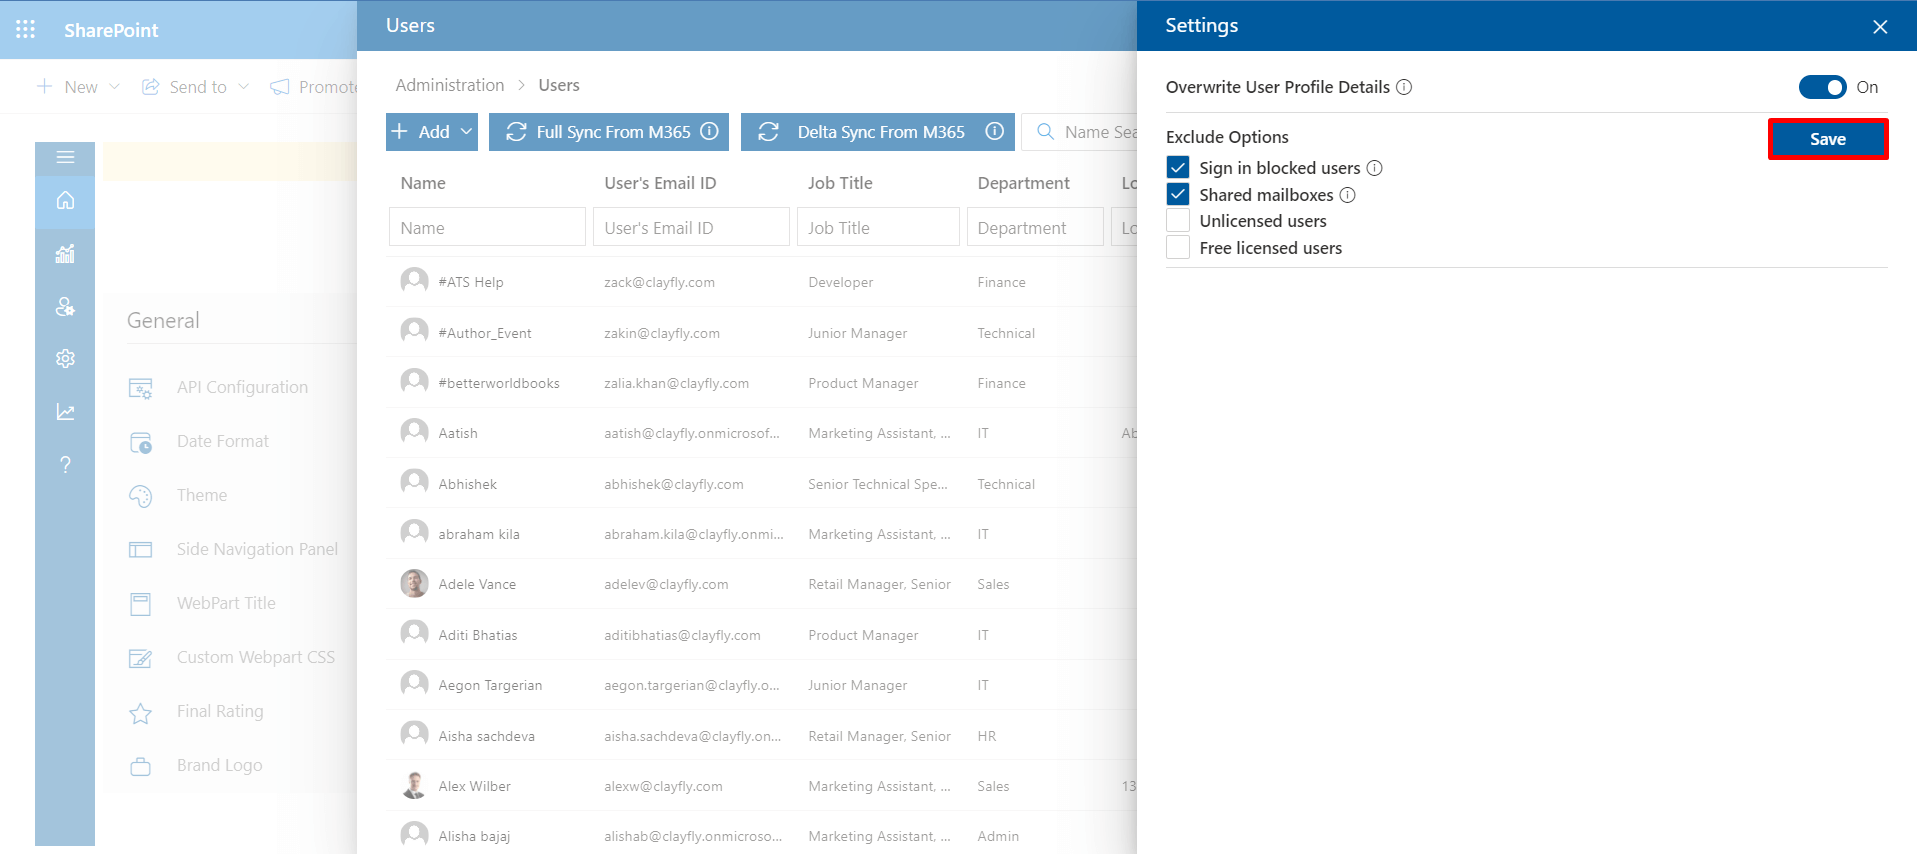
Delta sync from M365: Changes made in O365 can be synced or updated in the application by clicking on Delta sync button.
Categories
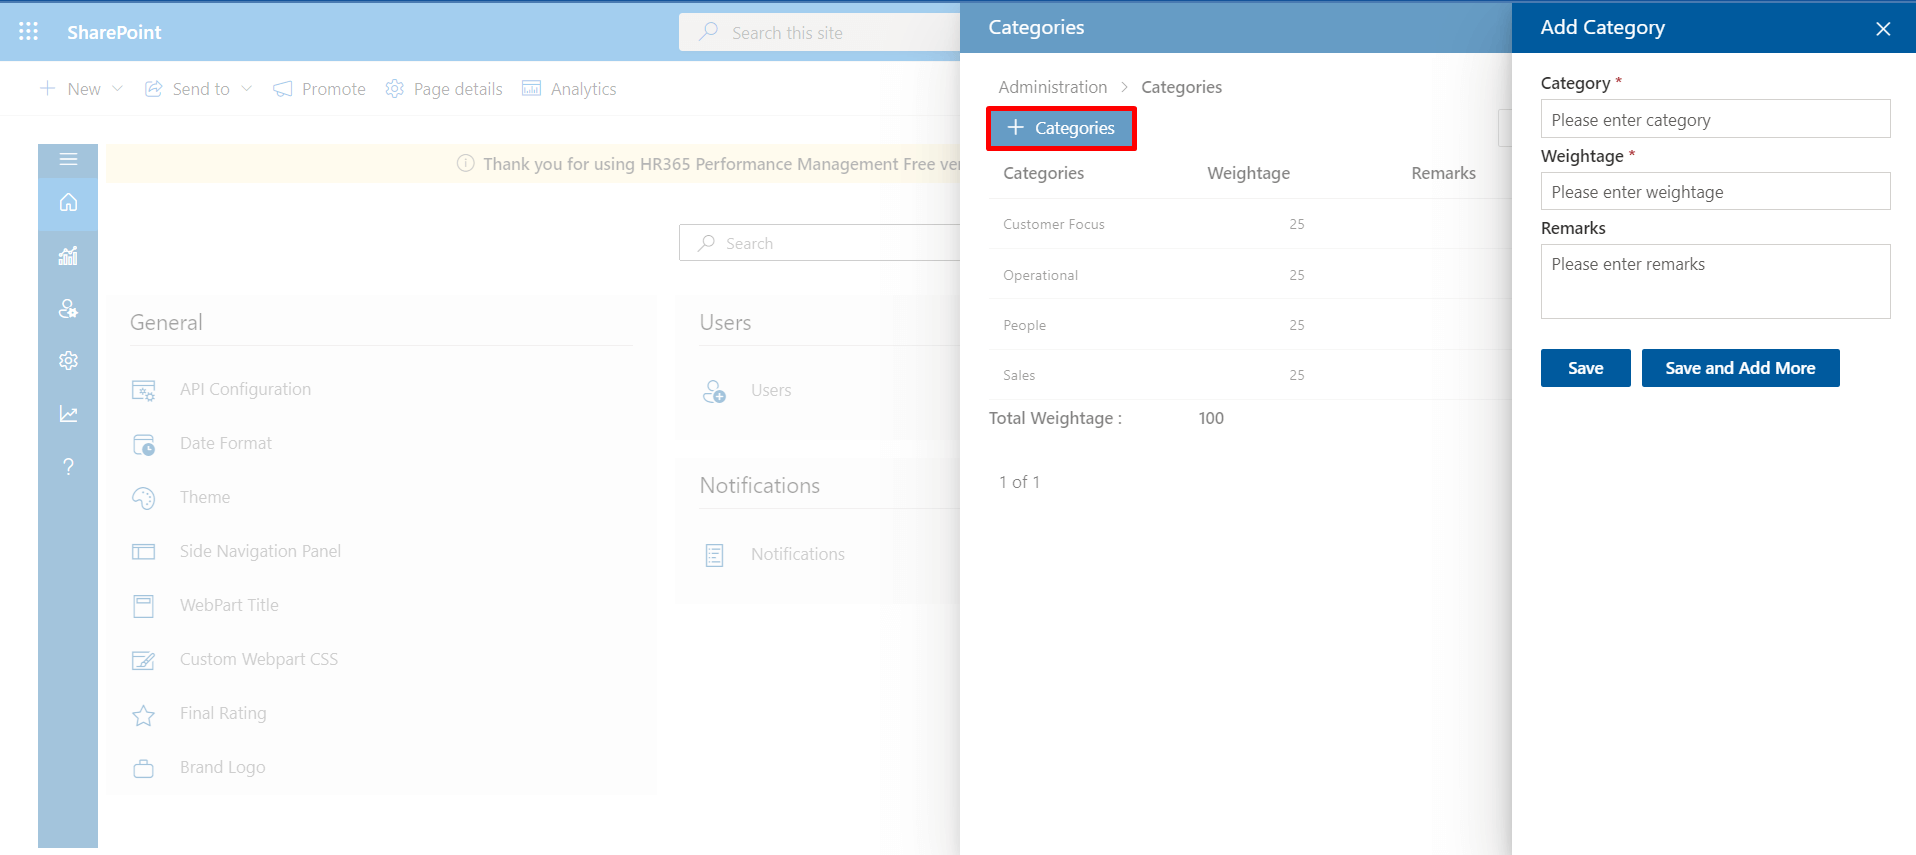
Different categories which help to categorize KRAs can be created.
Add categories whose sum of weightage should be equal to 100 (total weightage).
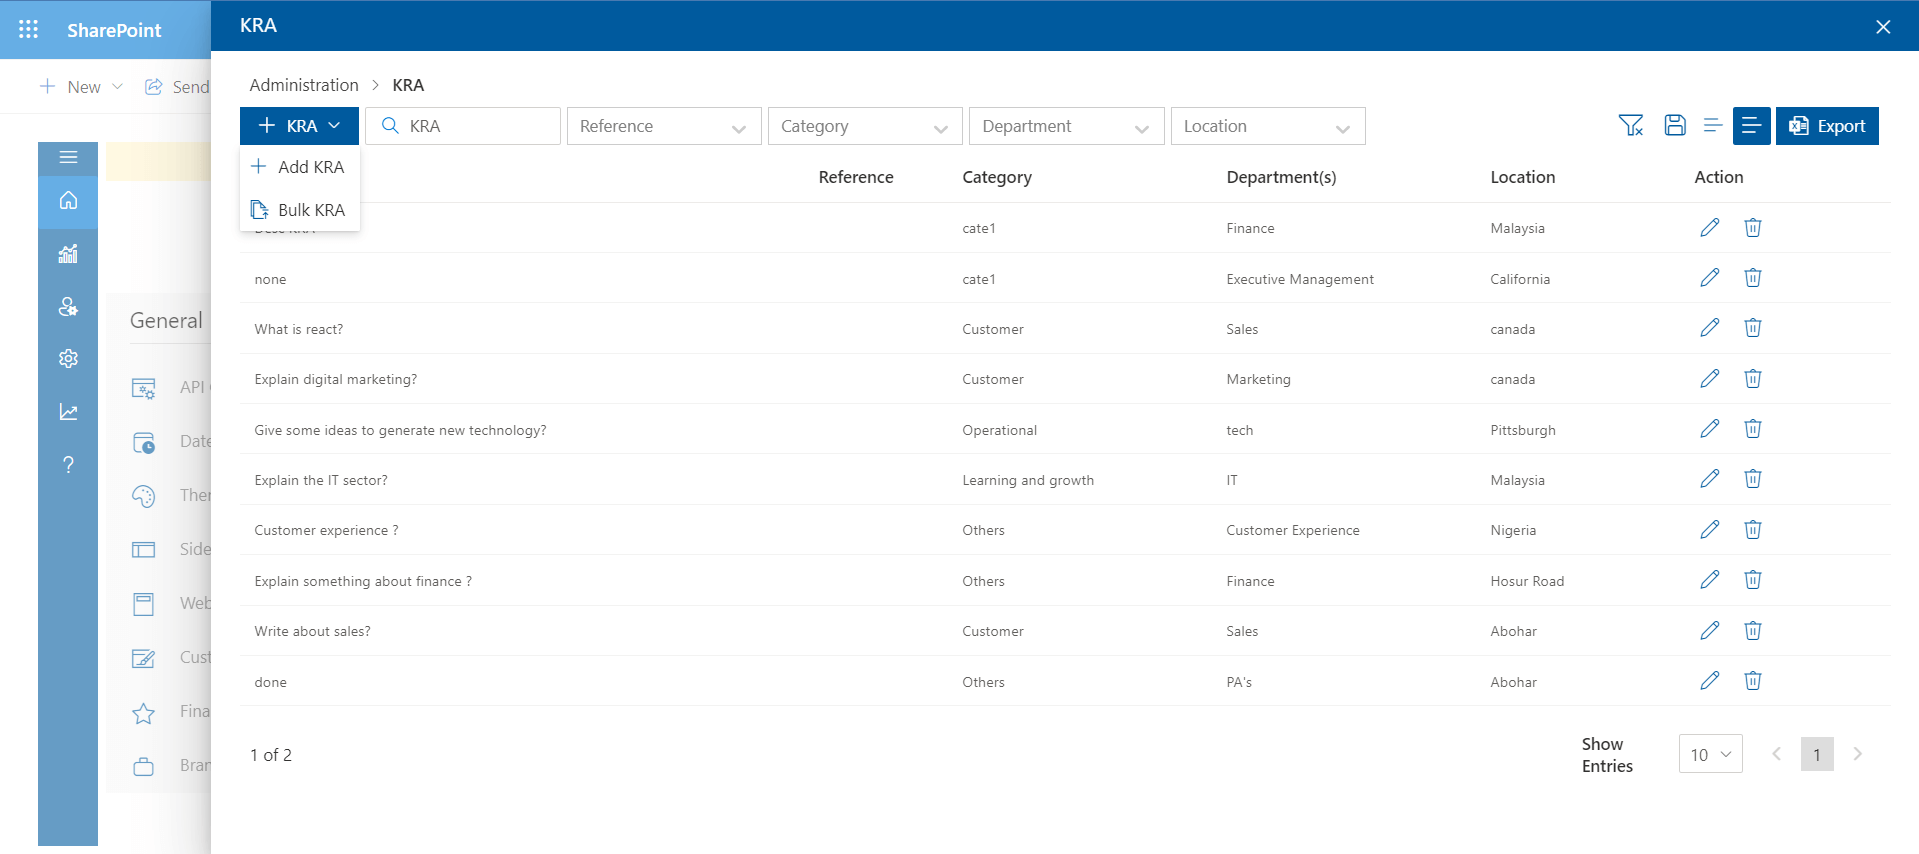
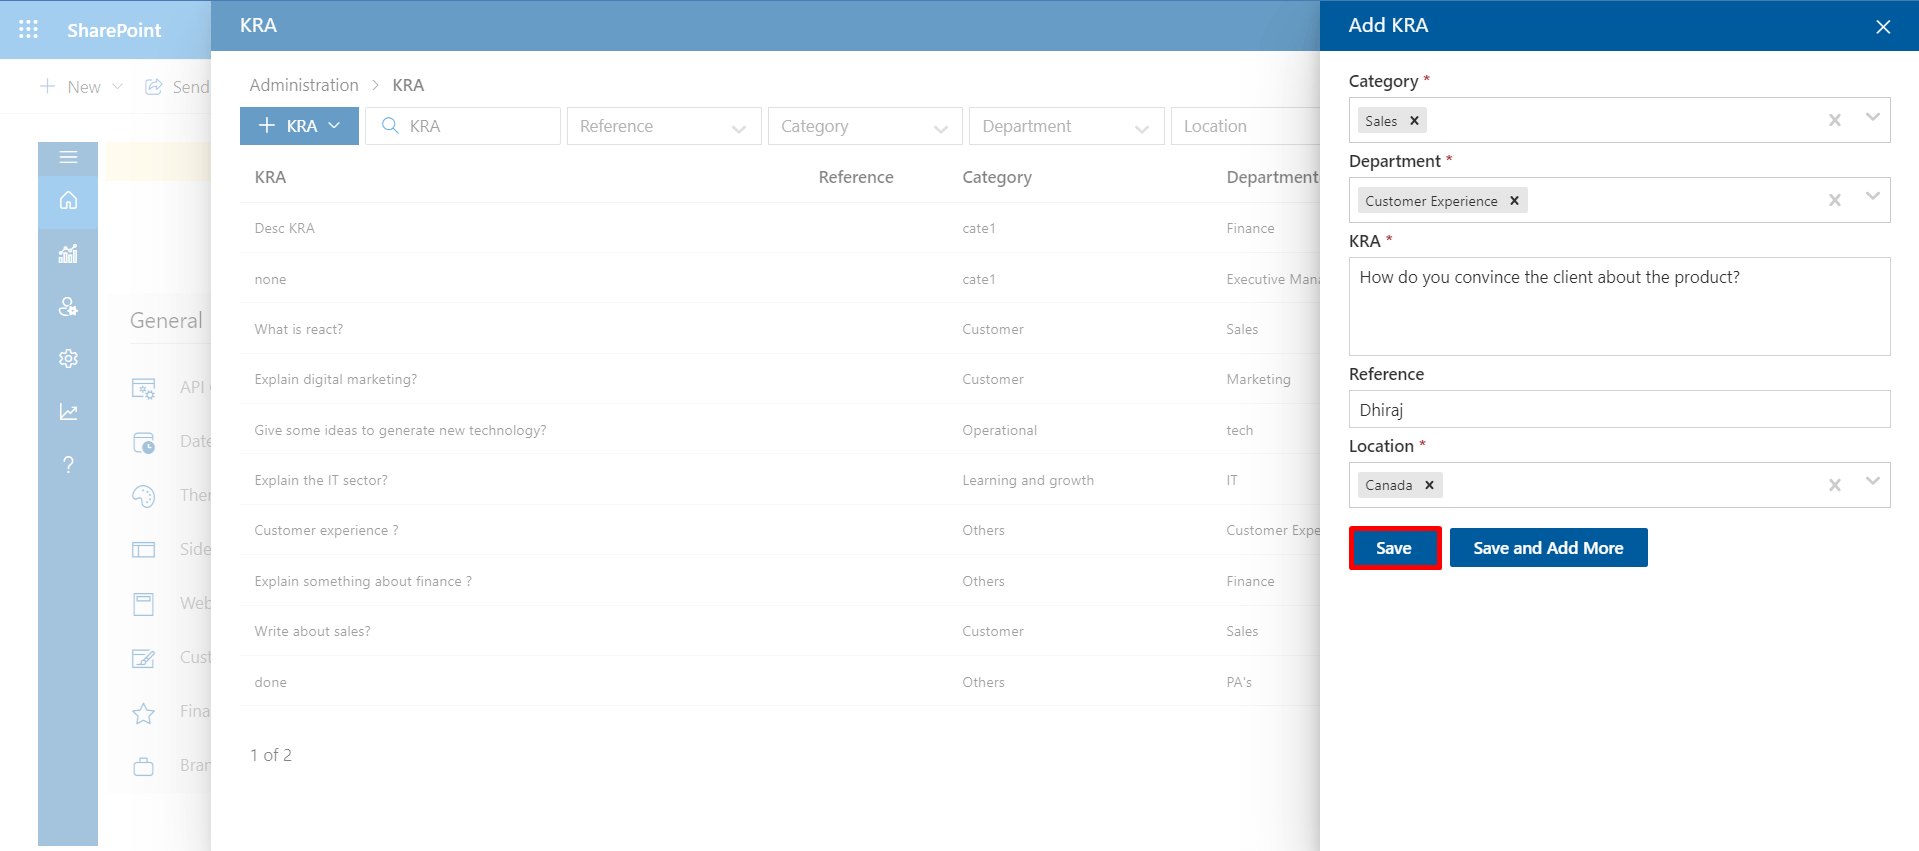
KRA (Key result area)
KRAs can be added as mentioned above based on categories.
Add KRA:Single KRA could be added.
Bulk KRA :Using Bulk add option-Multiple KRA can be uploaded to the platform using CSV files. To add users in bulk users, download the sample file and update the details as per the specified format, finally, the file could be uploaded.
Export You can export the KRAs into an excel sheet by clicking on the export button.
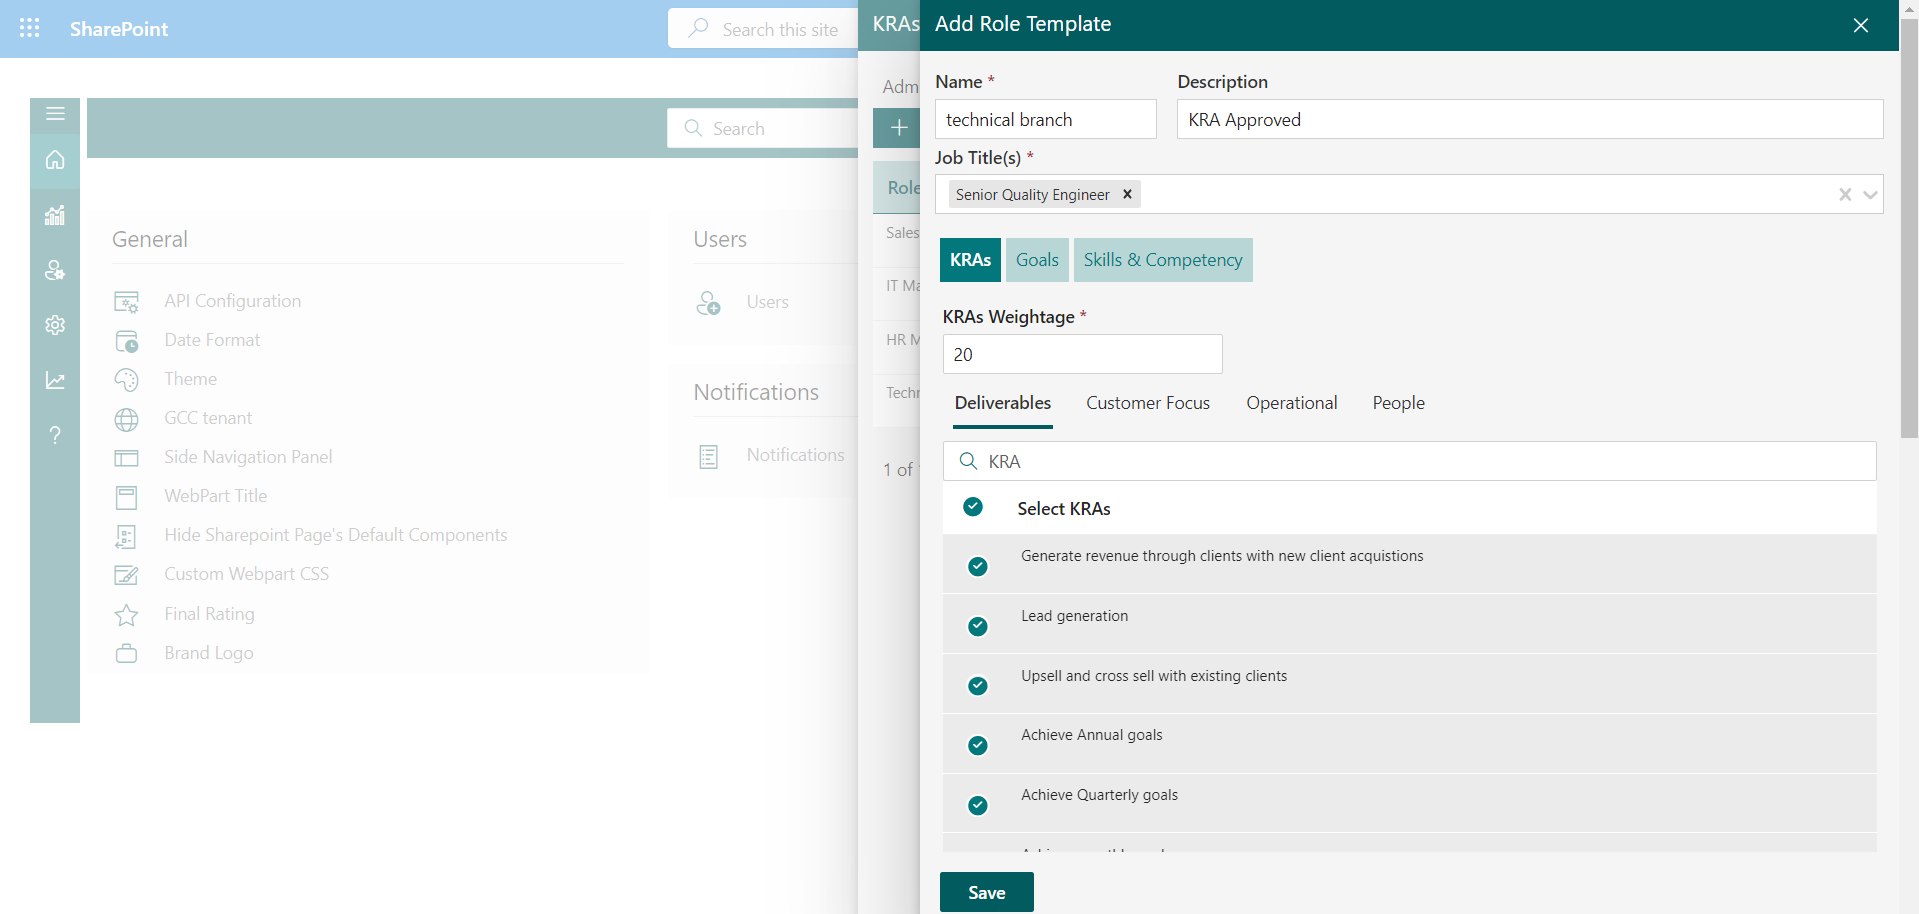
Role Template
Admin can create Role templates based on the job titles. These KRAs are assigned to users based on their job titles at their appraisal cycle.
To add or create the Role template, Insert the name and description, select the job tiles, select or choose the KRAs which are related to the job tiles and click on the next button. Chose the KRA in each category and finally click on the save button.
1:1 Template
A 1:1 meeting (pronounced one-on-one or one-to-one meeting) is a regular check-in between two people in an organization typically a manager and an employee. It's used to give feedback, keep each other in the loop, resolve issues, and help the participants grow in their roles.
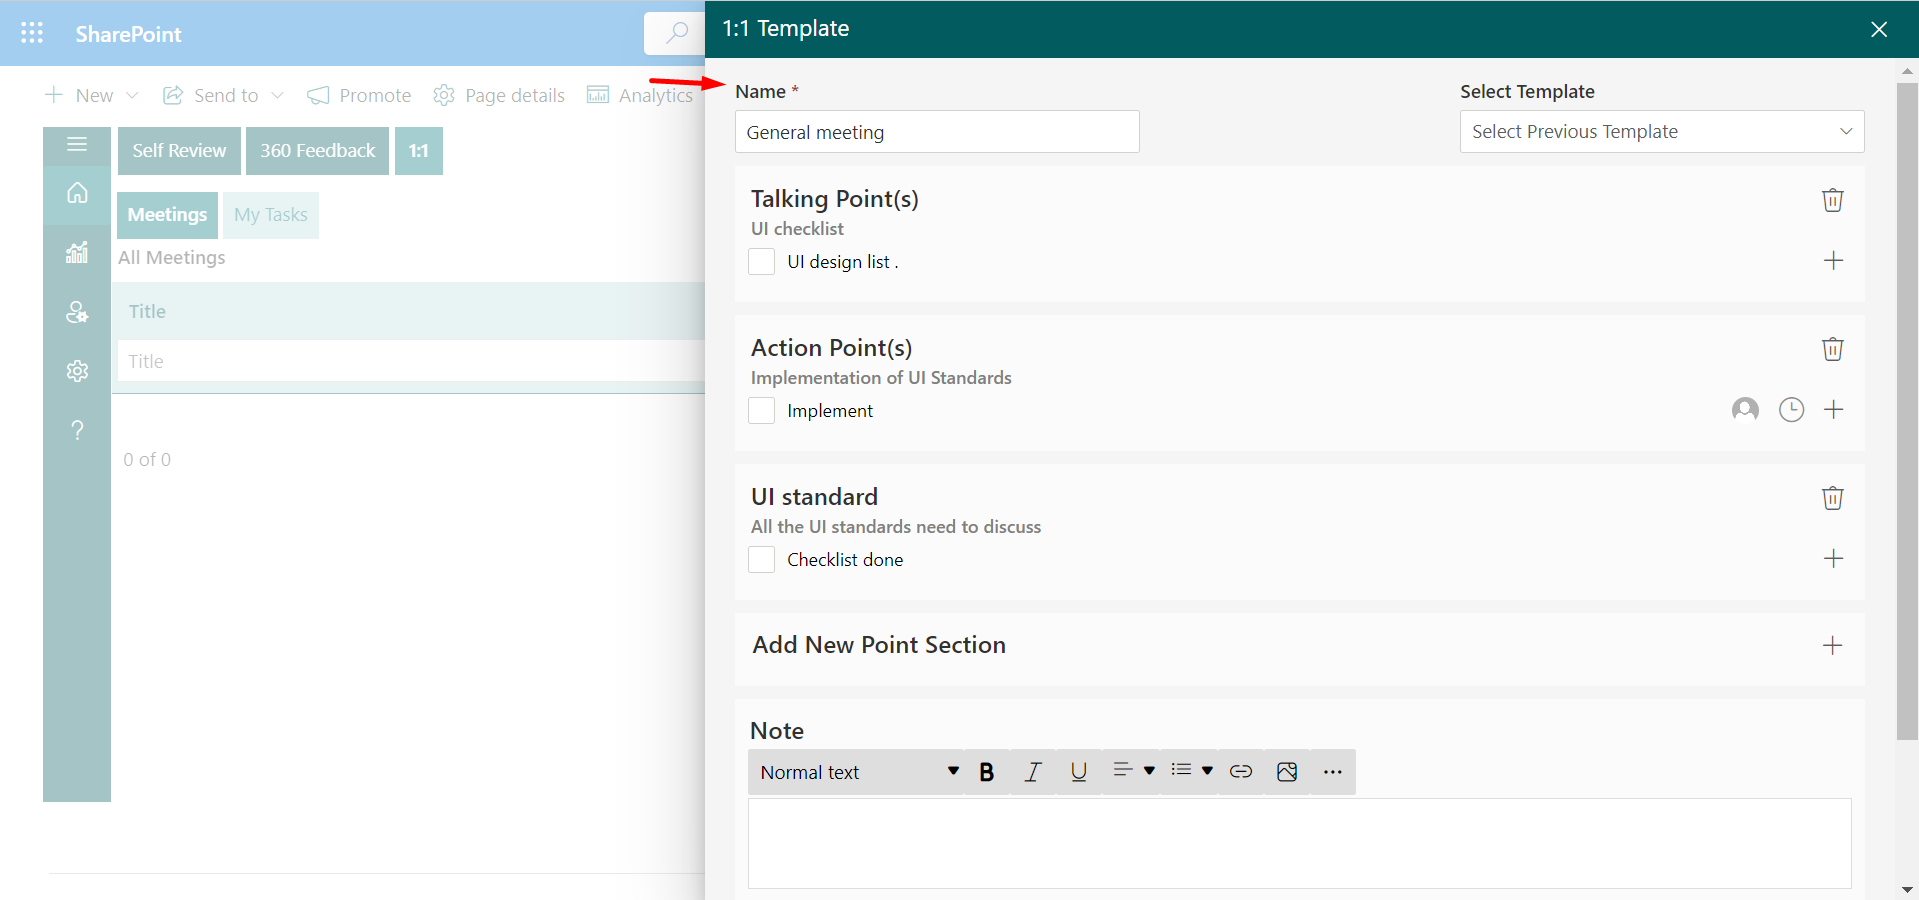
Click on the New button from 1:1 template panel.
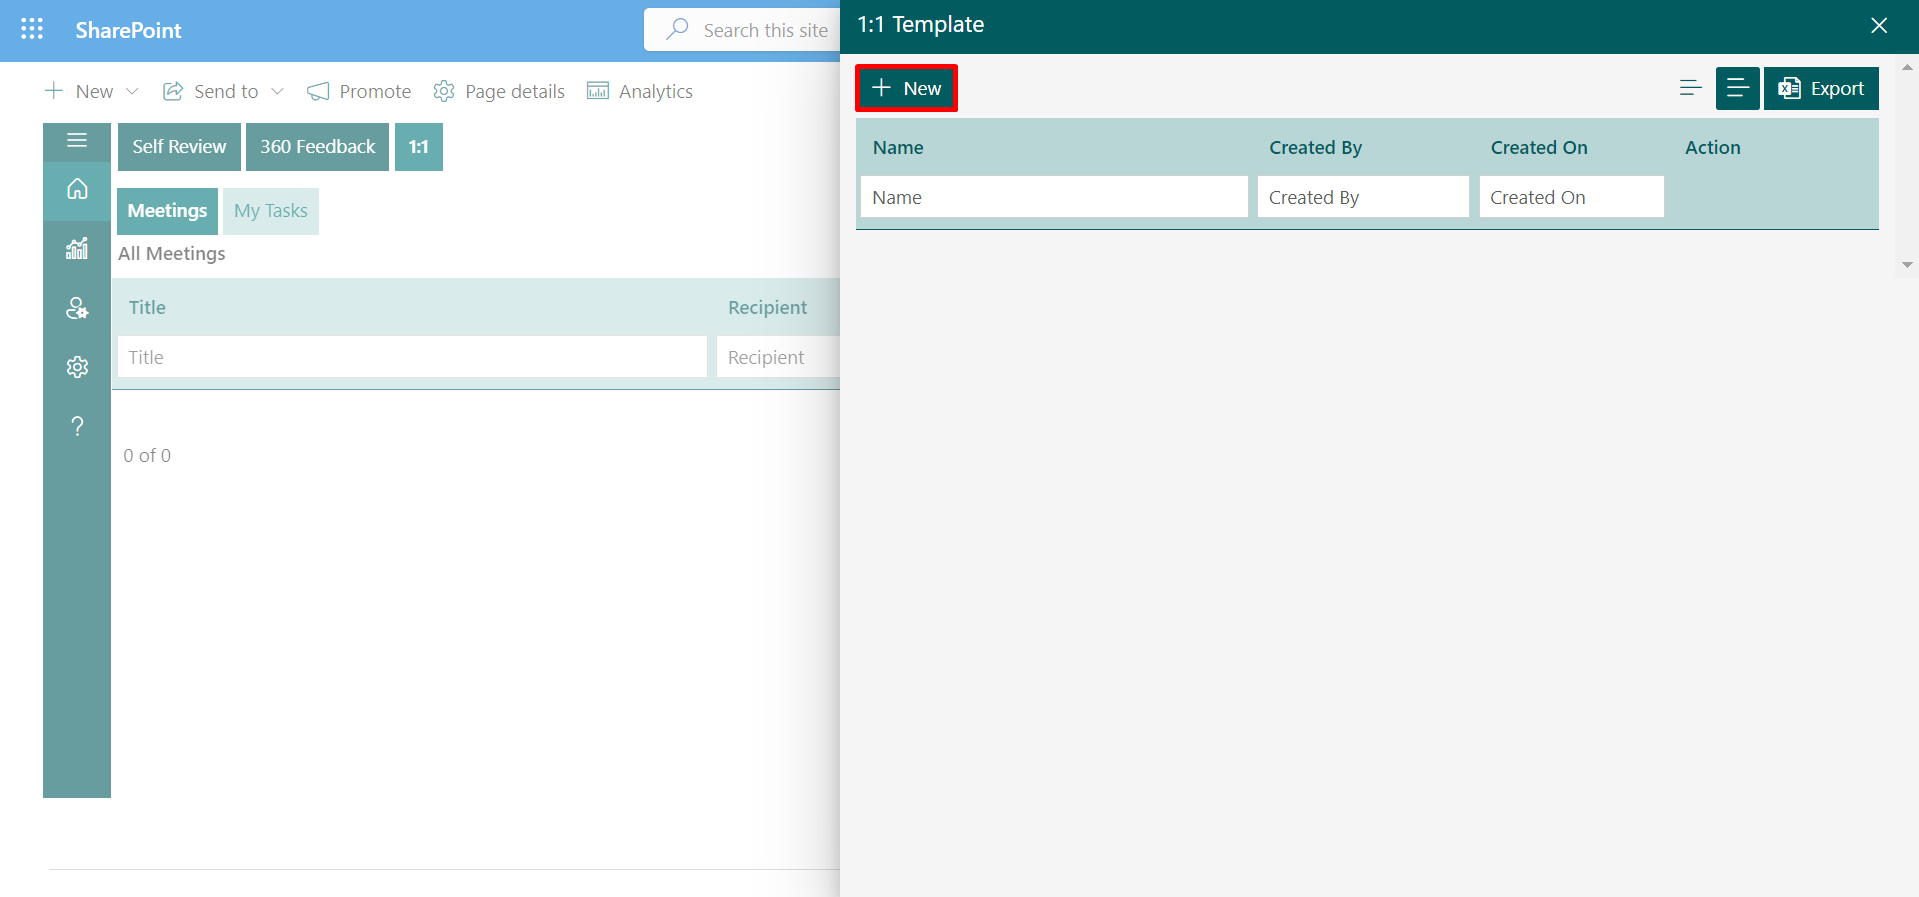
To create a 1:1 template fill the data in the required fields and click on the Create button.
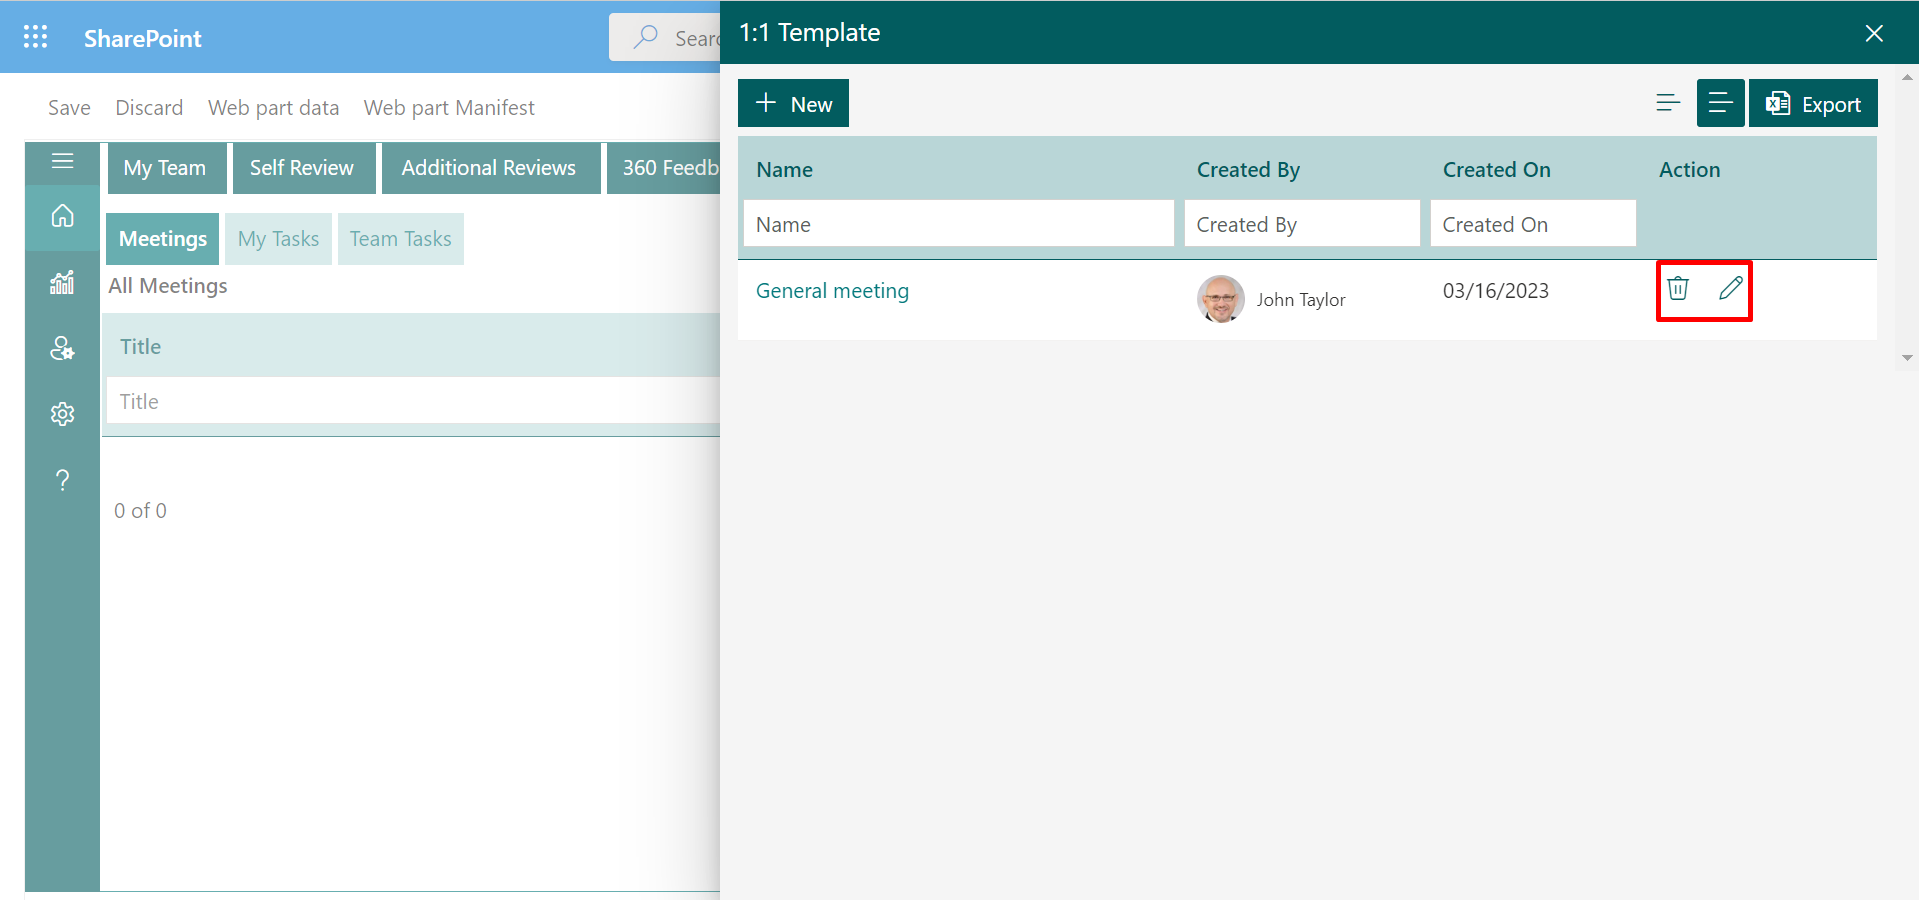
A template will be added in the 1:1 Template panel. From here you can edit or delete the 1:1 template .
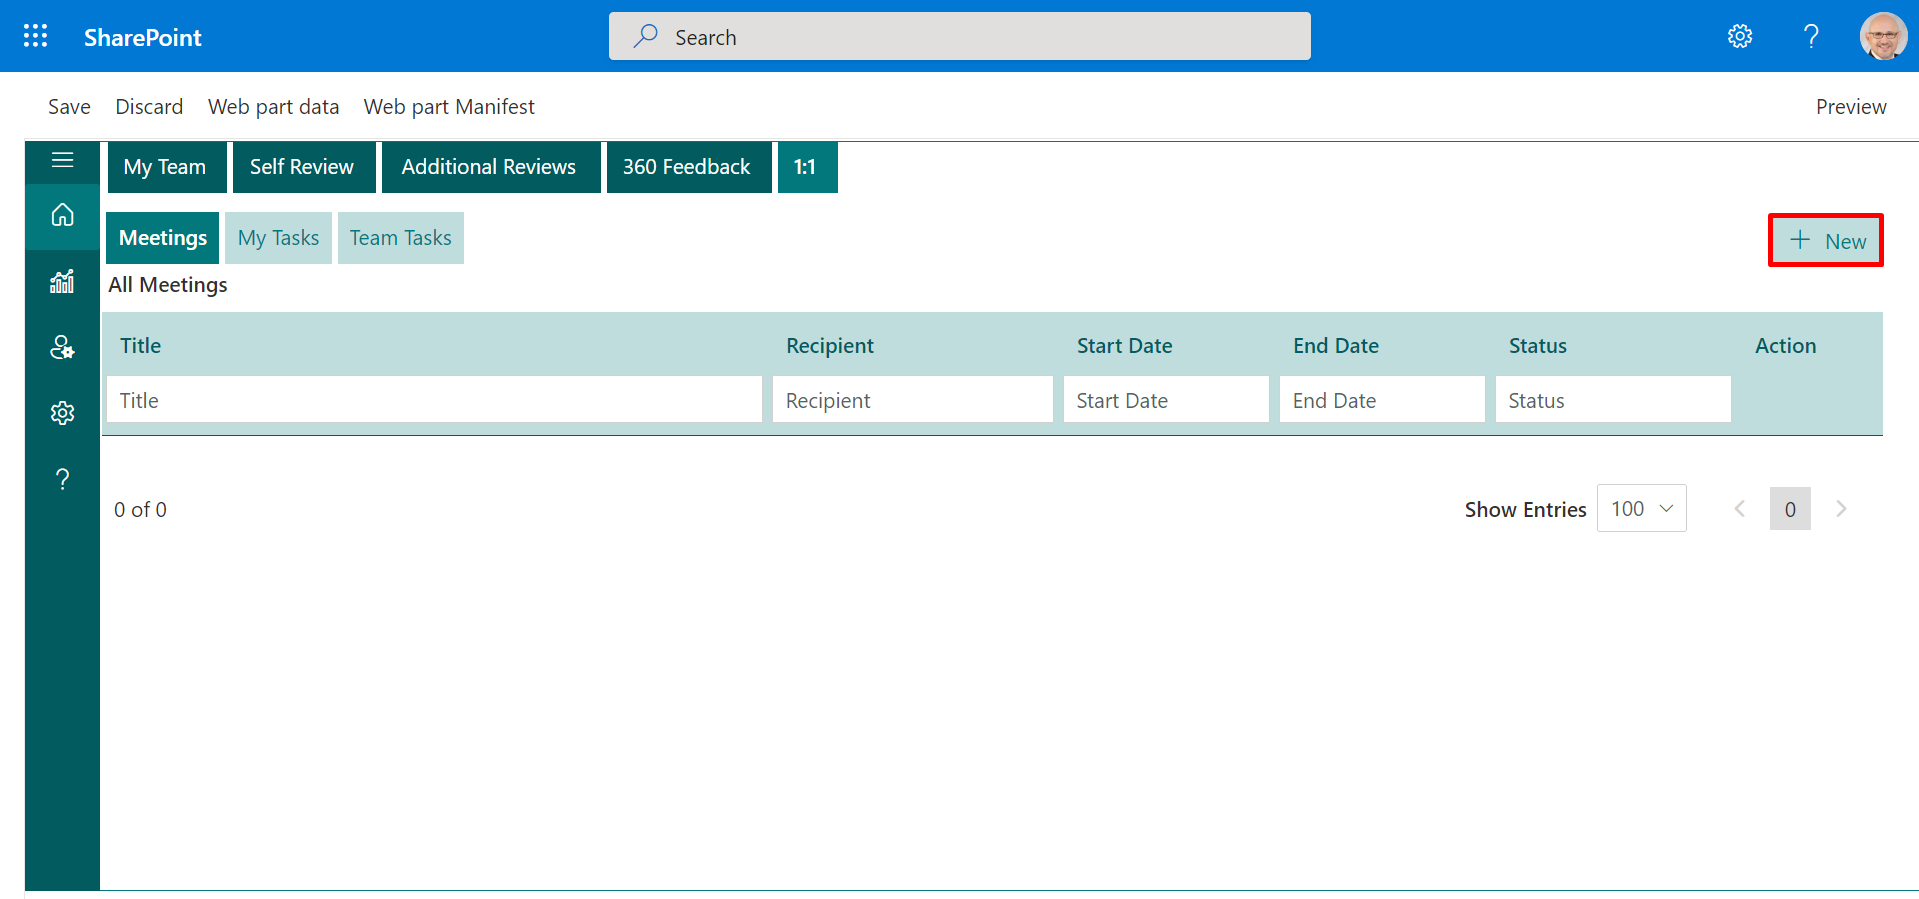
Click on the New button under the 1:1 tab.
Fill out all the meeting details in the 1:1 panel. You can also select template that is previously created. Select the Recurrence checkbox if you want that meeting repeats on a regular basis.
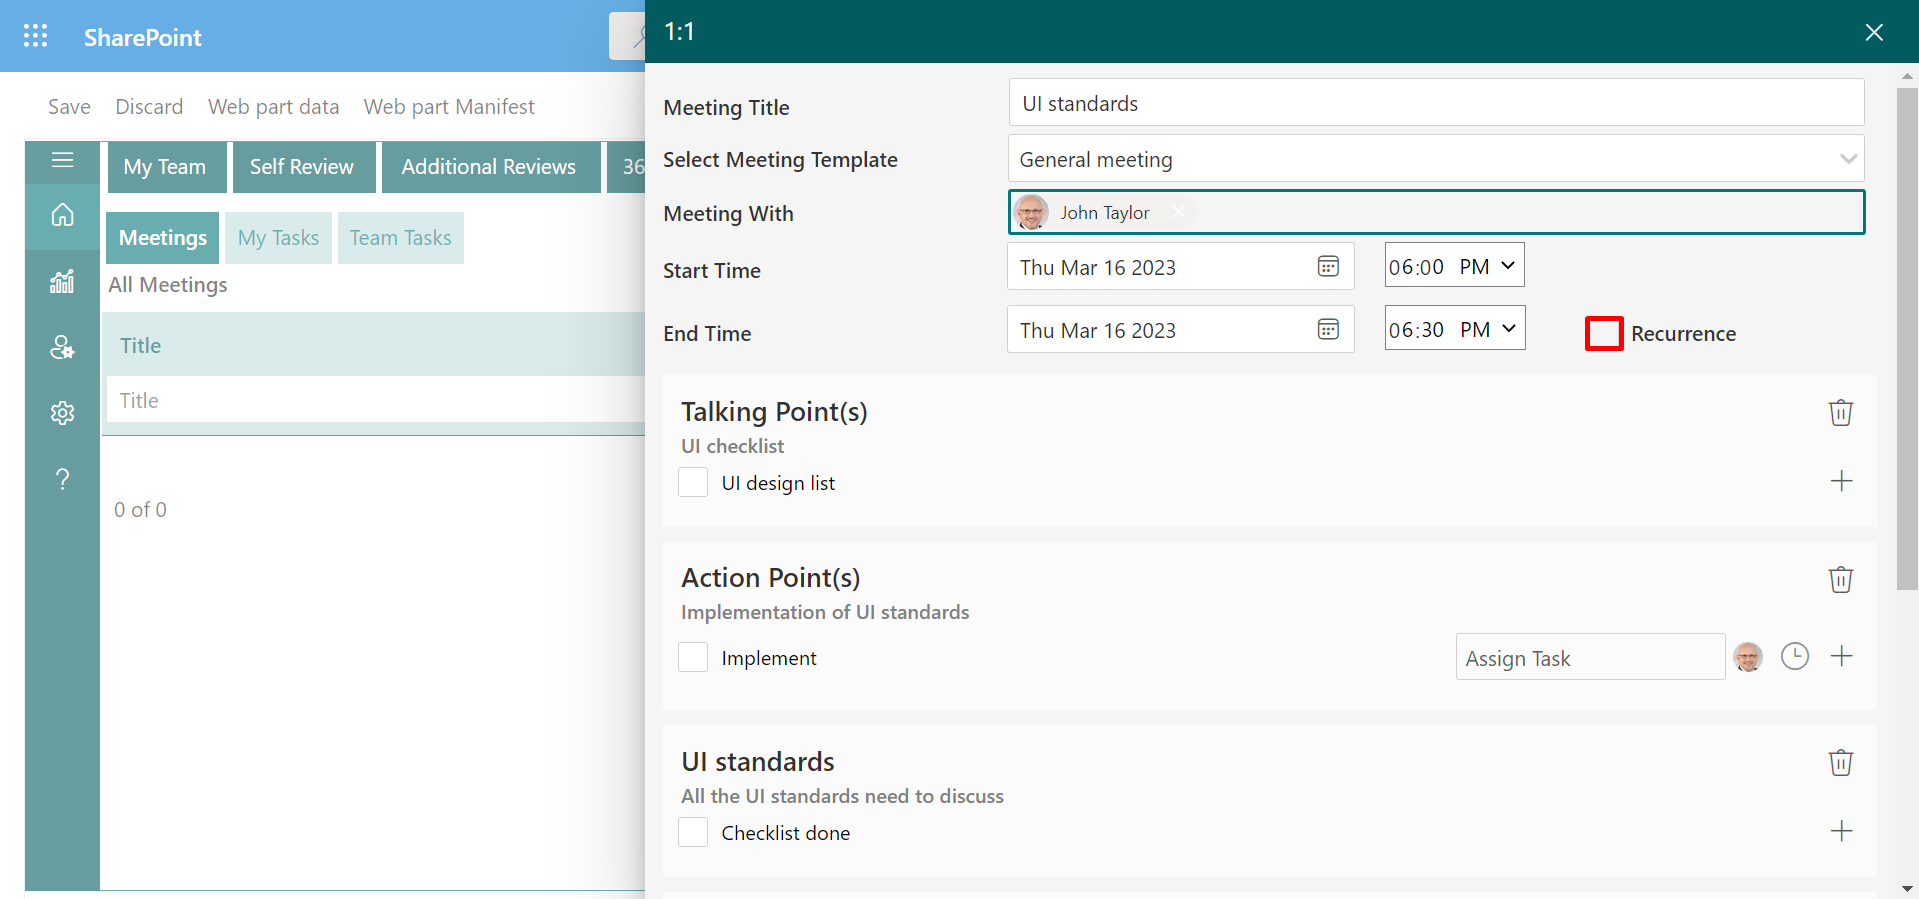
Recurrence: You can set the Appointment Time, Recurrence Pattern-Weekly, Monthly, Quarterly. Also can define Range of Recurrence and click on the OK button.
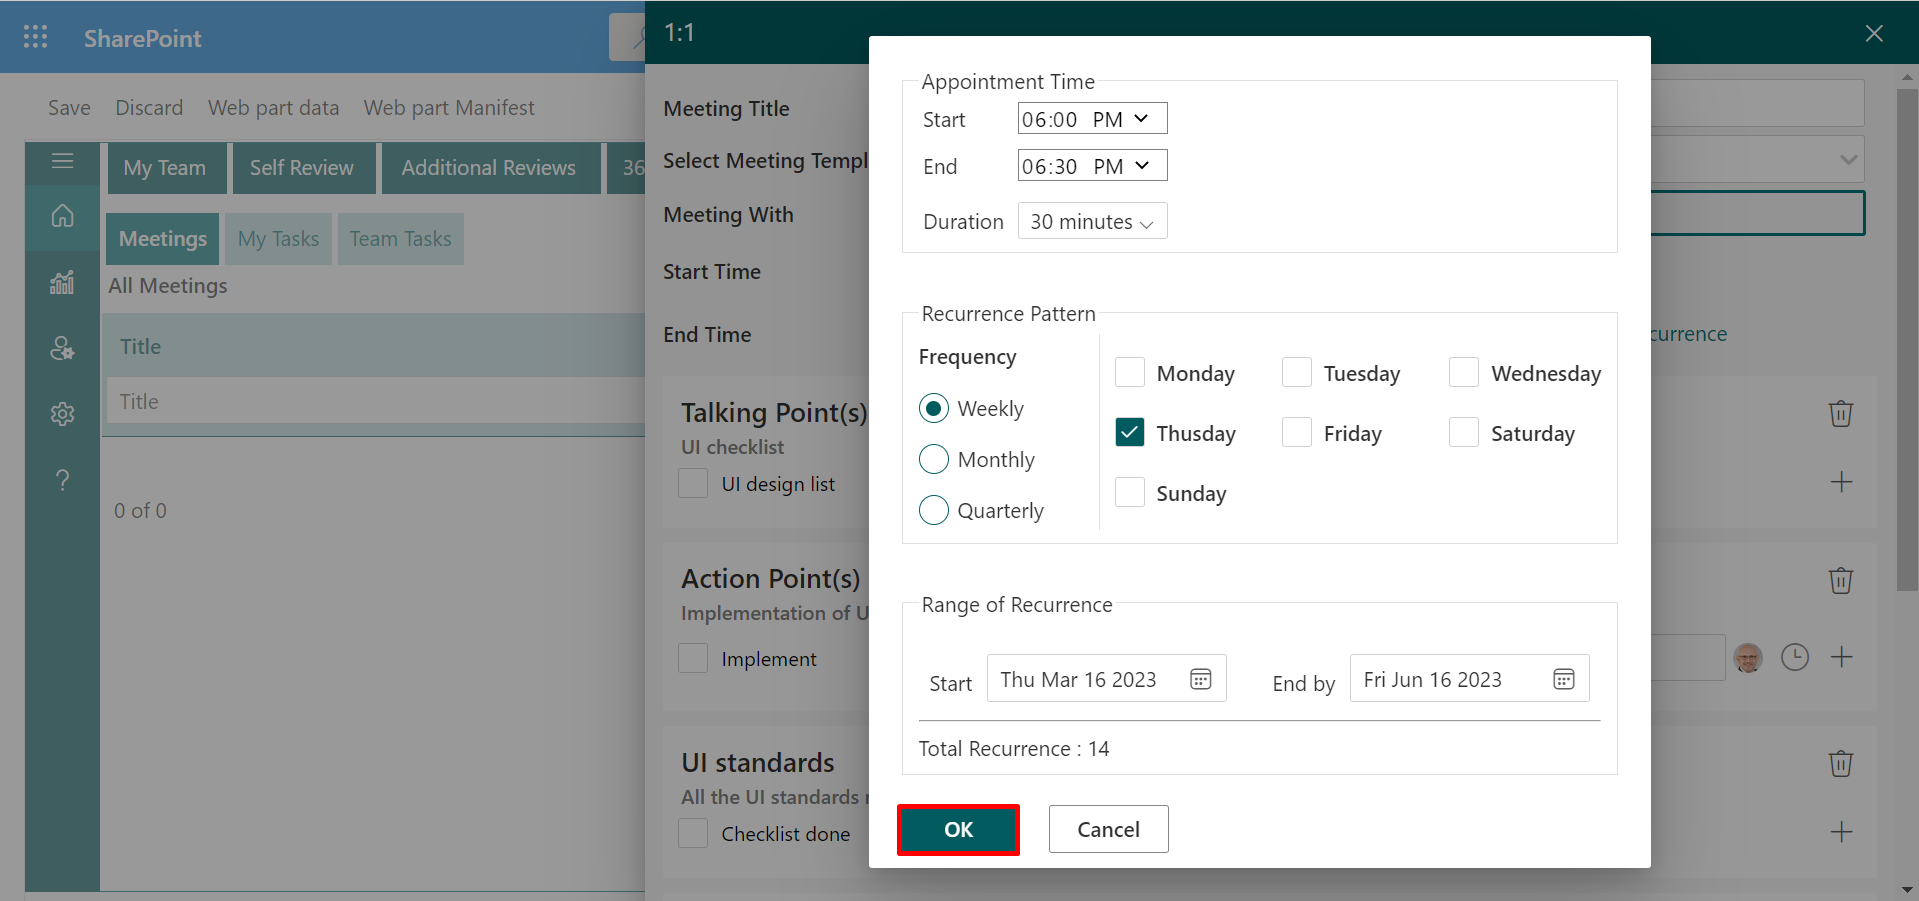
Now click on the Save button.
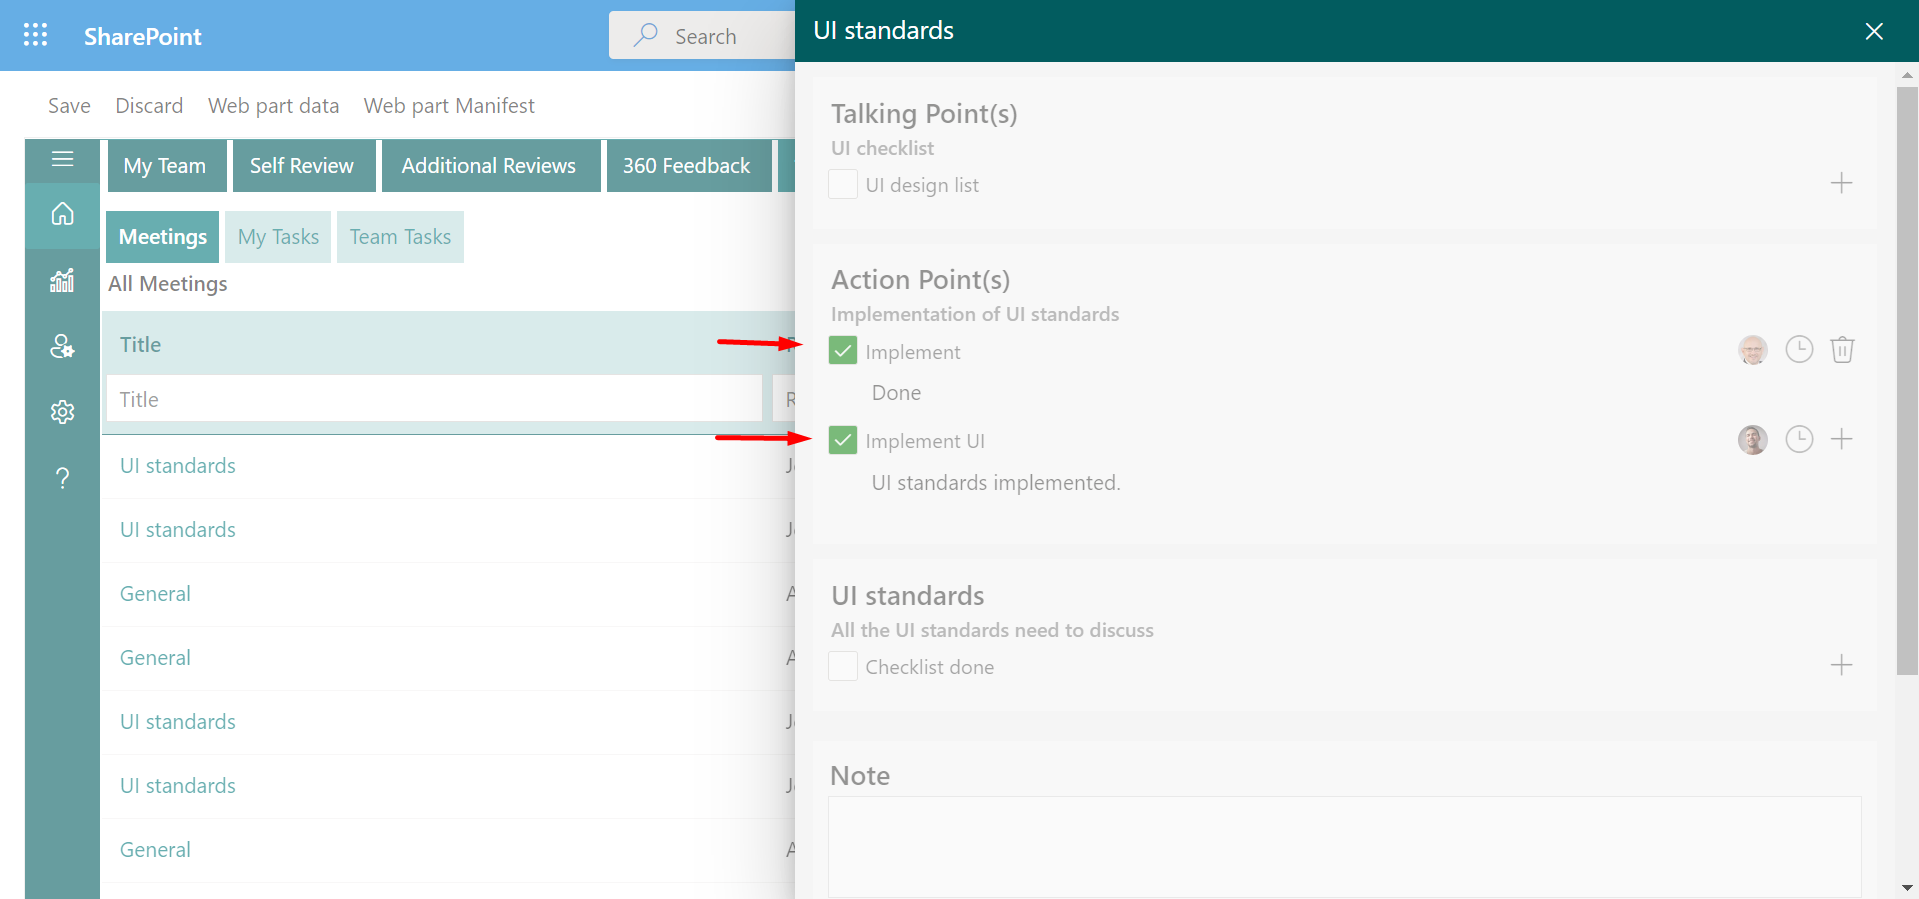
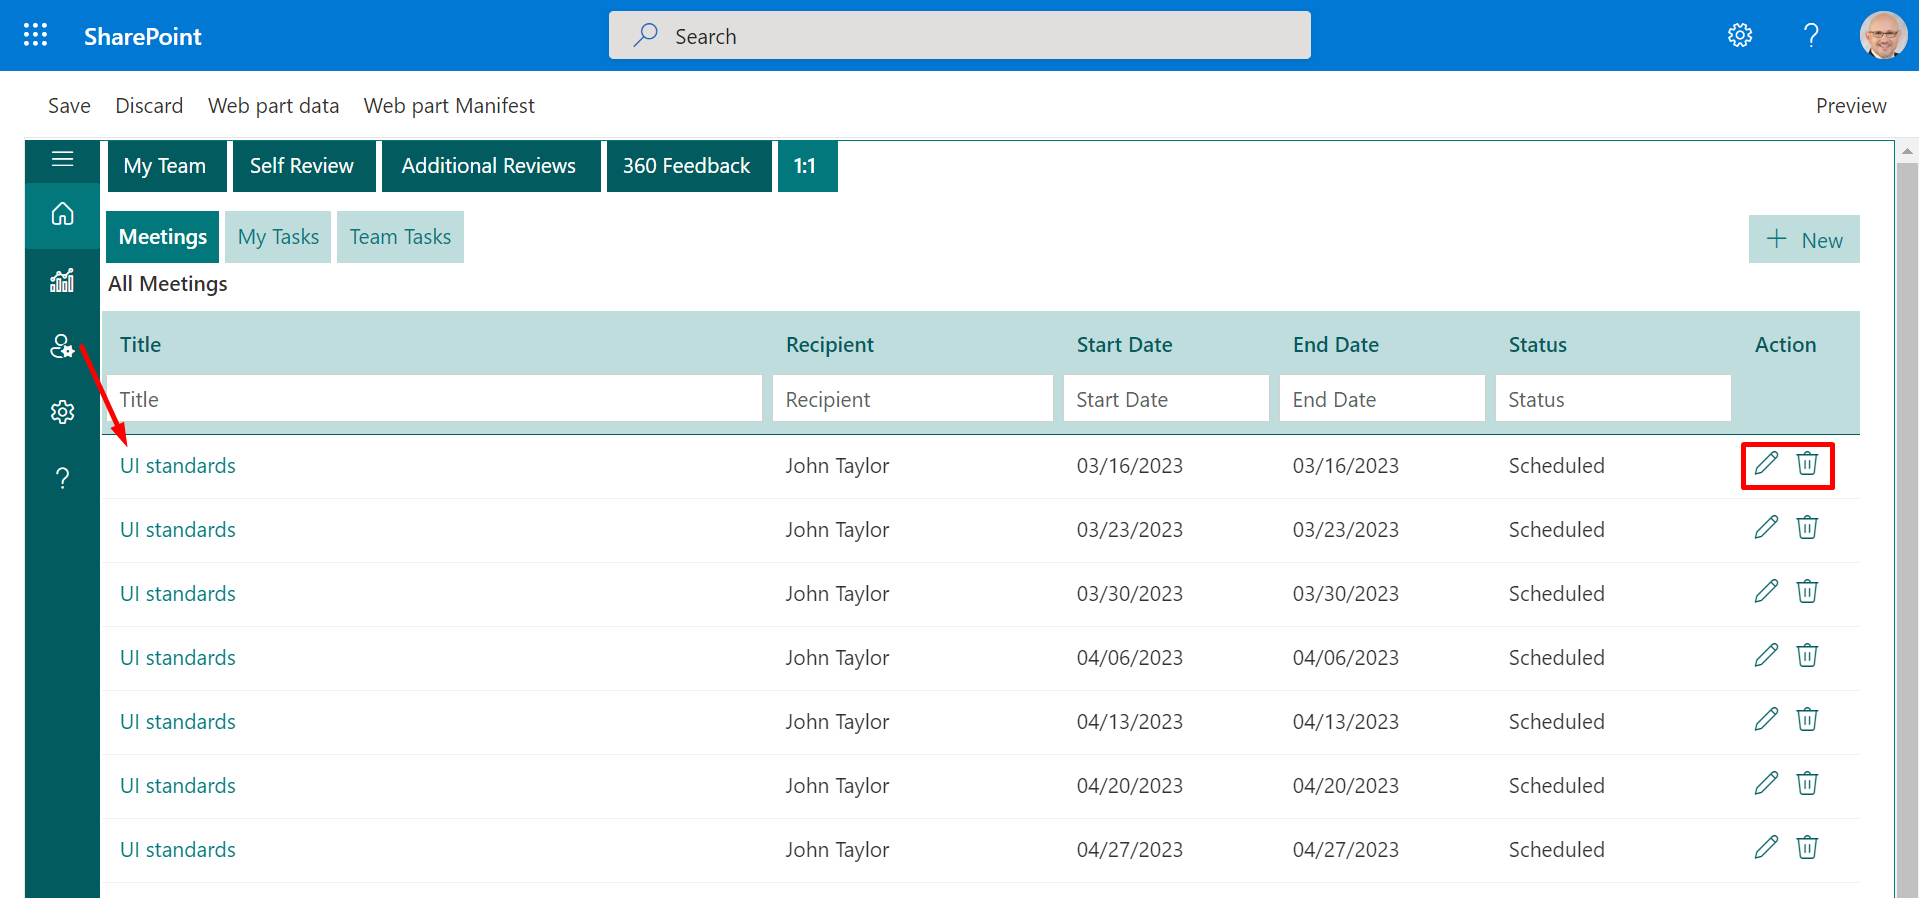
Meetings: The meeting that you scheduled will be displayed under meetings tab. You can edit or delete it.
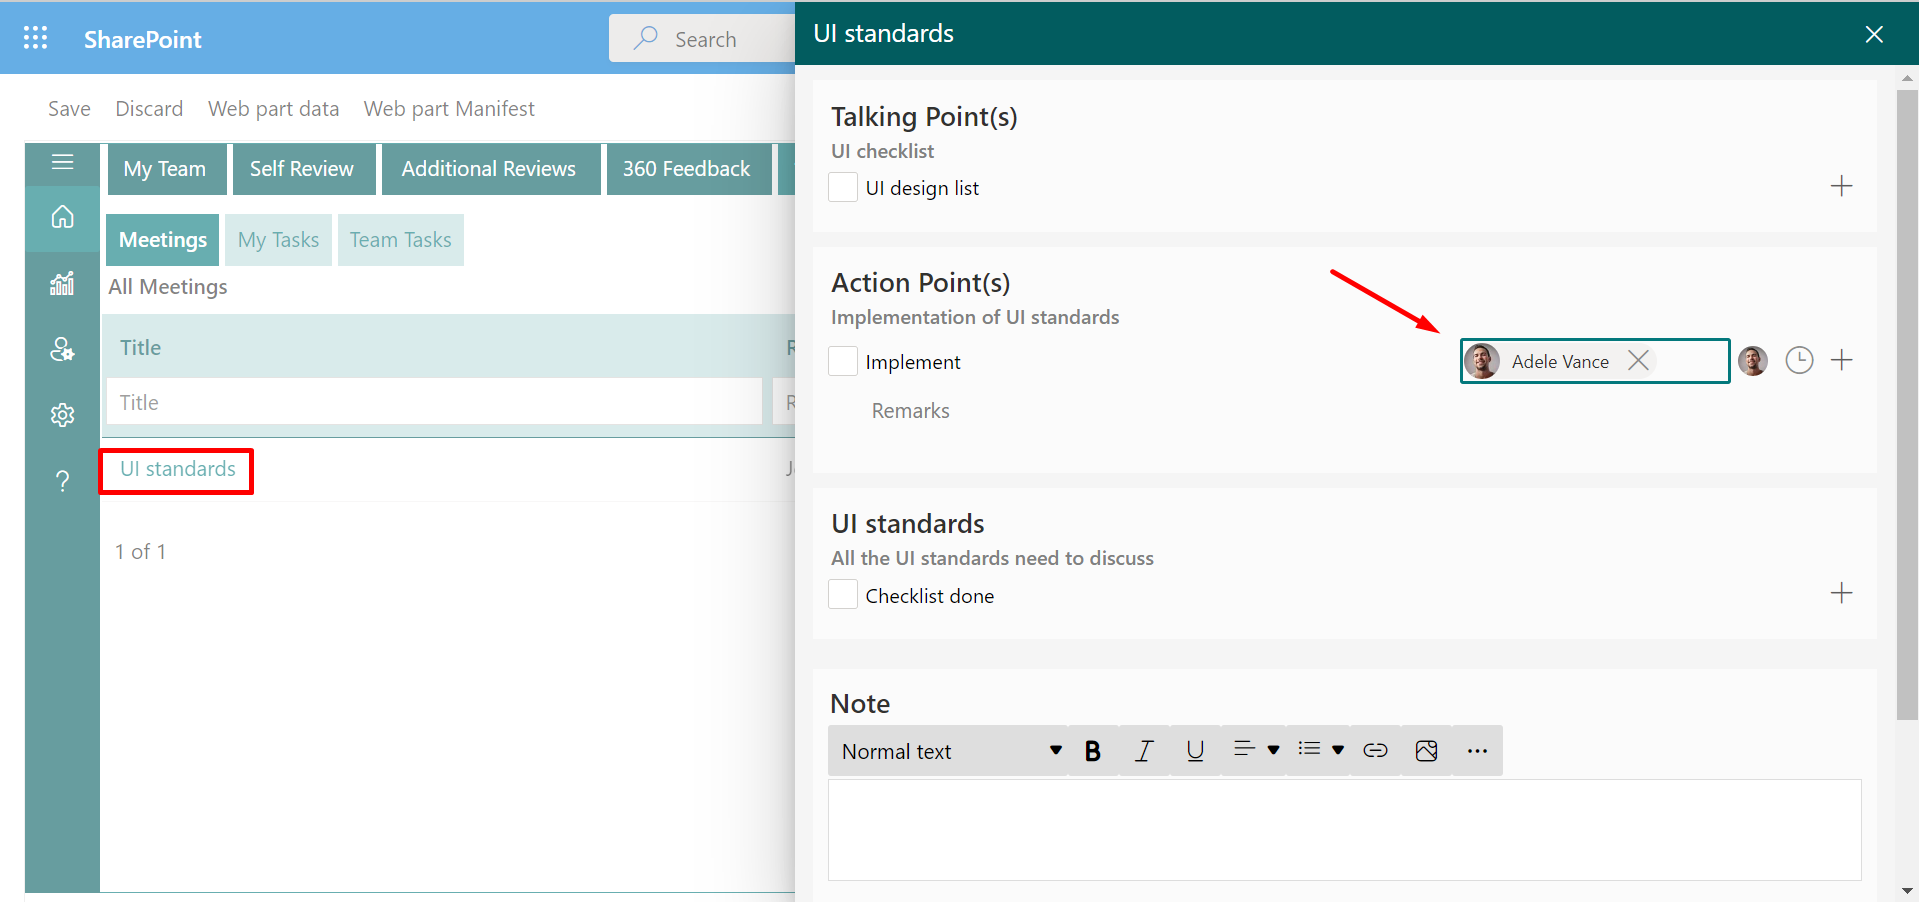
From here select the user to whom you want to assign task. Now click on Update and Complete button.
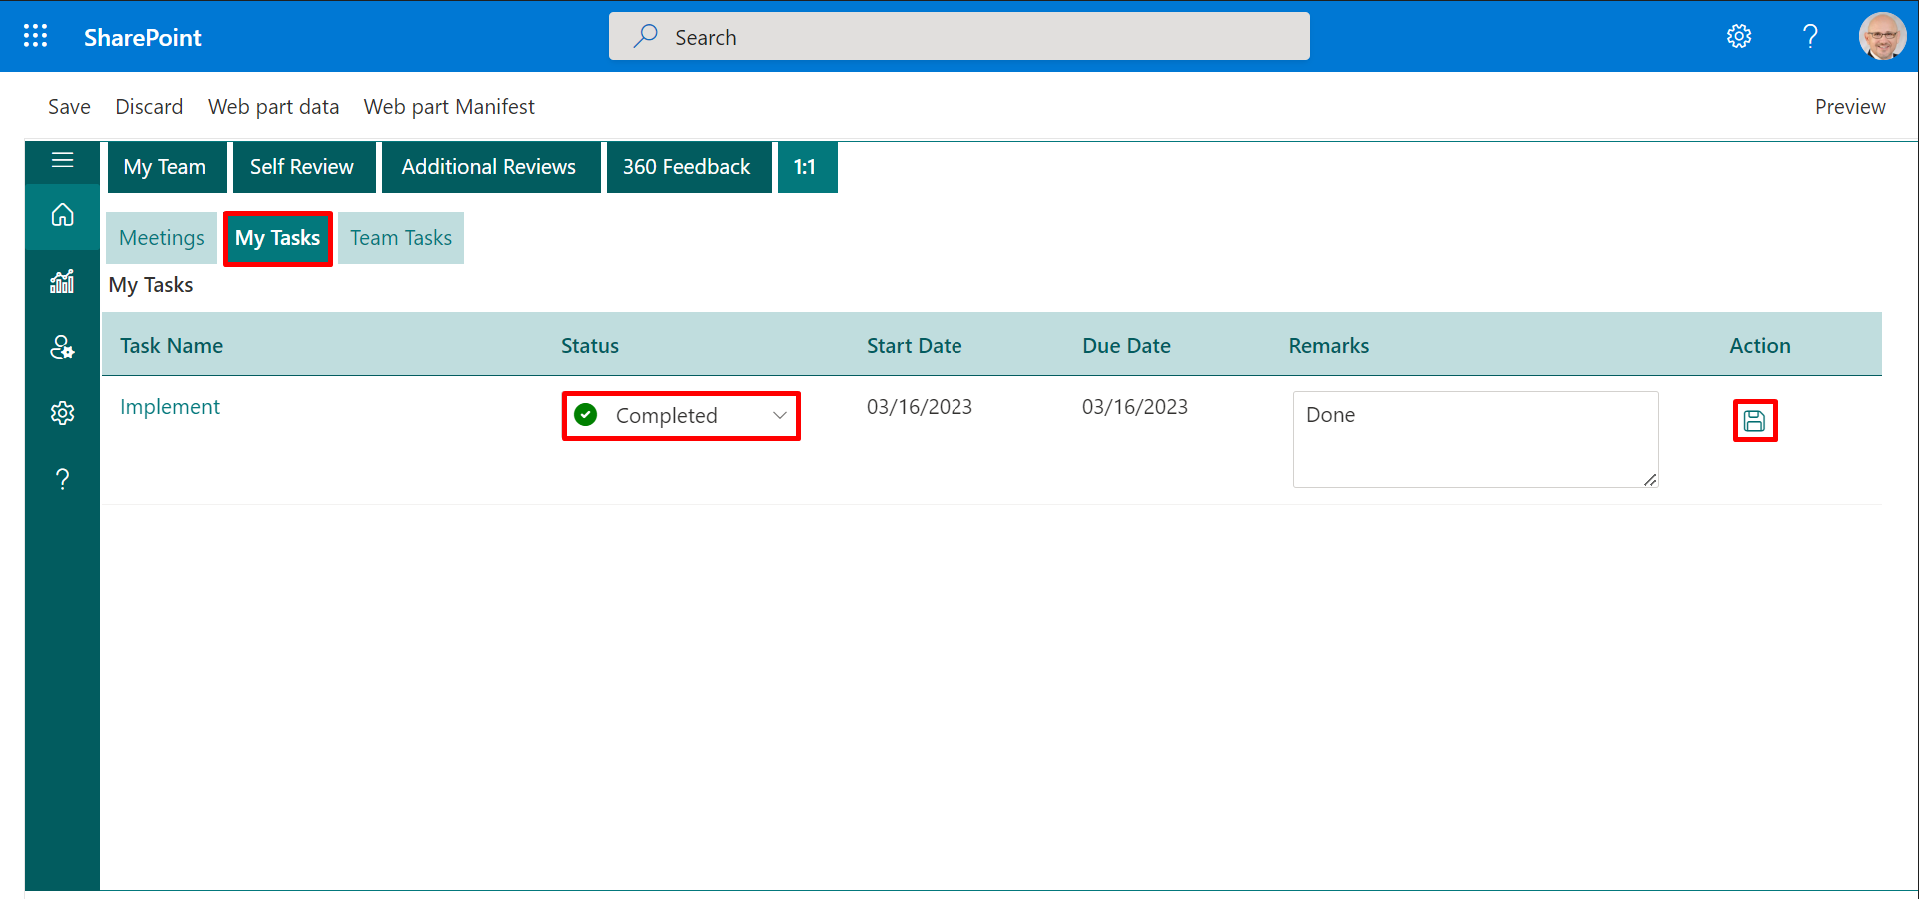
Under My Tasks change the status when task is completed. Now click on Save icon.
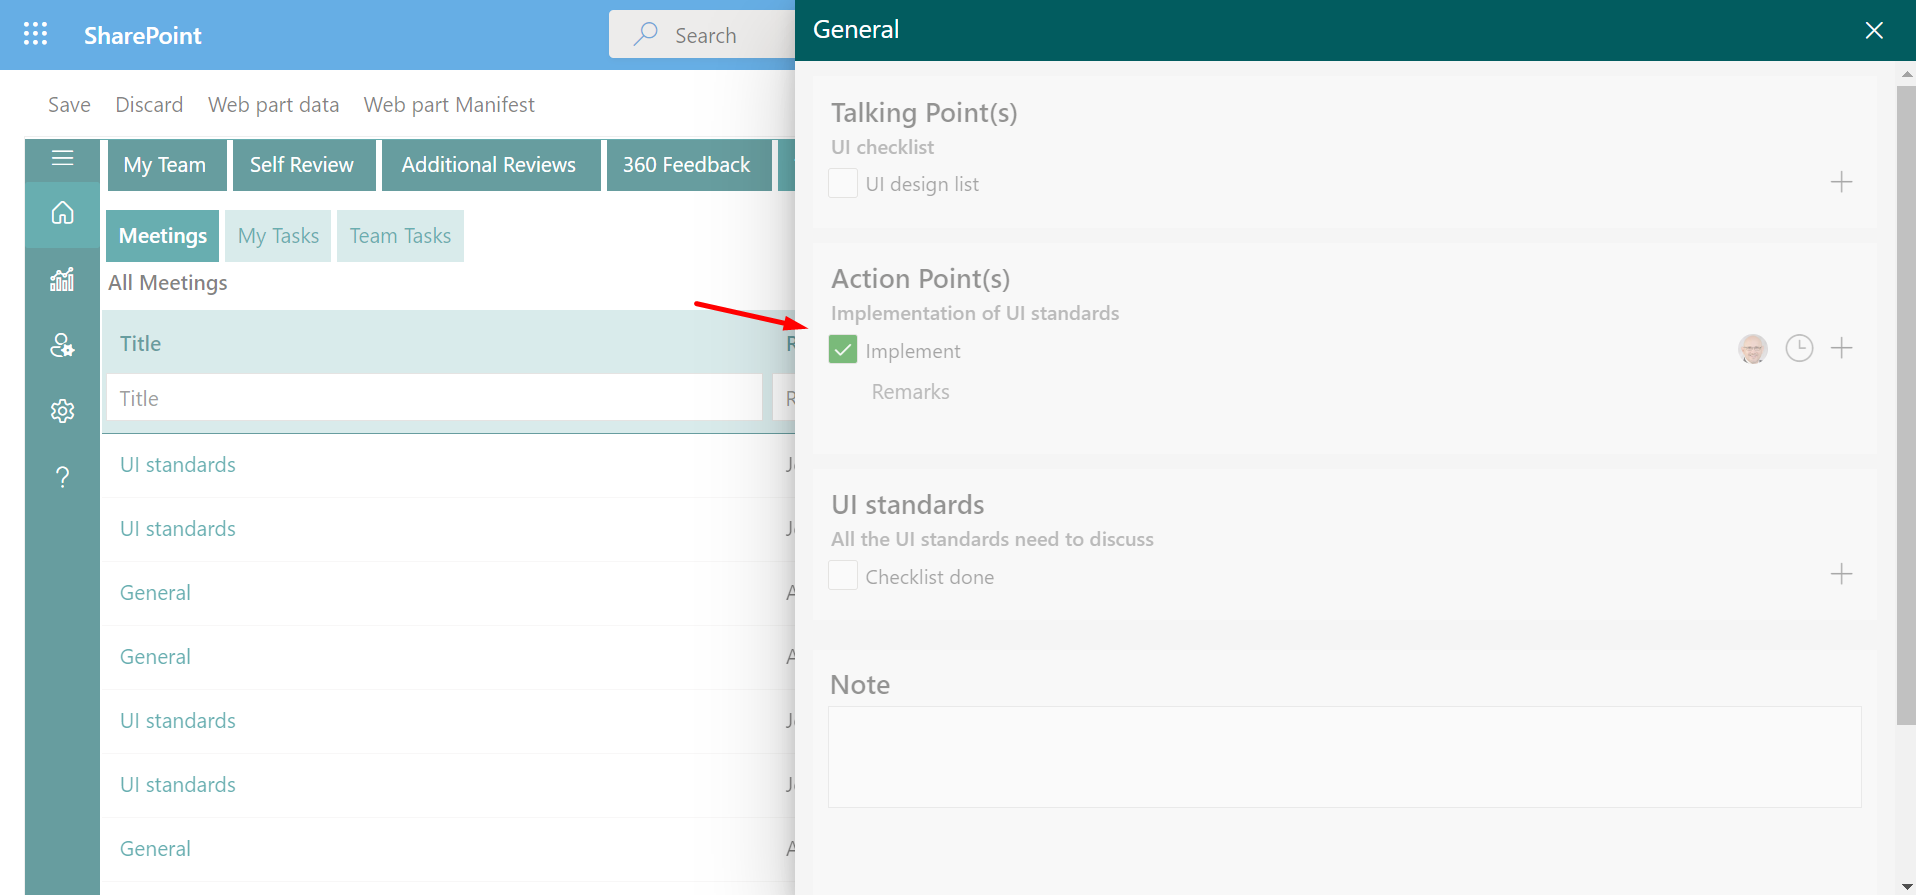
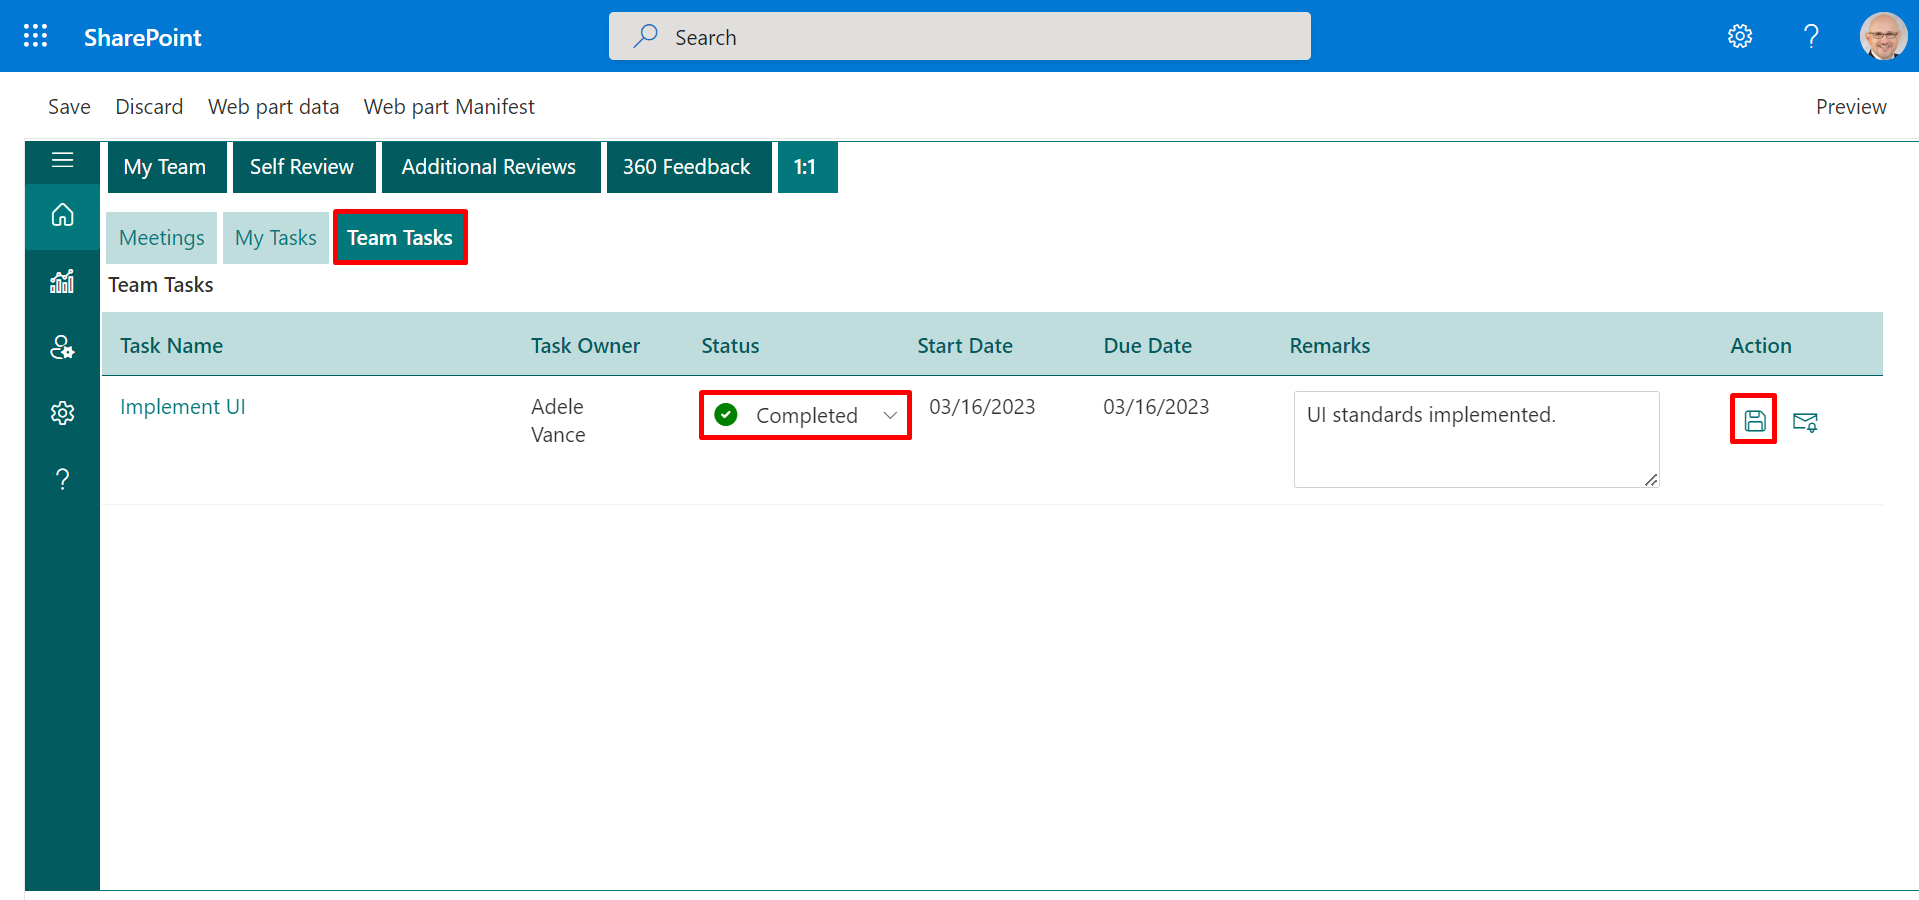
Under Team Tasks change the status when task is completed. Now click on Save icon.