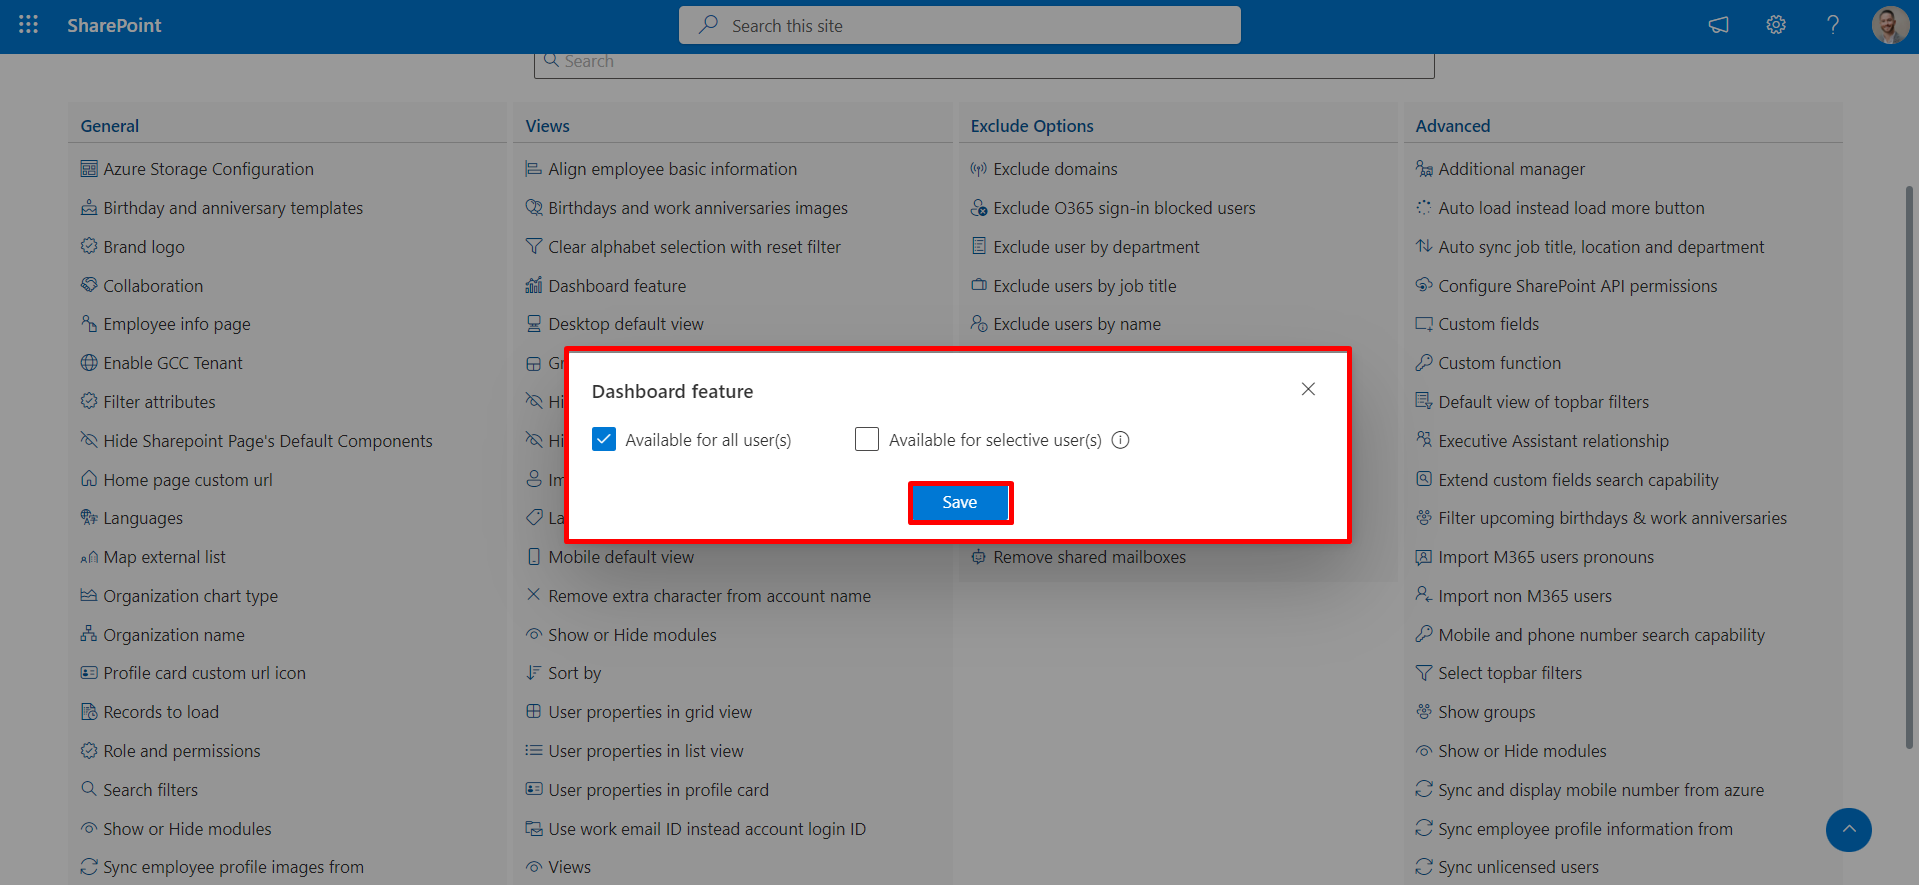
- Available for All Users: This indicates that the dashboard is accessible to all users
- Available for Selected Users: This means the dashboard will only be accessible to specific users who are added to the include user list.
- Customizing the background color of the tag.
- Modifying the font color of the tag.
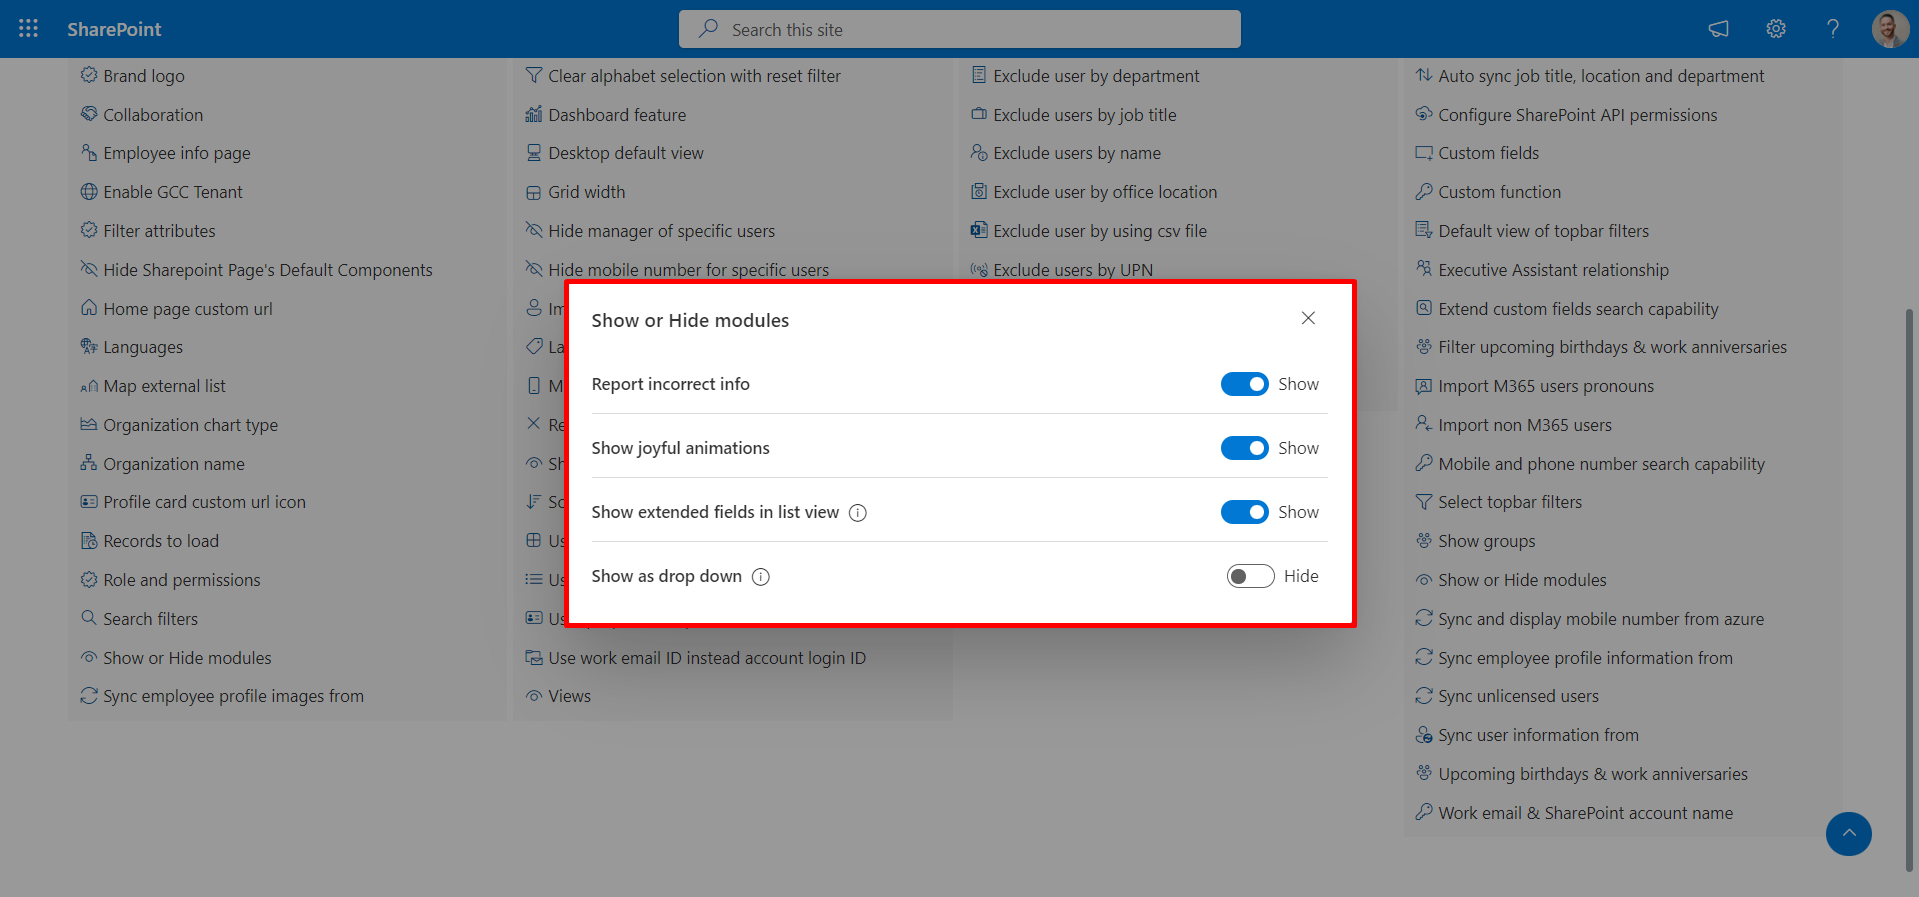
- Report Incorrect Info
- Show Joyful Animations
- Show Extended Fields in List View
- Show as Drop Down You can easily show or hide these features by toggling their respective switches.
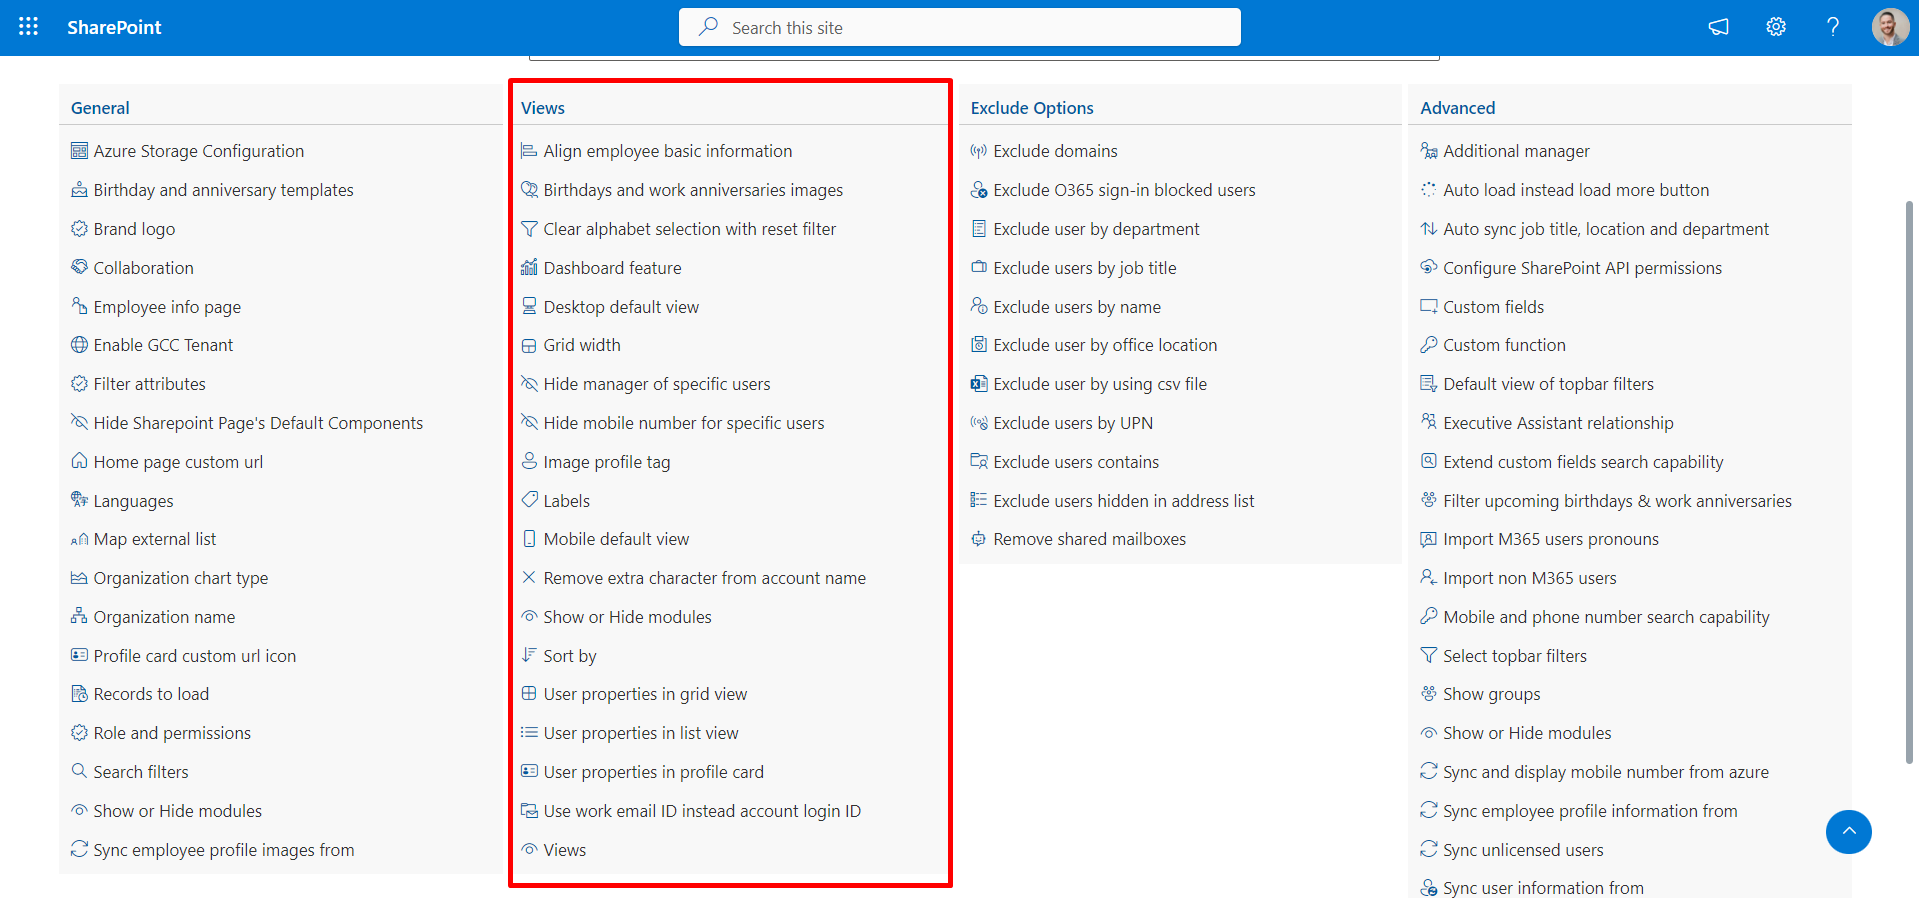
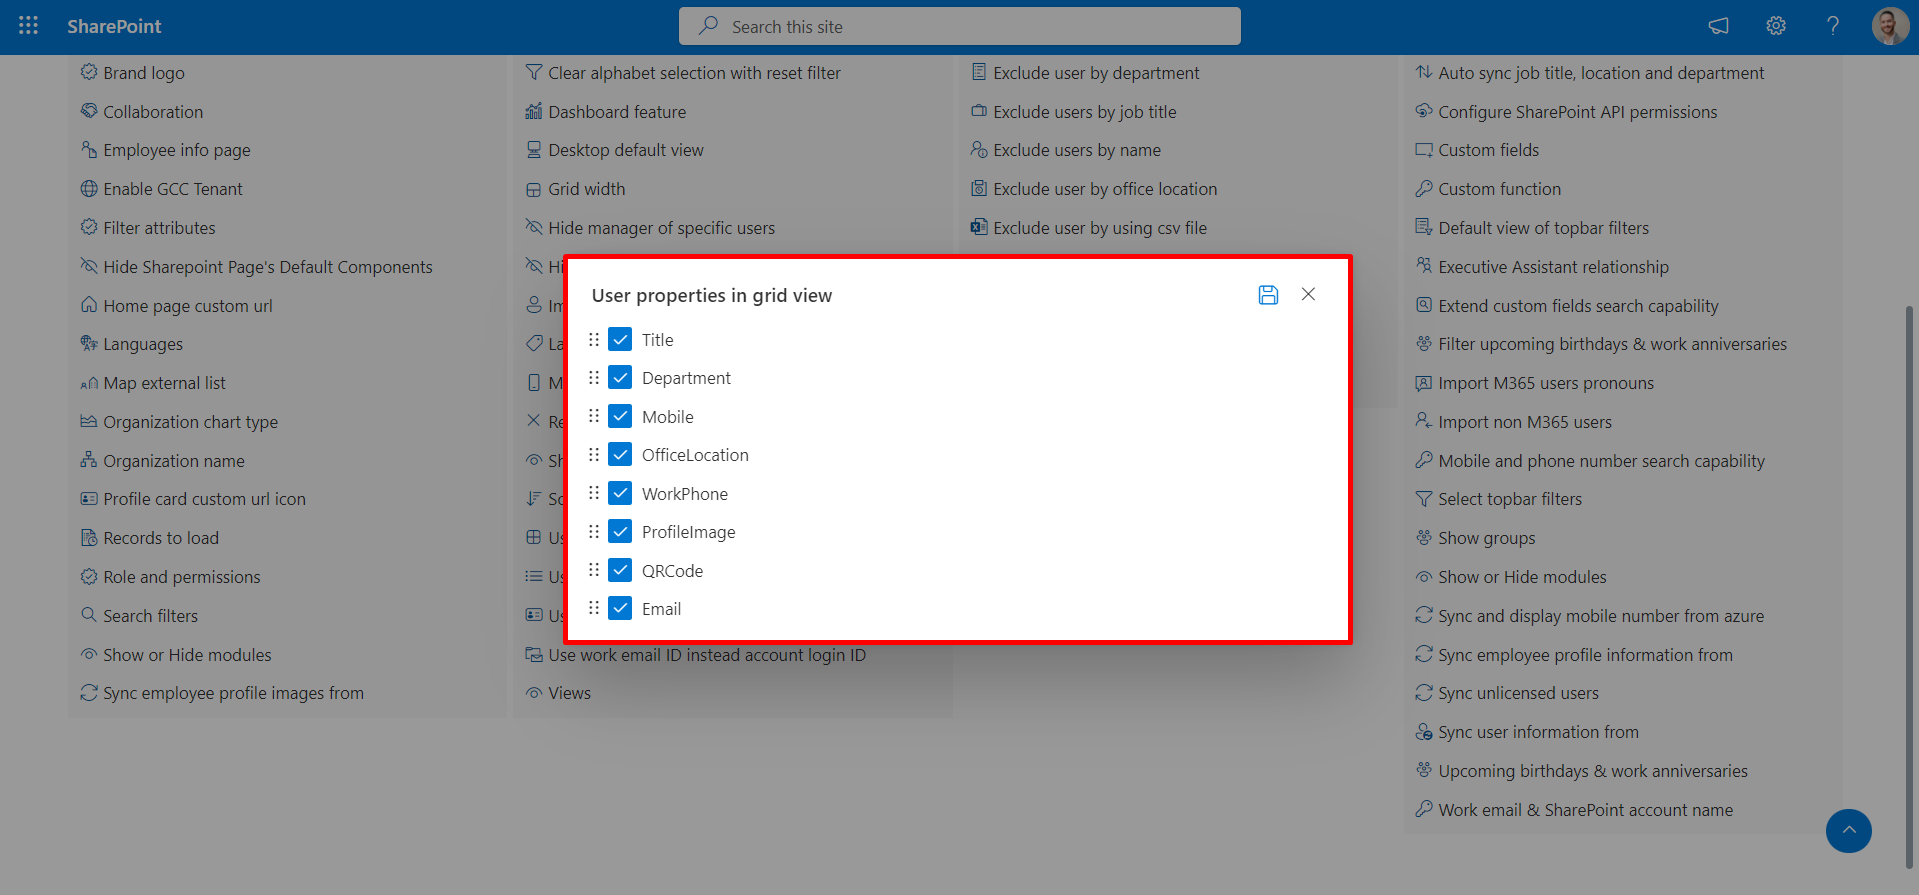
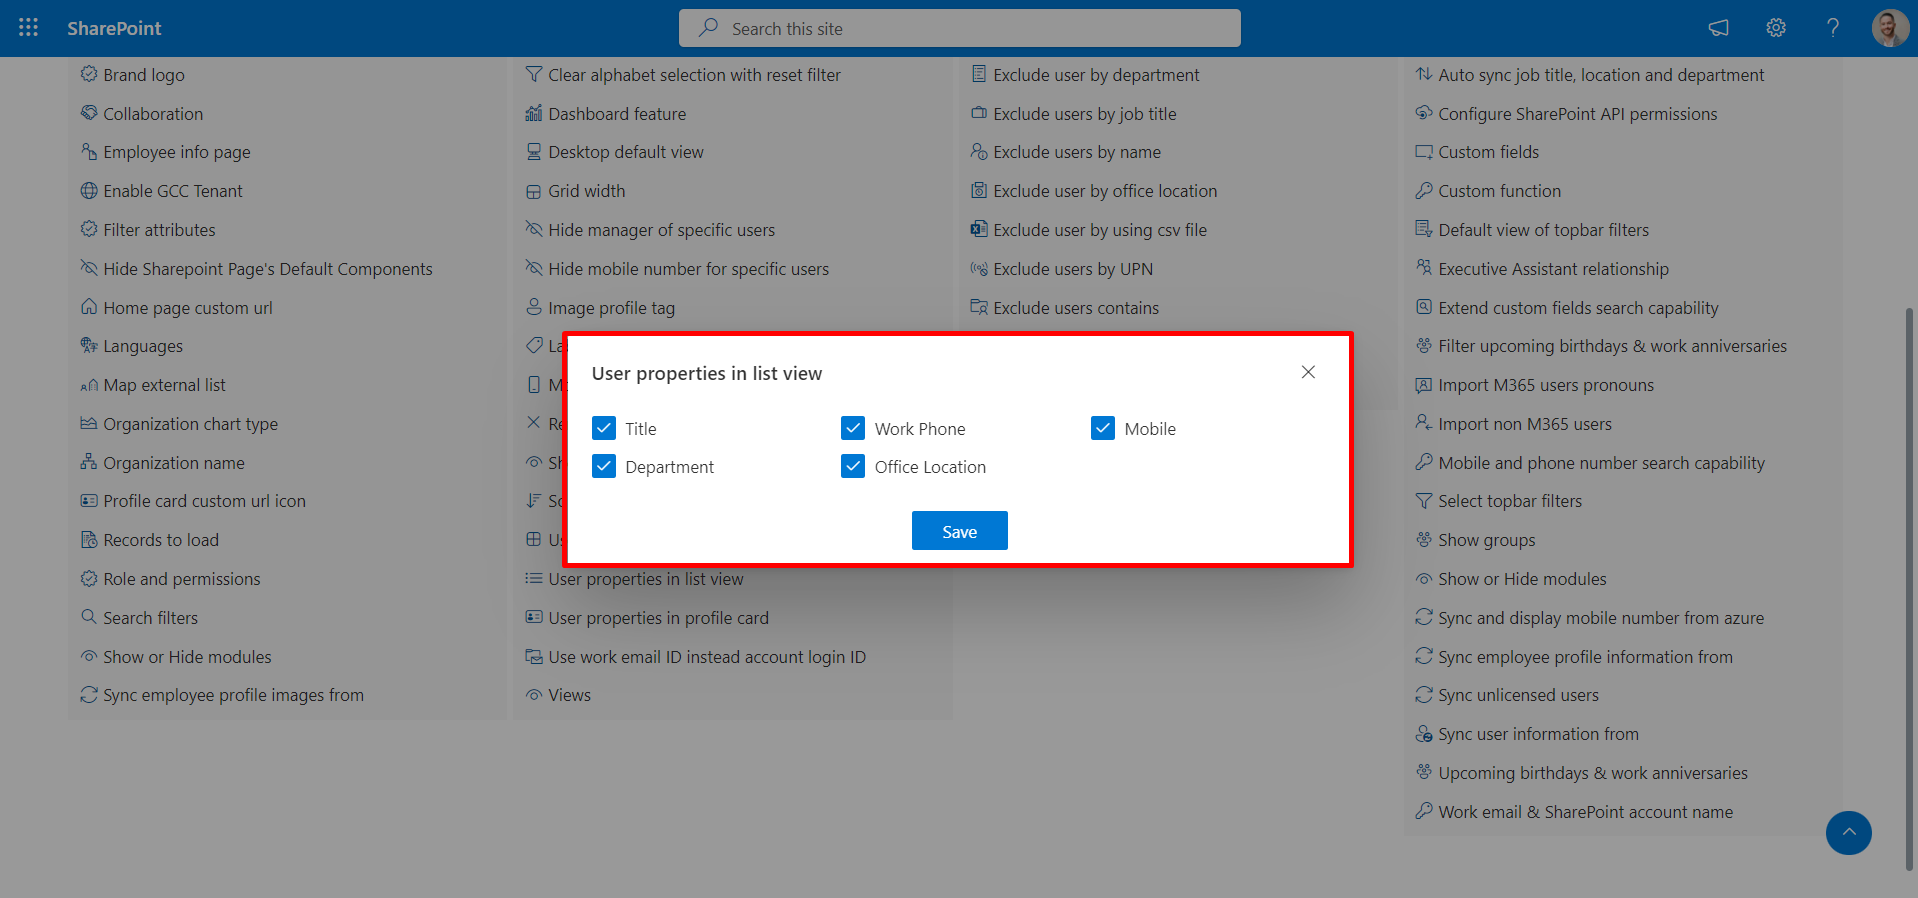
Views
In Employee Directory 365 you will be presented with various views. These views are structured to present you with key information.
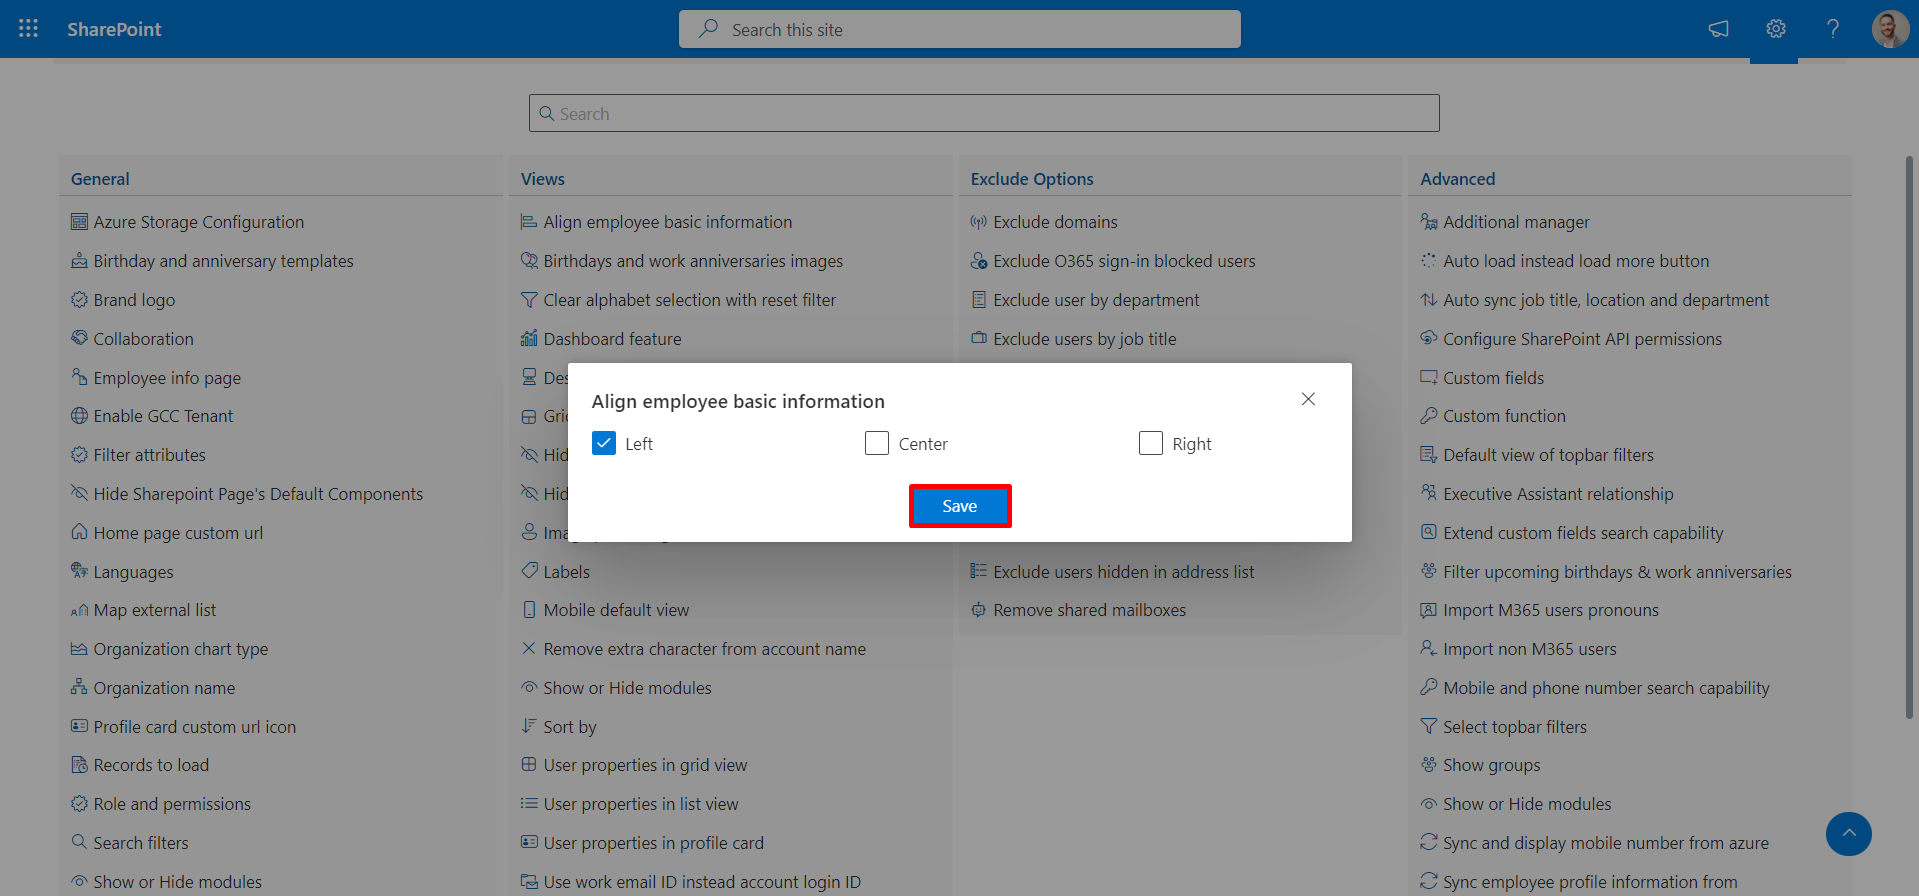
Align employee basic information
In this, you have the option to align basic information to the left, right, or center.
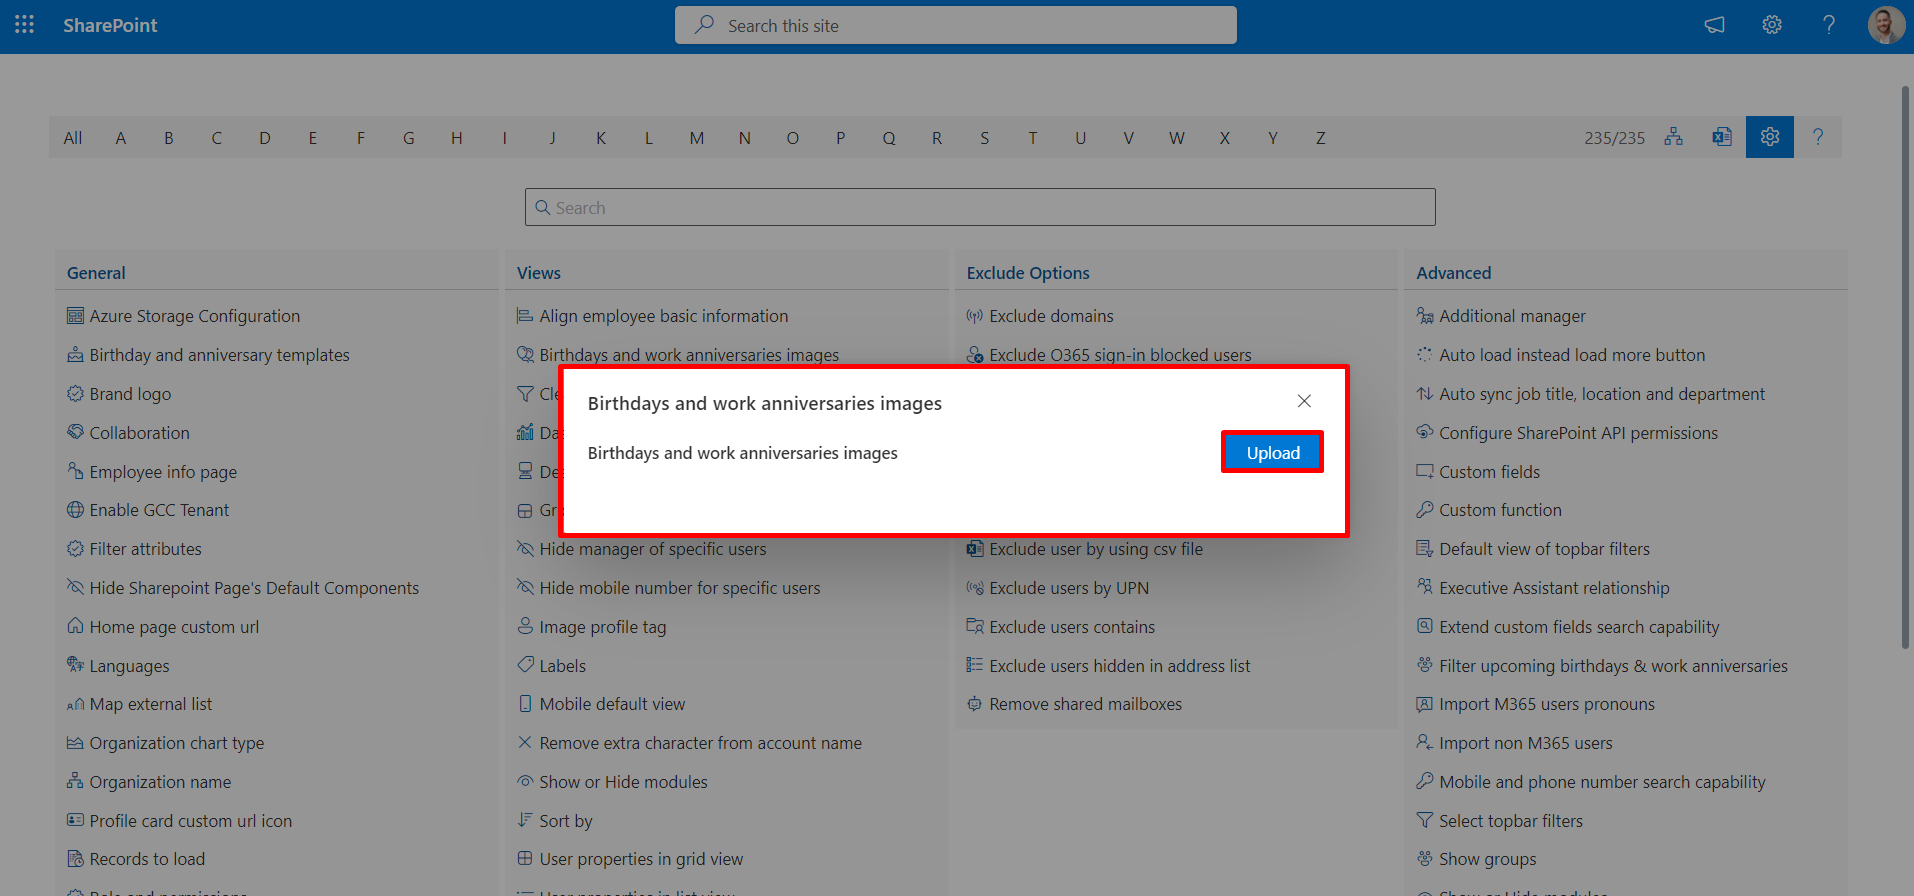
Birthdays and work anniversaries images
Within this feature, you can upload images for birthdays and anniversaries.
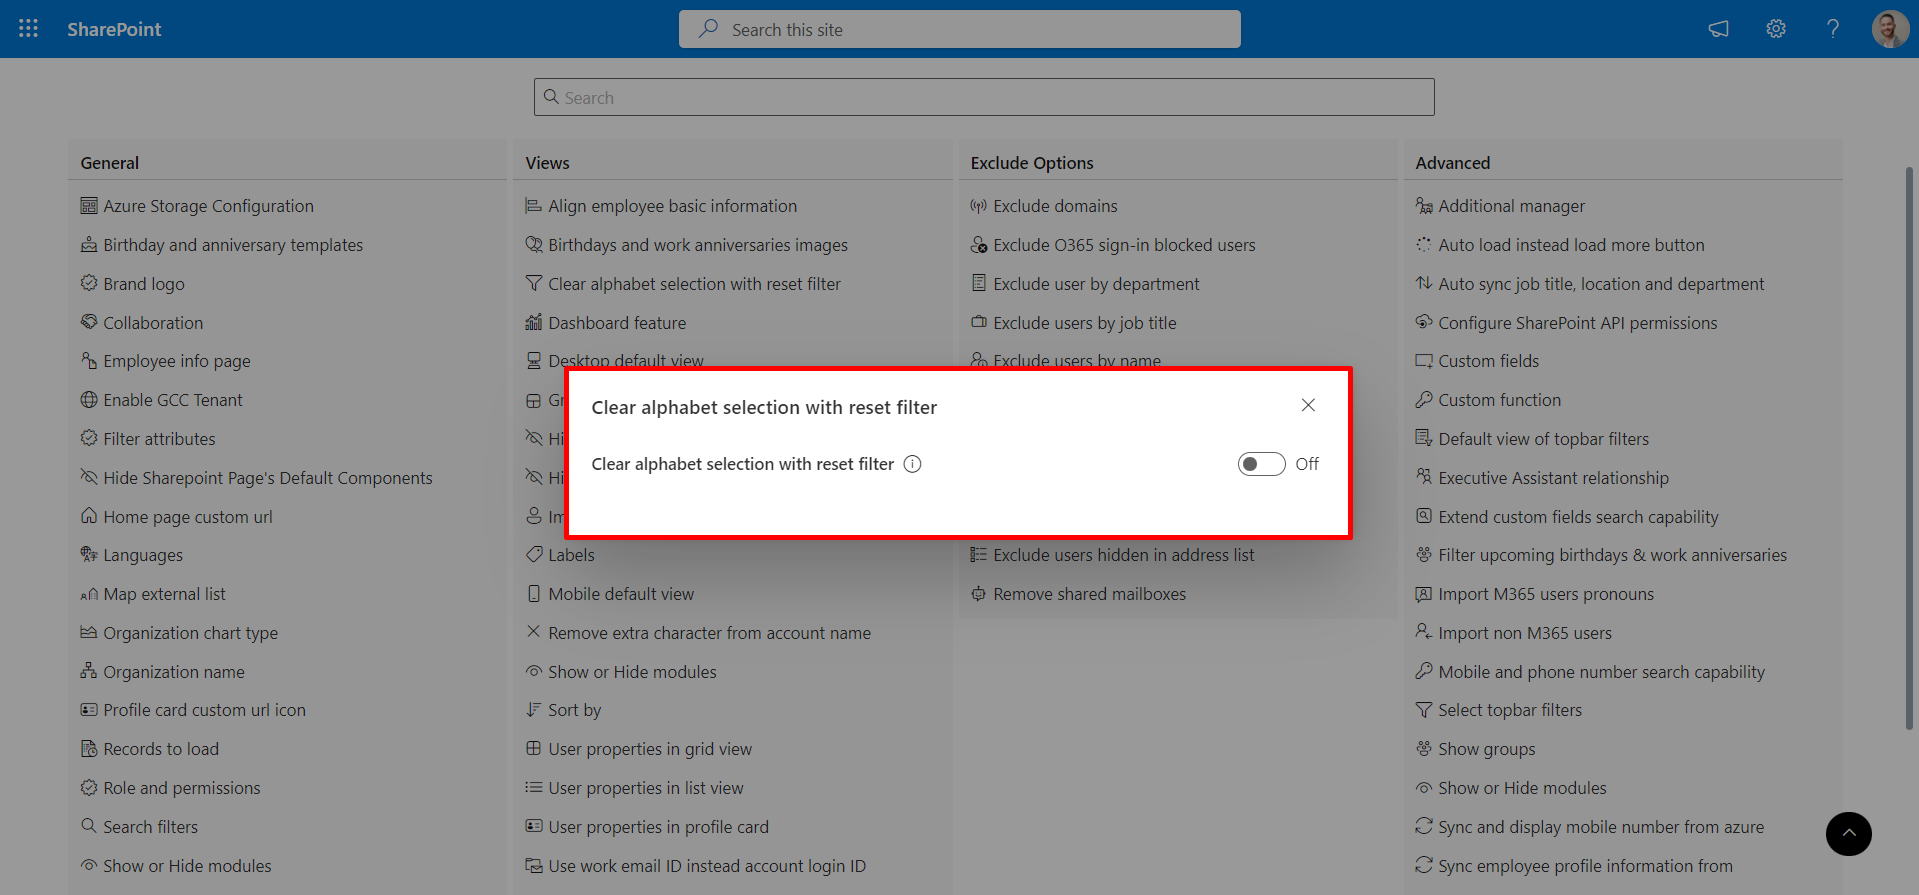
Clear alphabet selection with reset filter
This configuration will reset any alphabet selection to 'All' when you click on the reset filter icon on the home page.
Dashboard feature
There are two features in the dashboard:
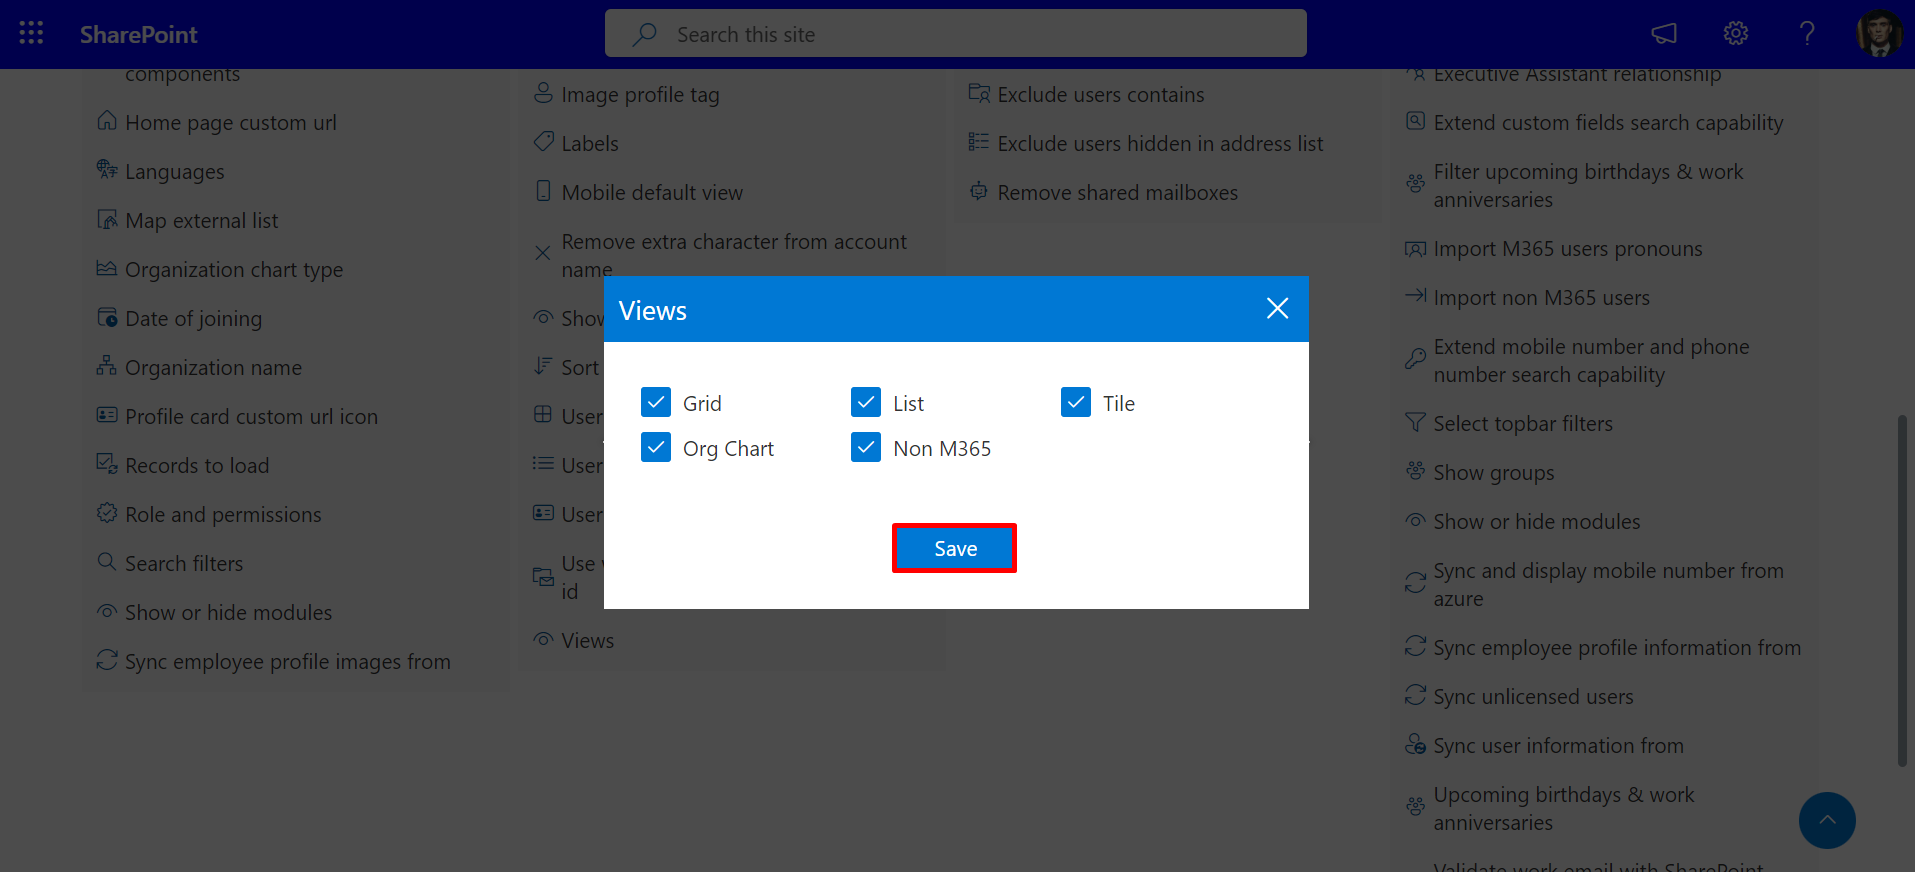
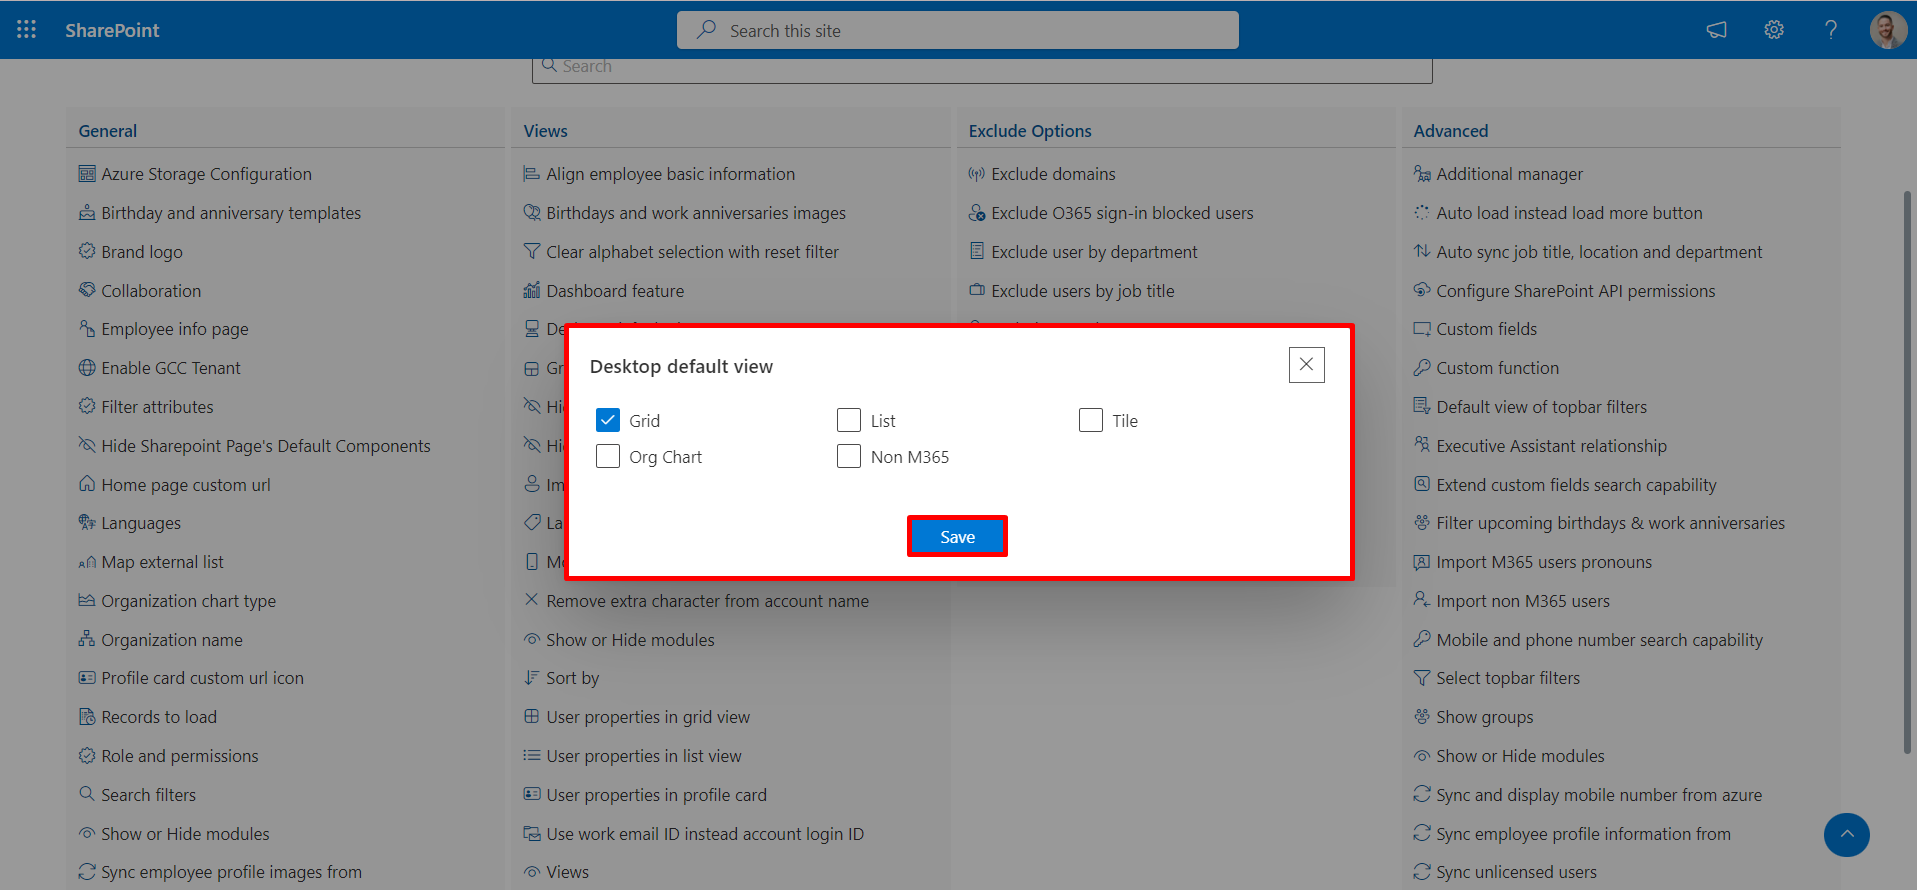
Desktop default view
In the default desktop view of this feature, you have the ability to select different viewing options, such as grid, list, tile, org chart, and Non M365 365.
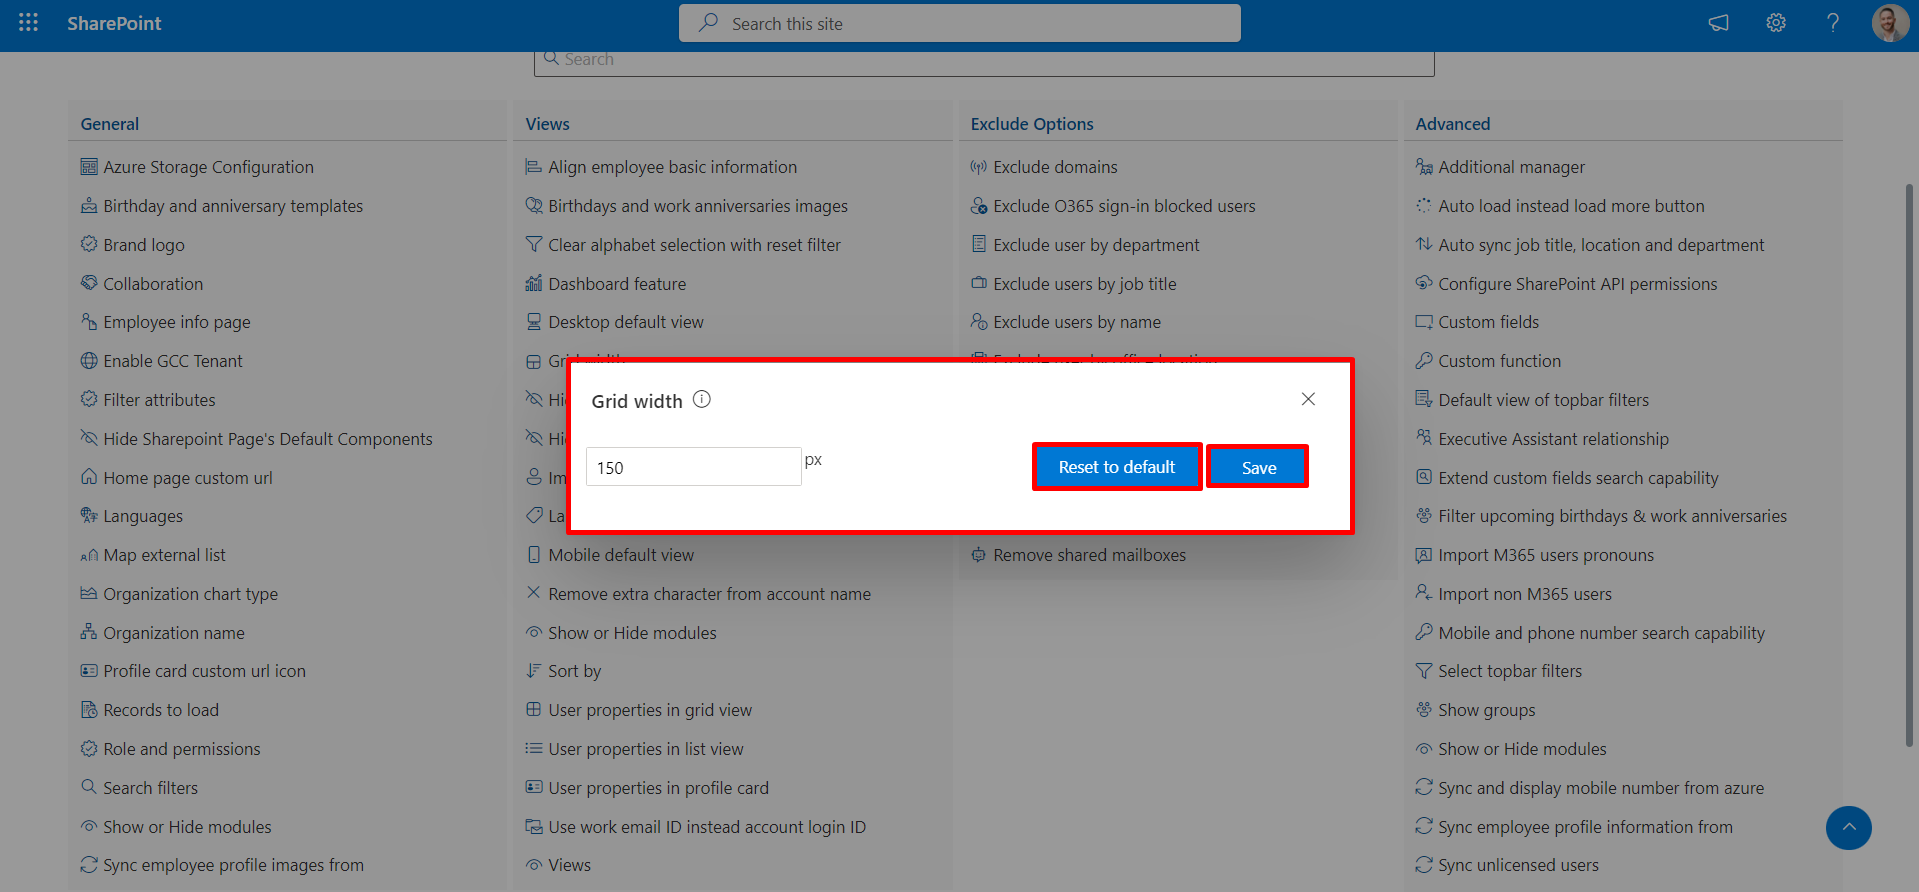
Grid Width
In this location, you can expand or reduce the grid width in the grid view. Furthermore, you'll find two buttons: "Reset to Default" and "Save." Selecting the "Reset to Default" button will revert the width to its initial default setting.
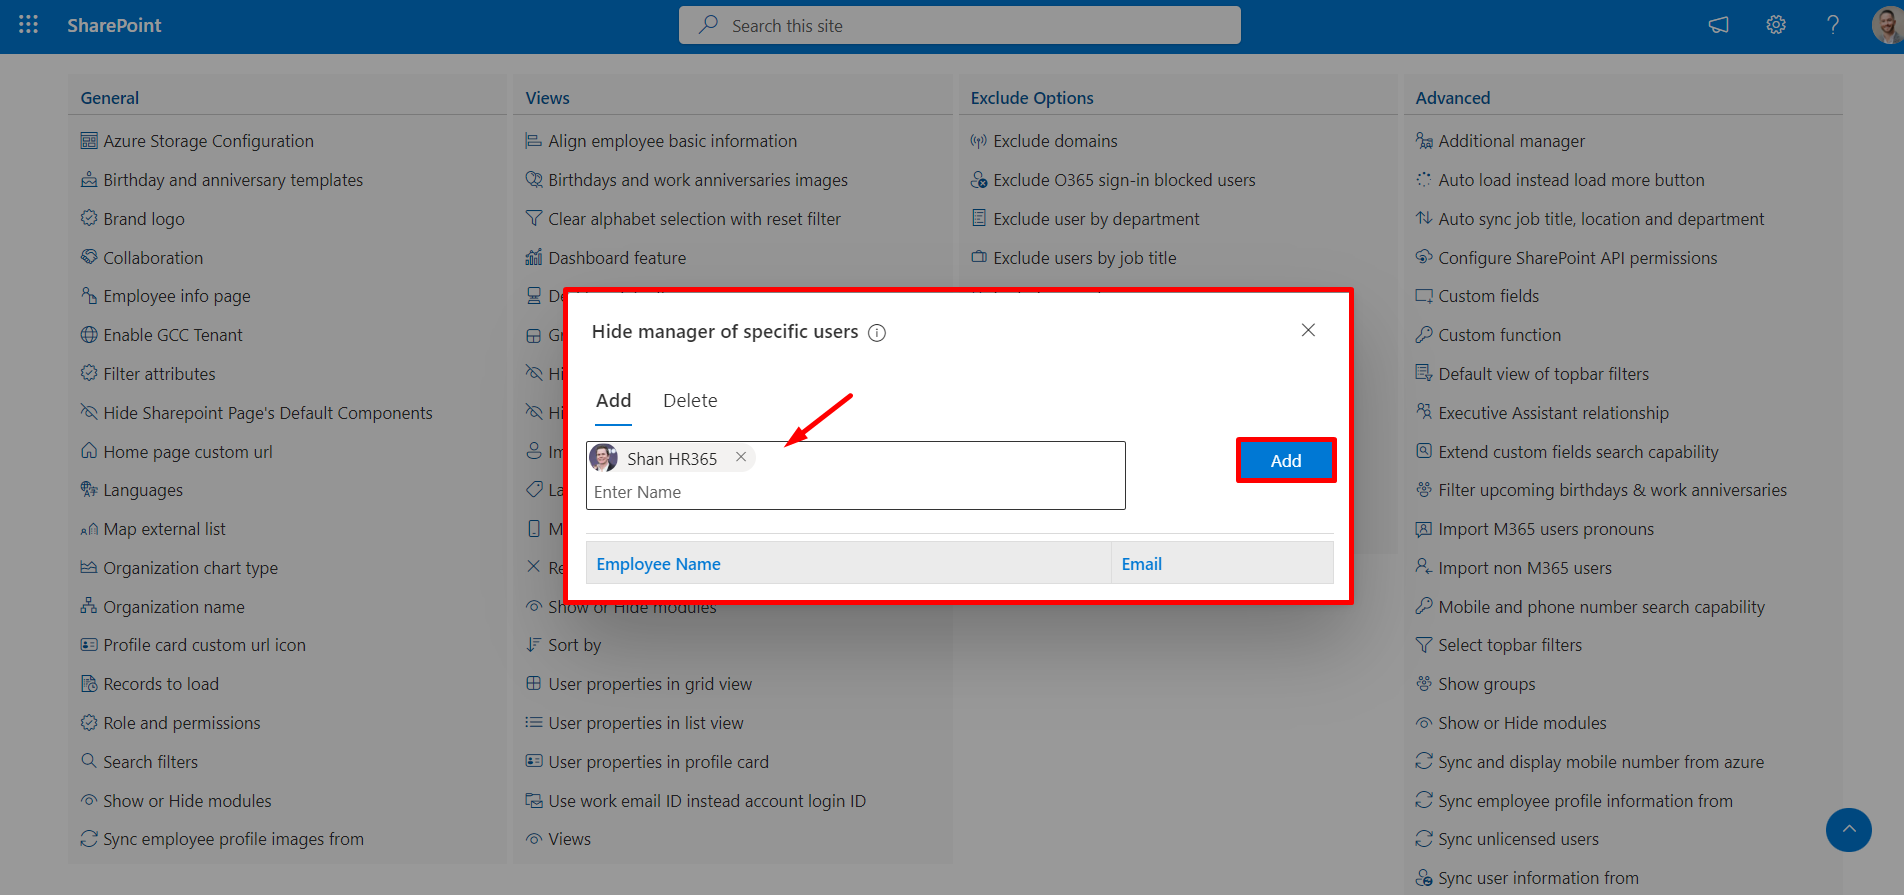
Hide manager of specific user
In this location, you can expand or reduce the grid width in the grid view. Furthermore, you'll find two buttons: "Reset to Default" and "Save." Selecting the "Reset to Default" button will revert the width to its initial default setting.
Hide mobile number of specific user
Utilize this configuration to conceal the mobile number of specific users within the application. Simply add the manager and click the "Add" button.
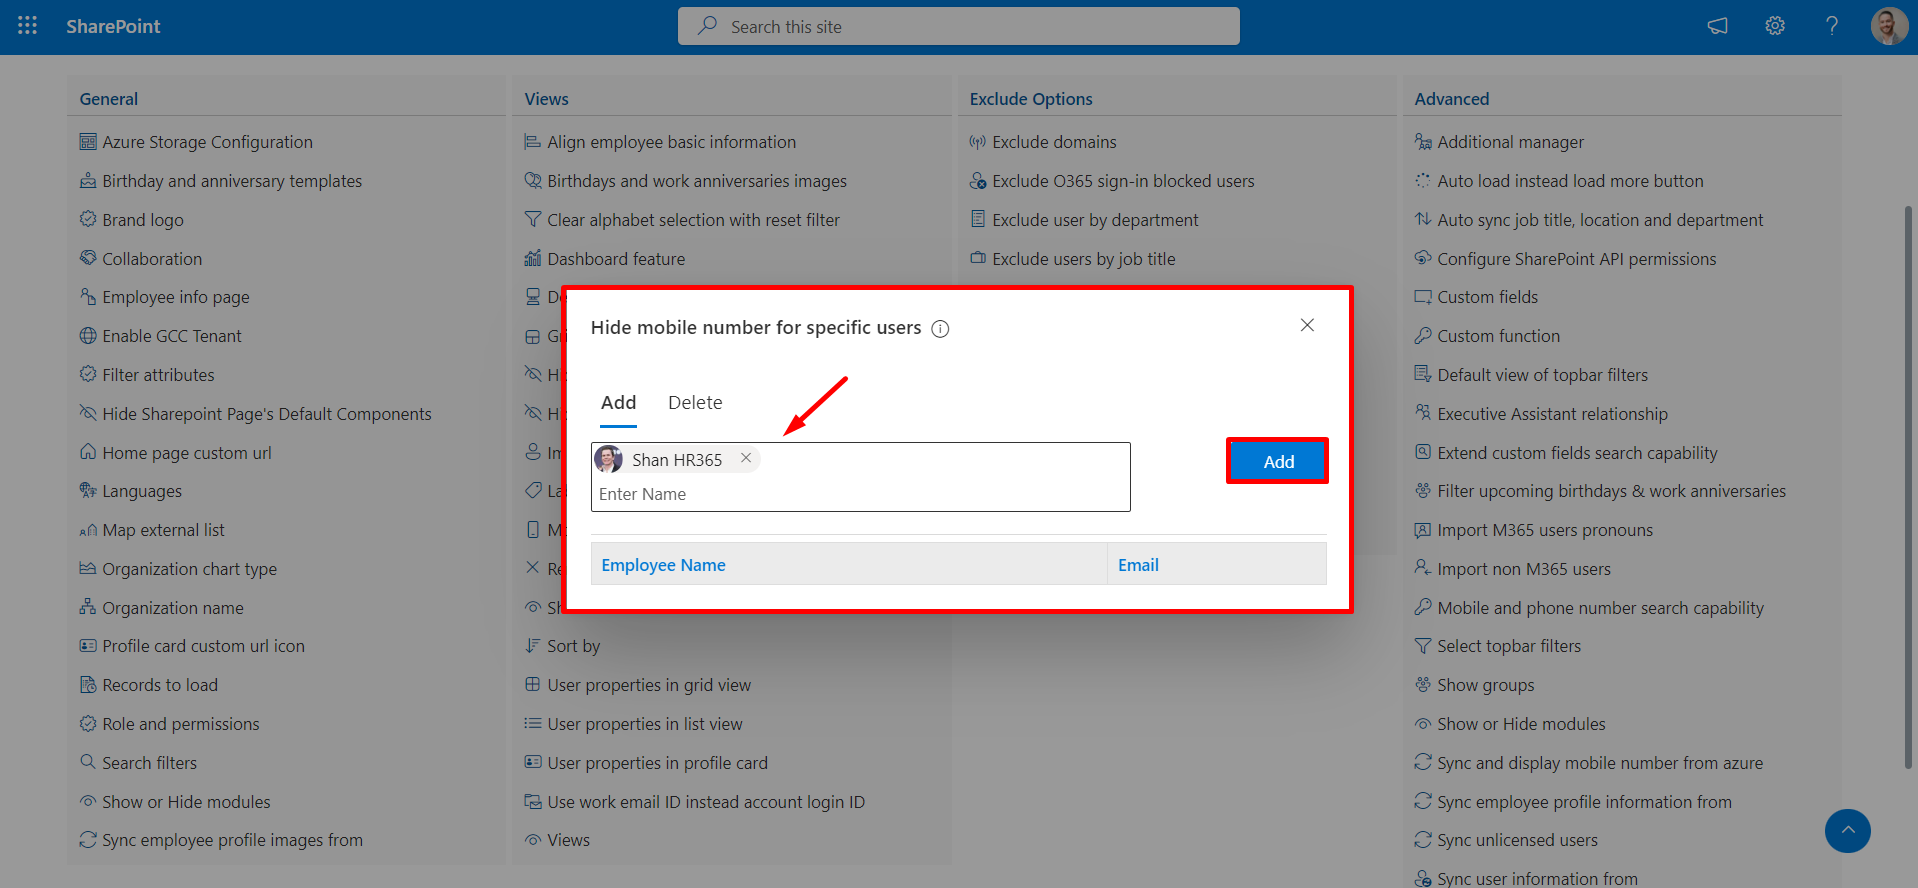
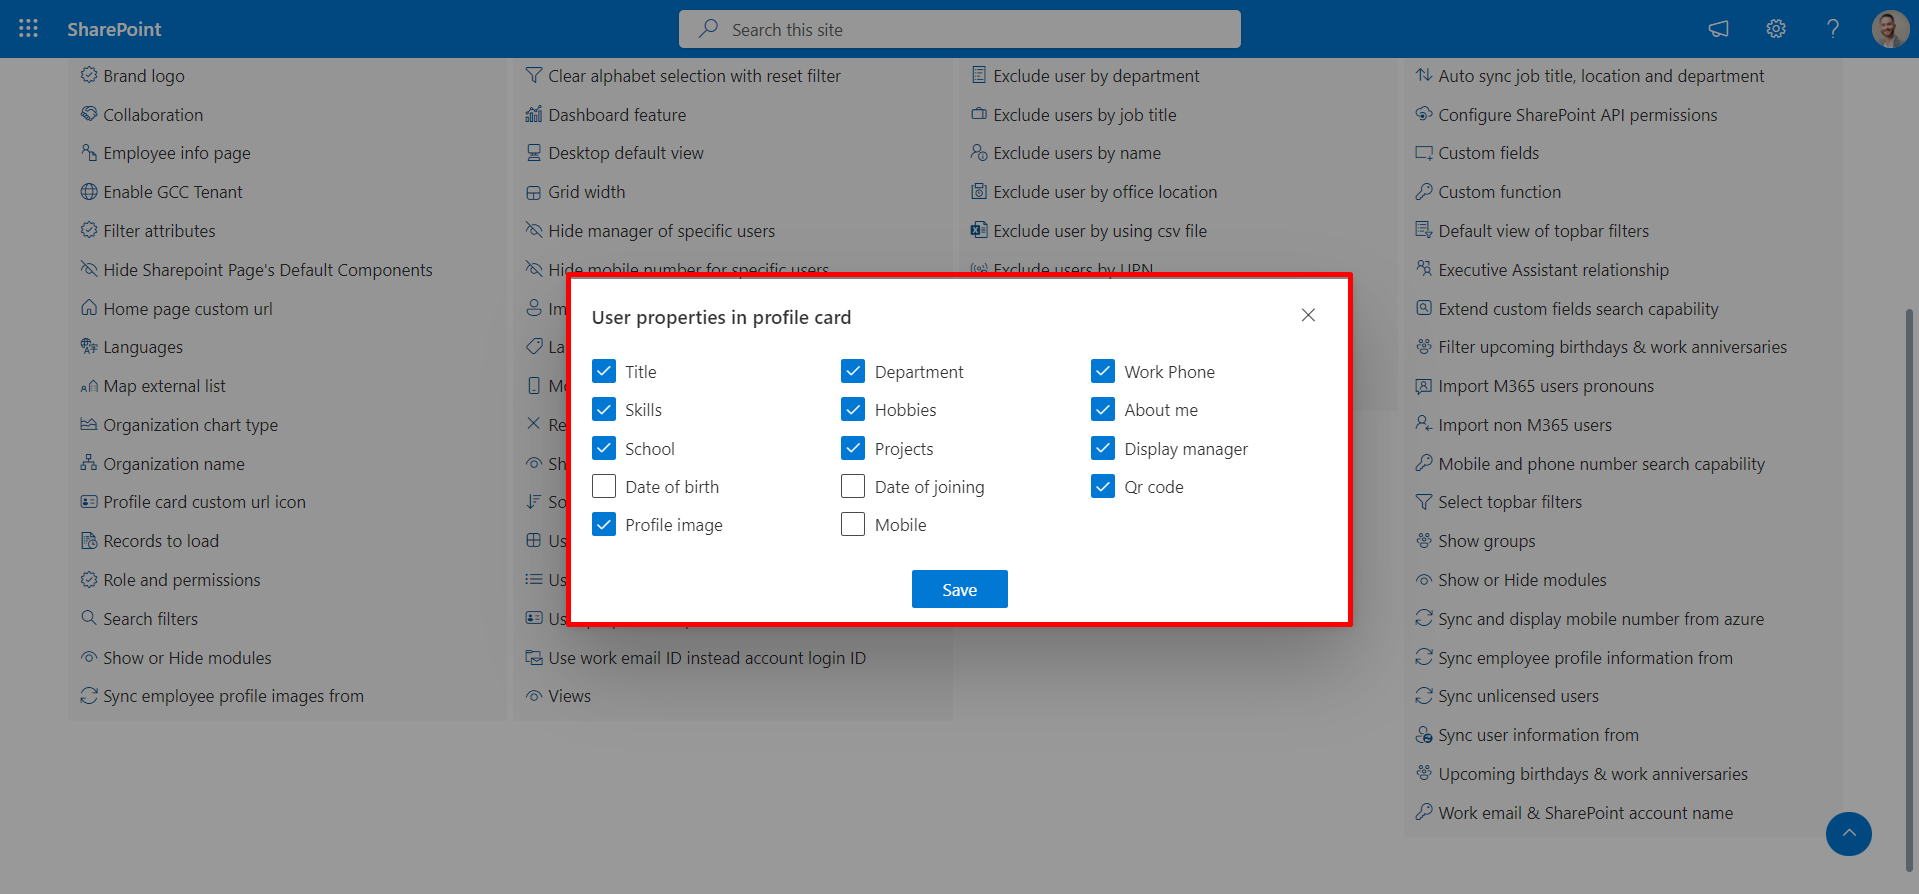
Image profile tag
The image profile tag is utilized to showcase user properties on the profile card and offers two features:

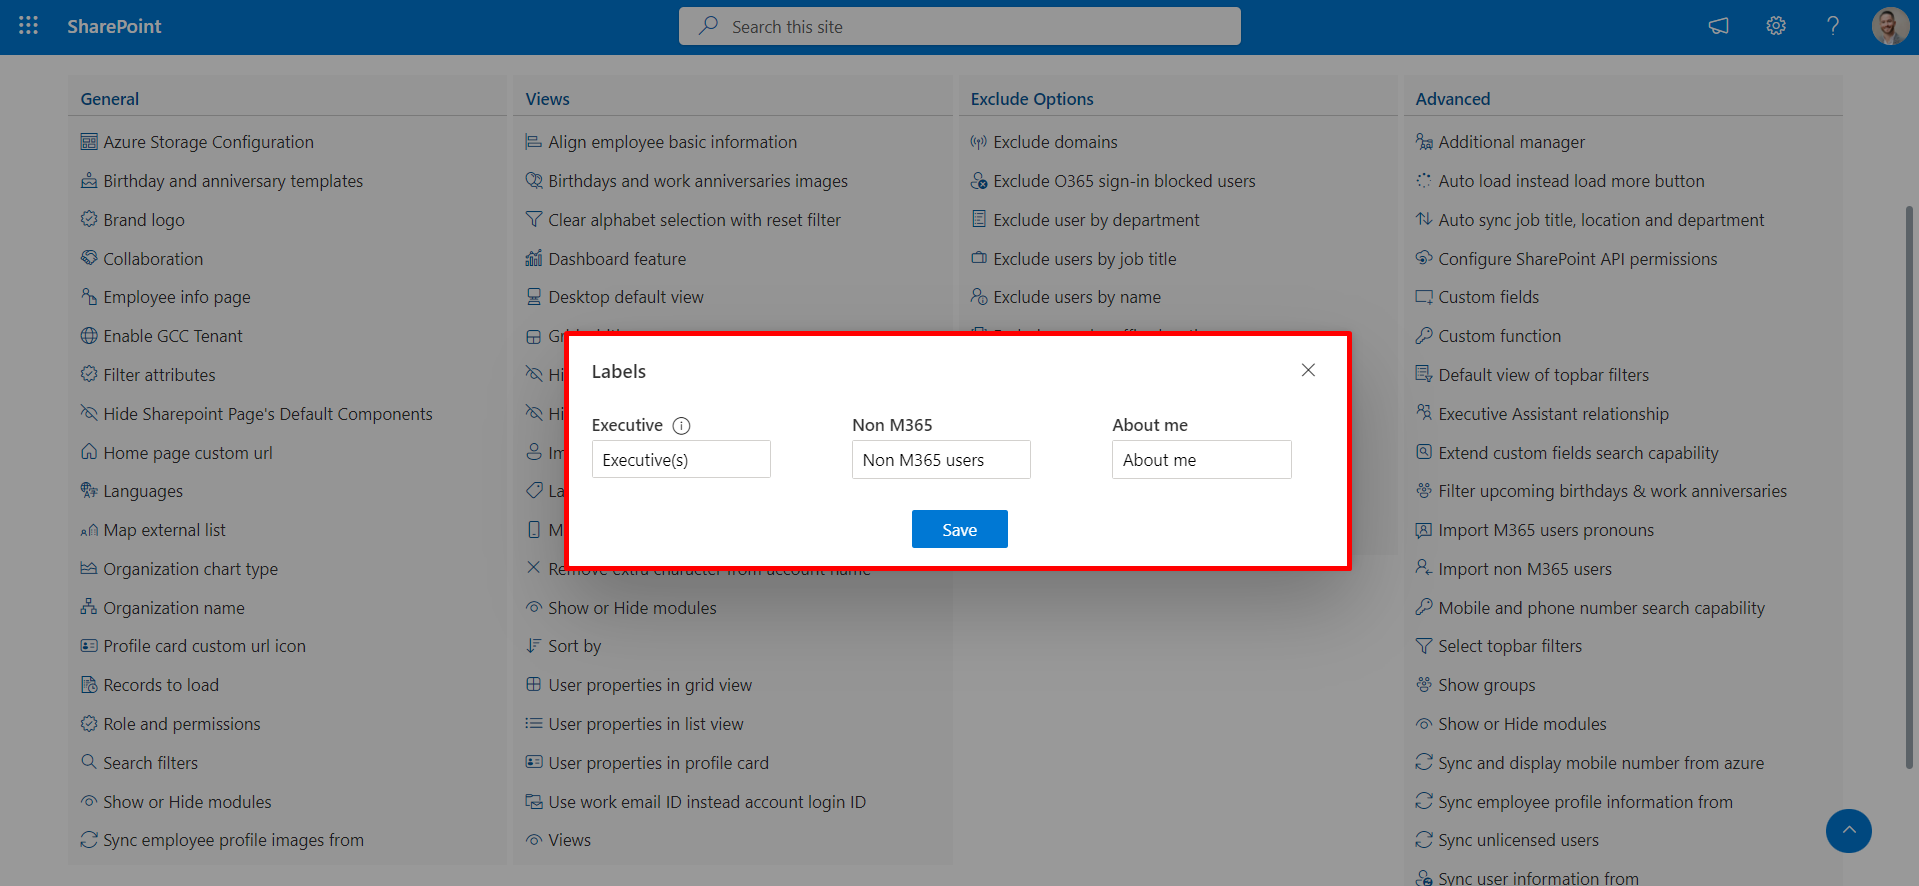
Labels
Within this option, you can update the label "Executive" to "Executive(s)" and "Non M365" to "Non-M365 users."
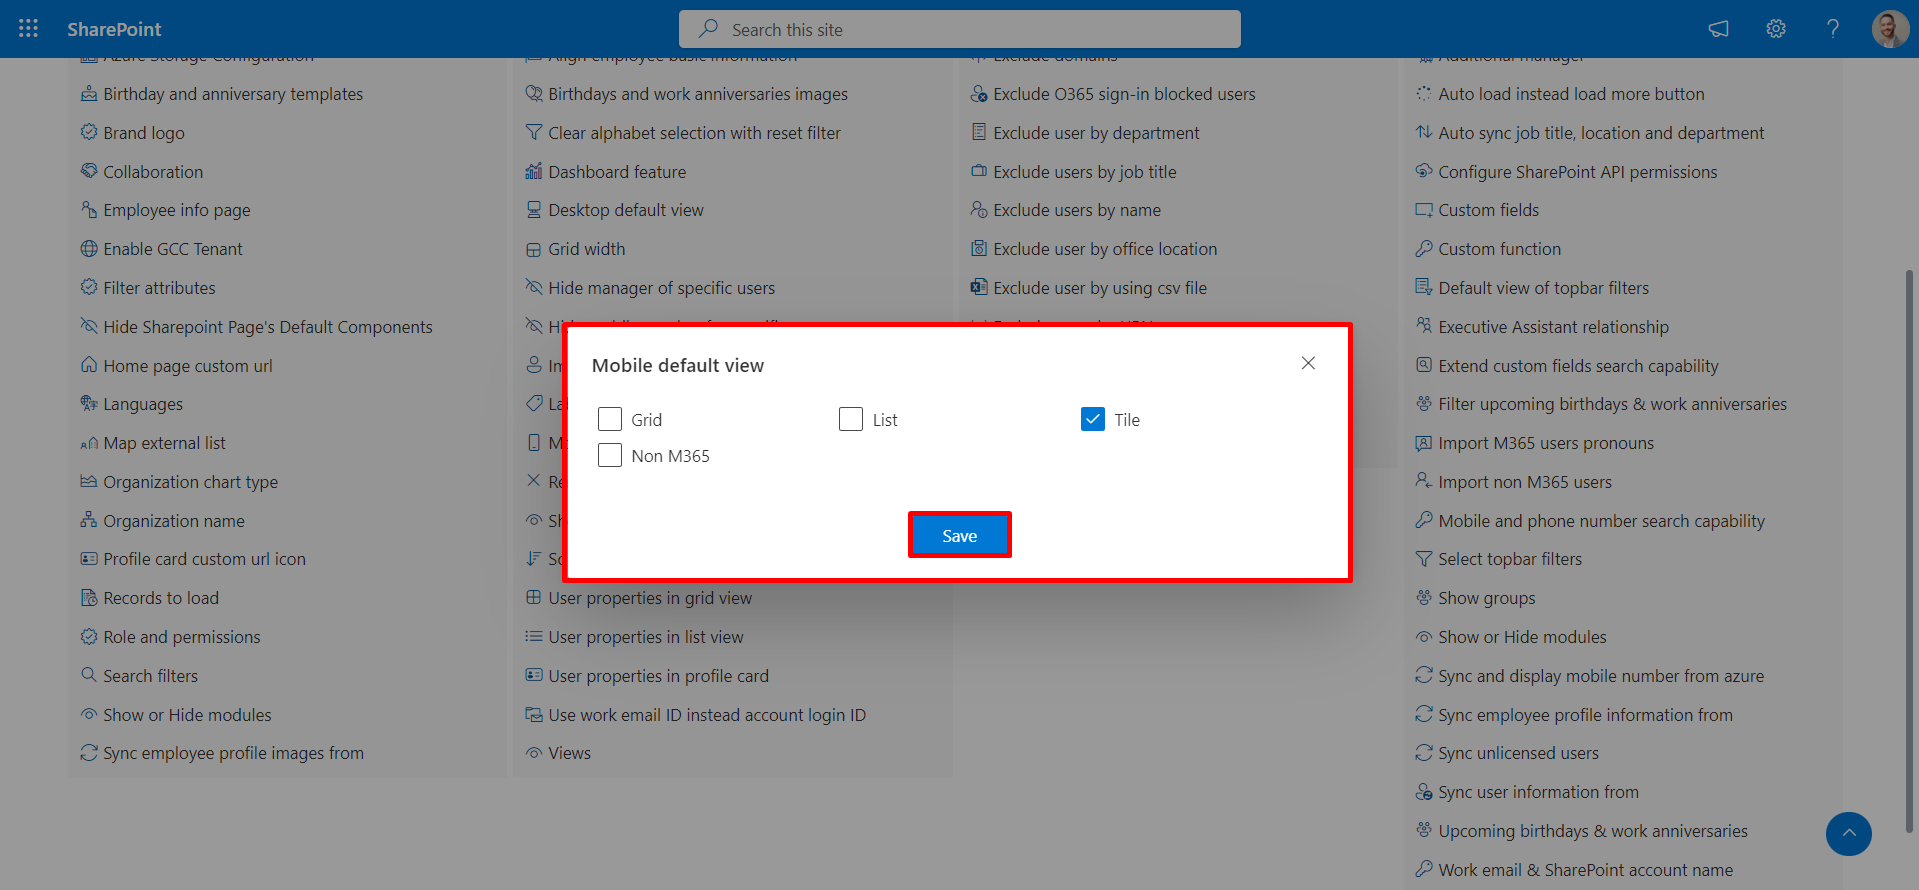
Mobile default view
You can choose the mobile view based on the options: grid, list, tile, and Non-M365.
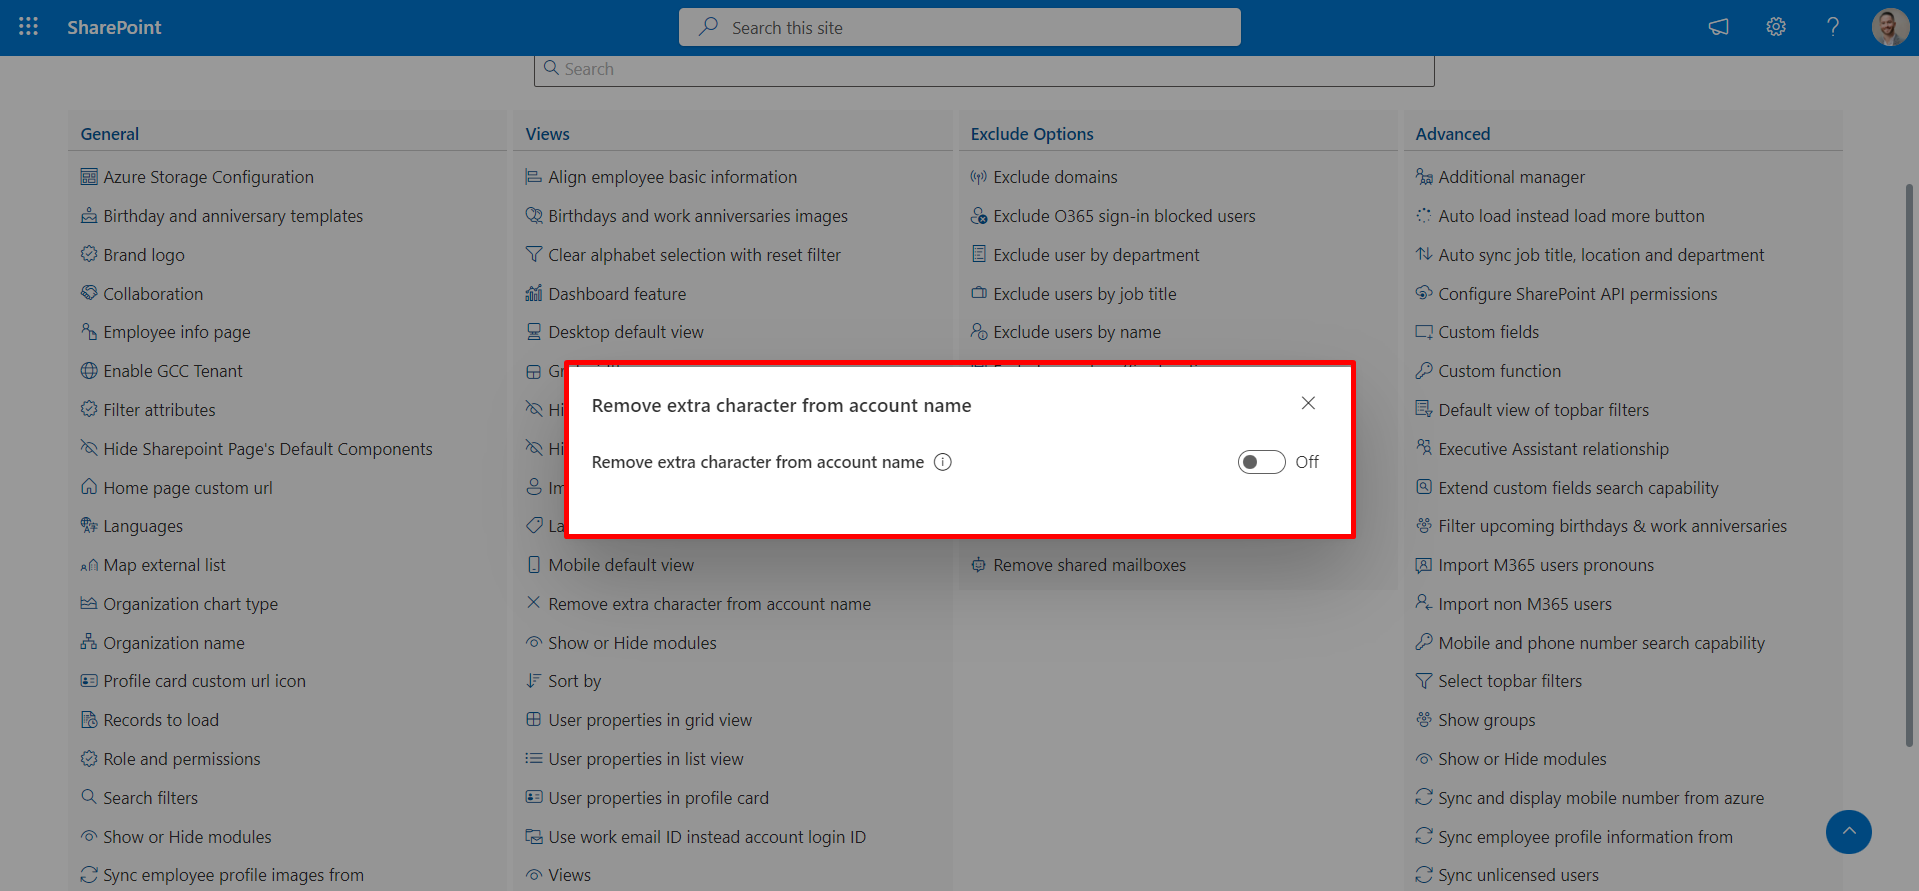
Remove extra character from account name
Enabling this option will remove any extra numeric digits added by Active Directory.
Show or Hide modules
Within this panel, there are four features, each accessible via a toggle switch:
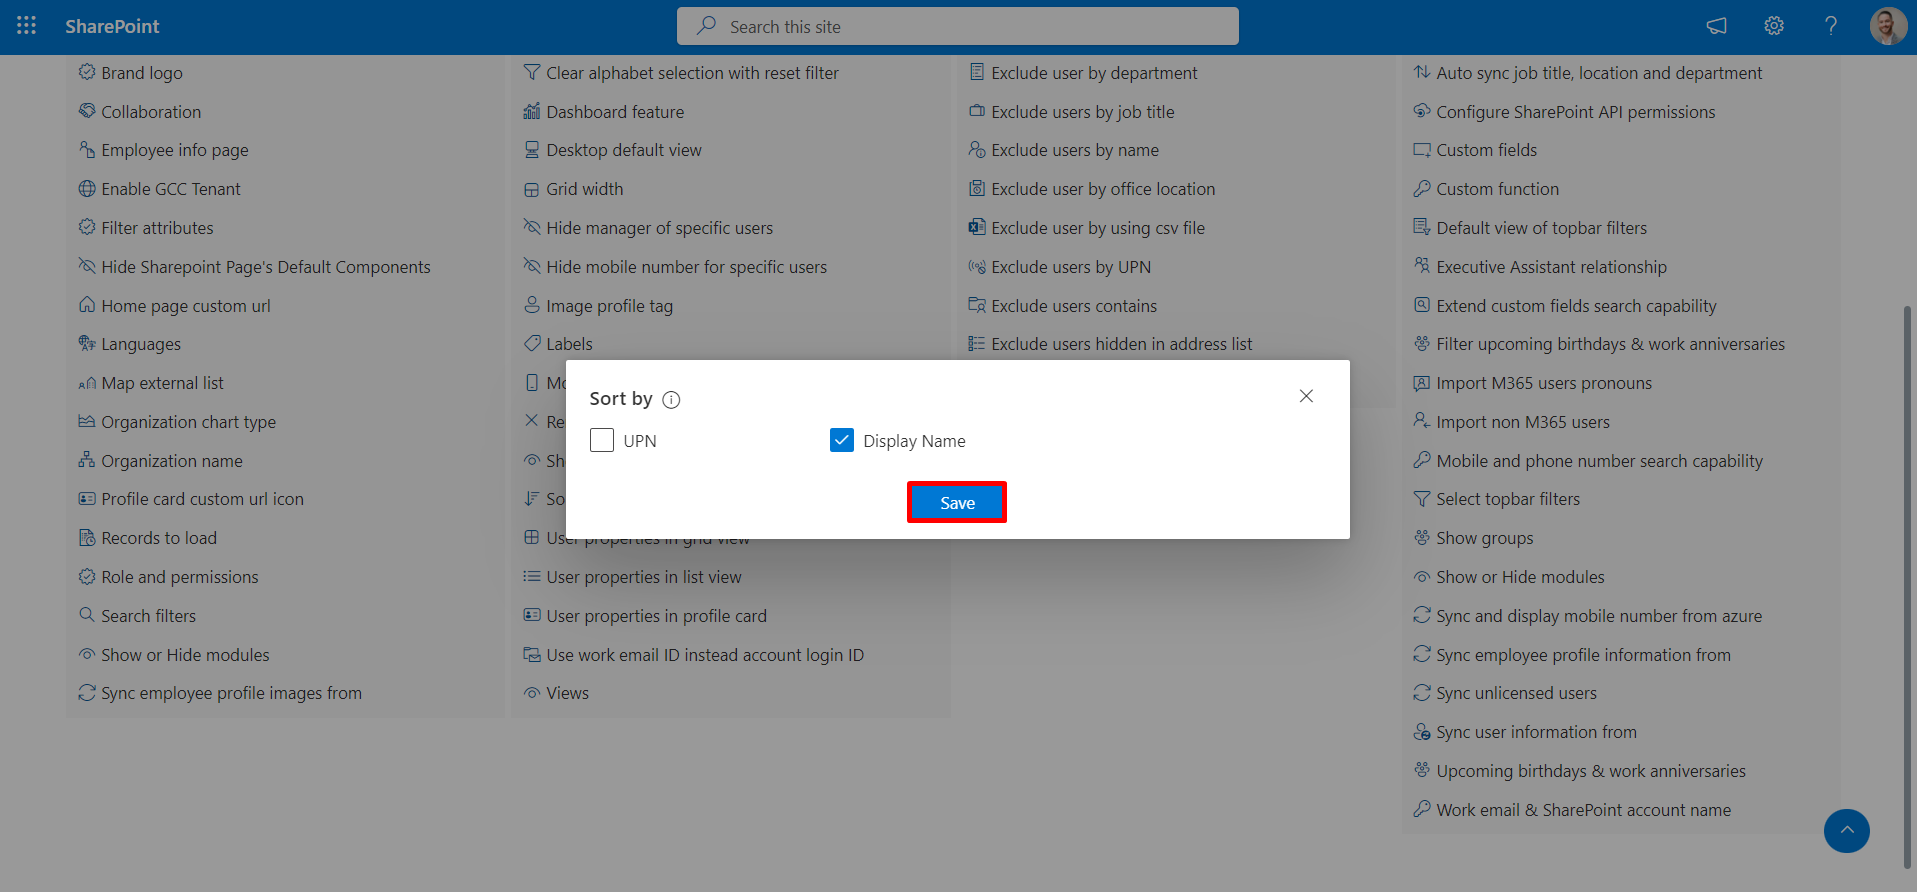
Sort by
To overcome the Microsoft Graph API search query limitations, the option for sorting by last name is exclusively accessible when SharePoint Online and Graph API integration is chosen within the Advanced settings. You have the choice between two sorting options: UPN and display name.
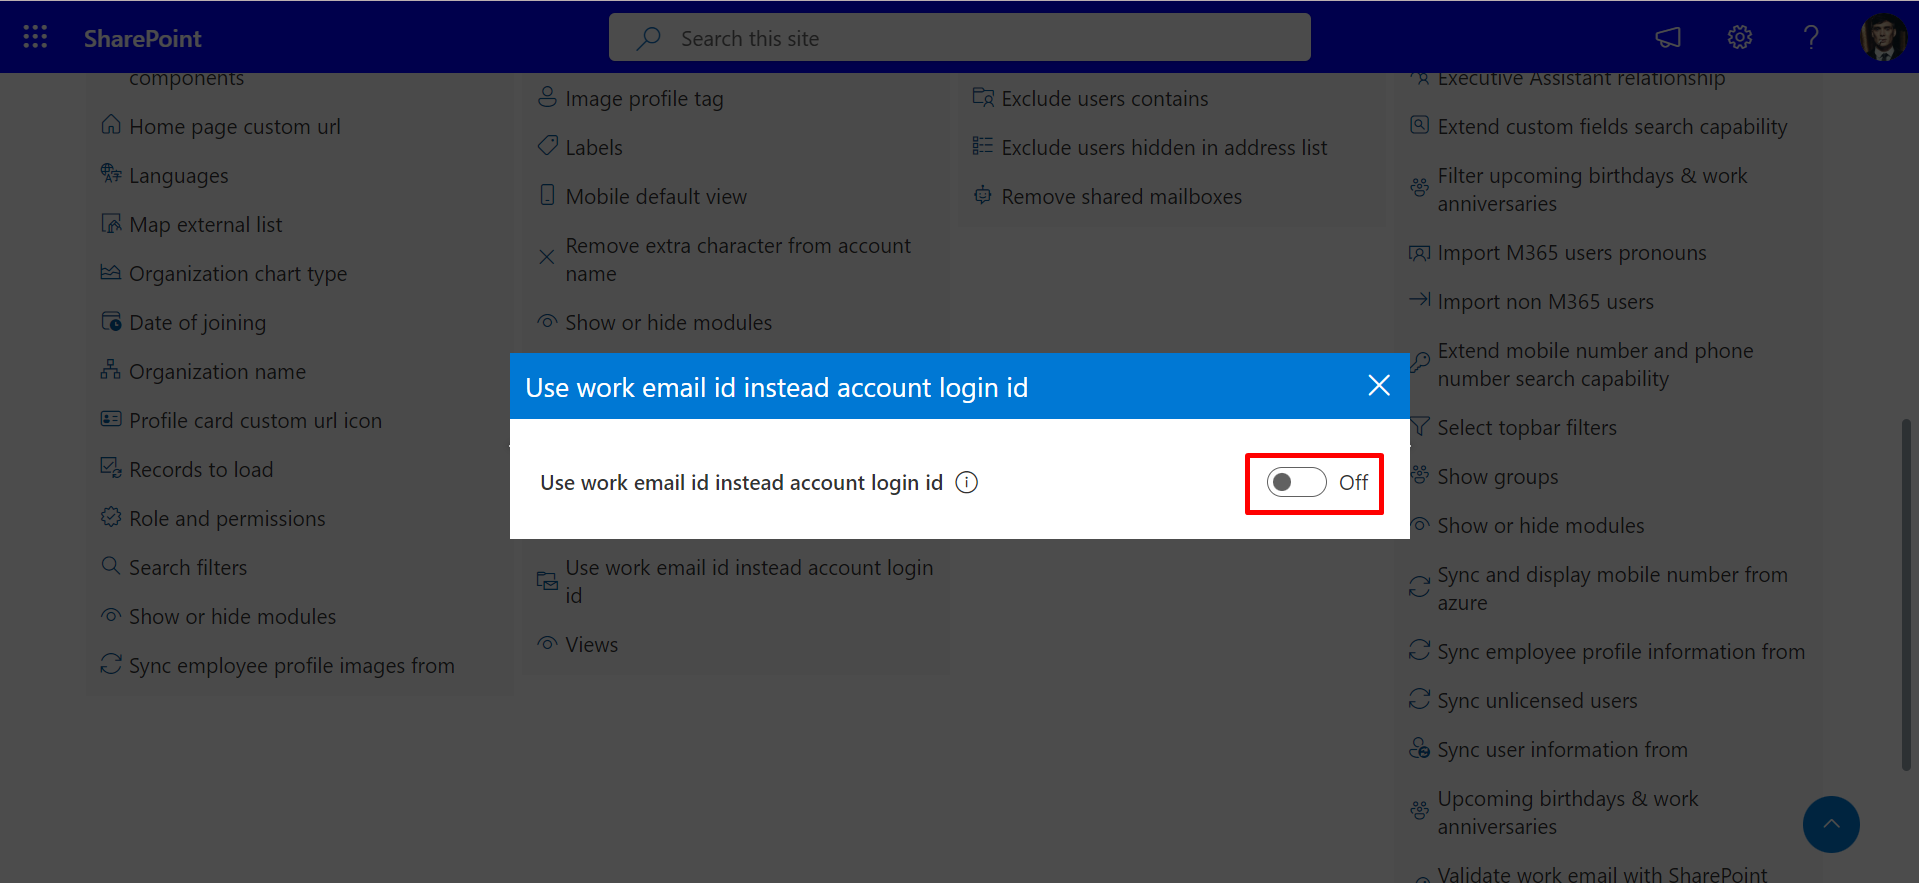
Use work email id instead account login id
The default setting for pulling user details based on their UPN or work email ID is currently disabled. If you wish to enable pulling records based on work email, you can do so here.